We’ve Finally Been Framed…in a Good Way

_MG_0458 (1280x853)

You know how long I’ve had roughly 30 picture frames laying on my dining room table?  Over a year.  Sad.  We all know that life gets in the way and there’s not enough time, but seriously, over a year?  These things laid there collecting dust and Lord knows what else.  I’d have to move them to clean the table, push them aside to make room.  Apparently it wasn’t that big of a priority for me.  I notice that I’m great at taking pictures, but horrible at getting pictures printed and up on the wall or in an album.  Since the world has gone all digital on us, it’s not that easy to push a button and drop your film off at the photo development store.  You have to take the pics, load them to your computer, edit them, blah, blah, blah.  It’s a rather drawn out process.  I’m definitely not complaining about the quality of photos because it’s like night and day, but the process is just lengthy.  I think I’ve printed all of 4 photos since my son was born and that was almost 2 years ago.  I told myself that I would finish his baby book before #3 came along…glad I’m not holding my breath :-)

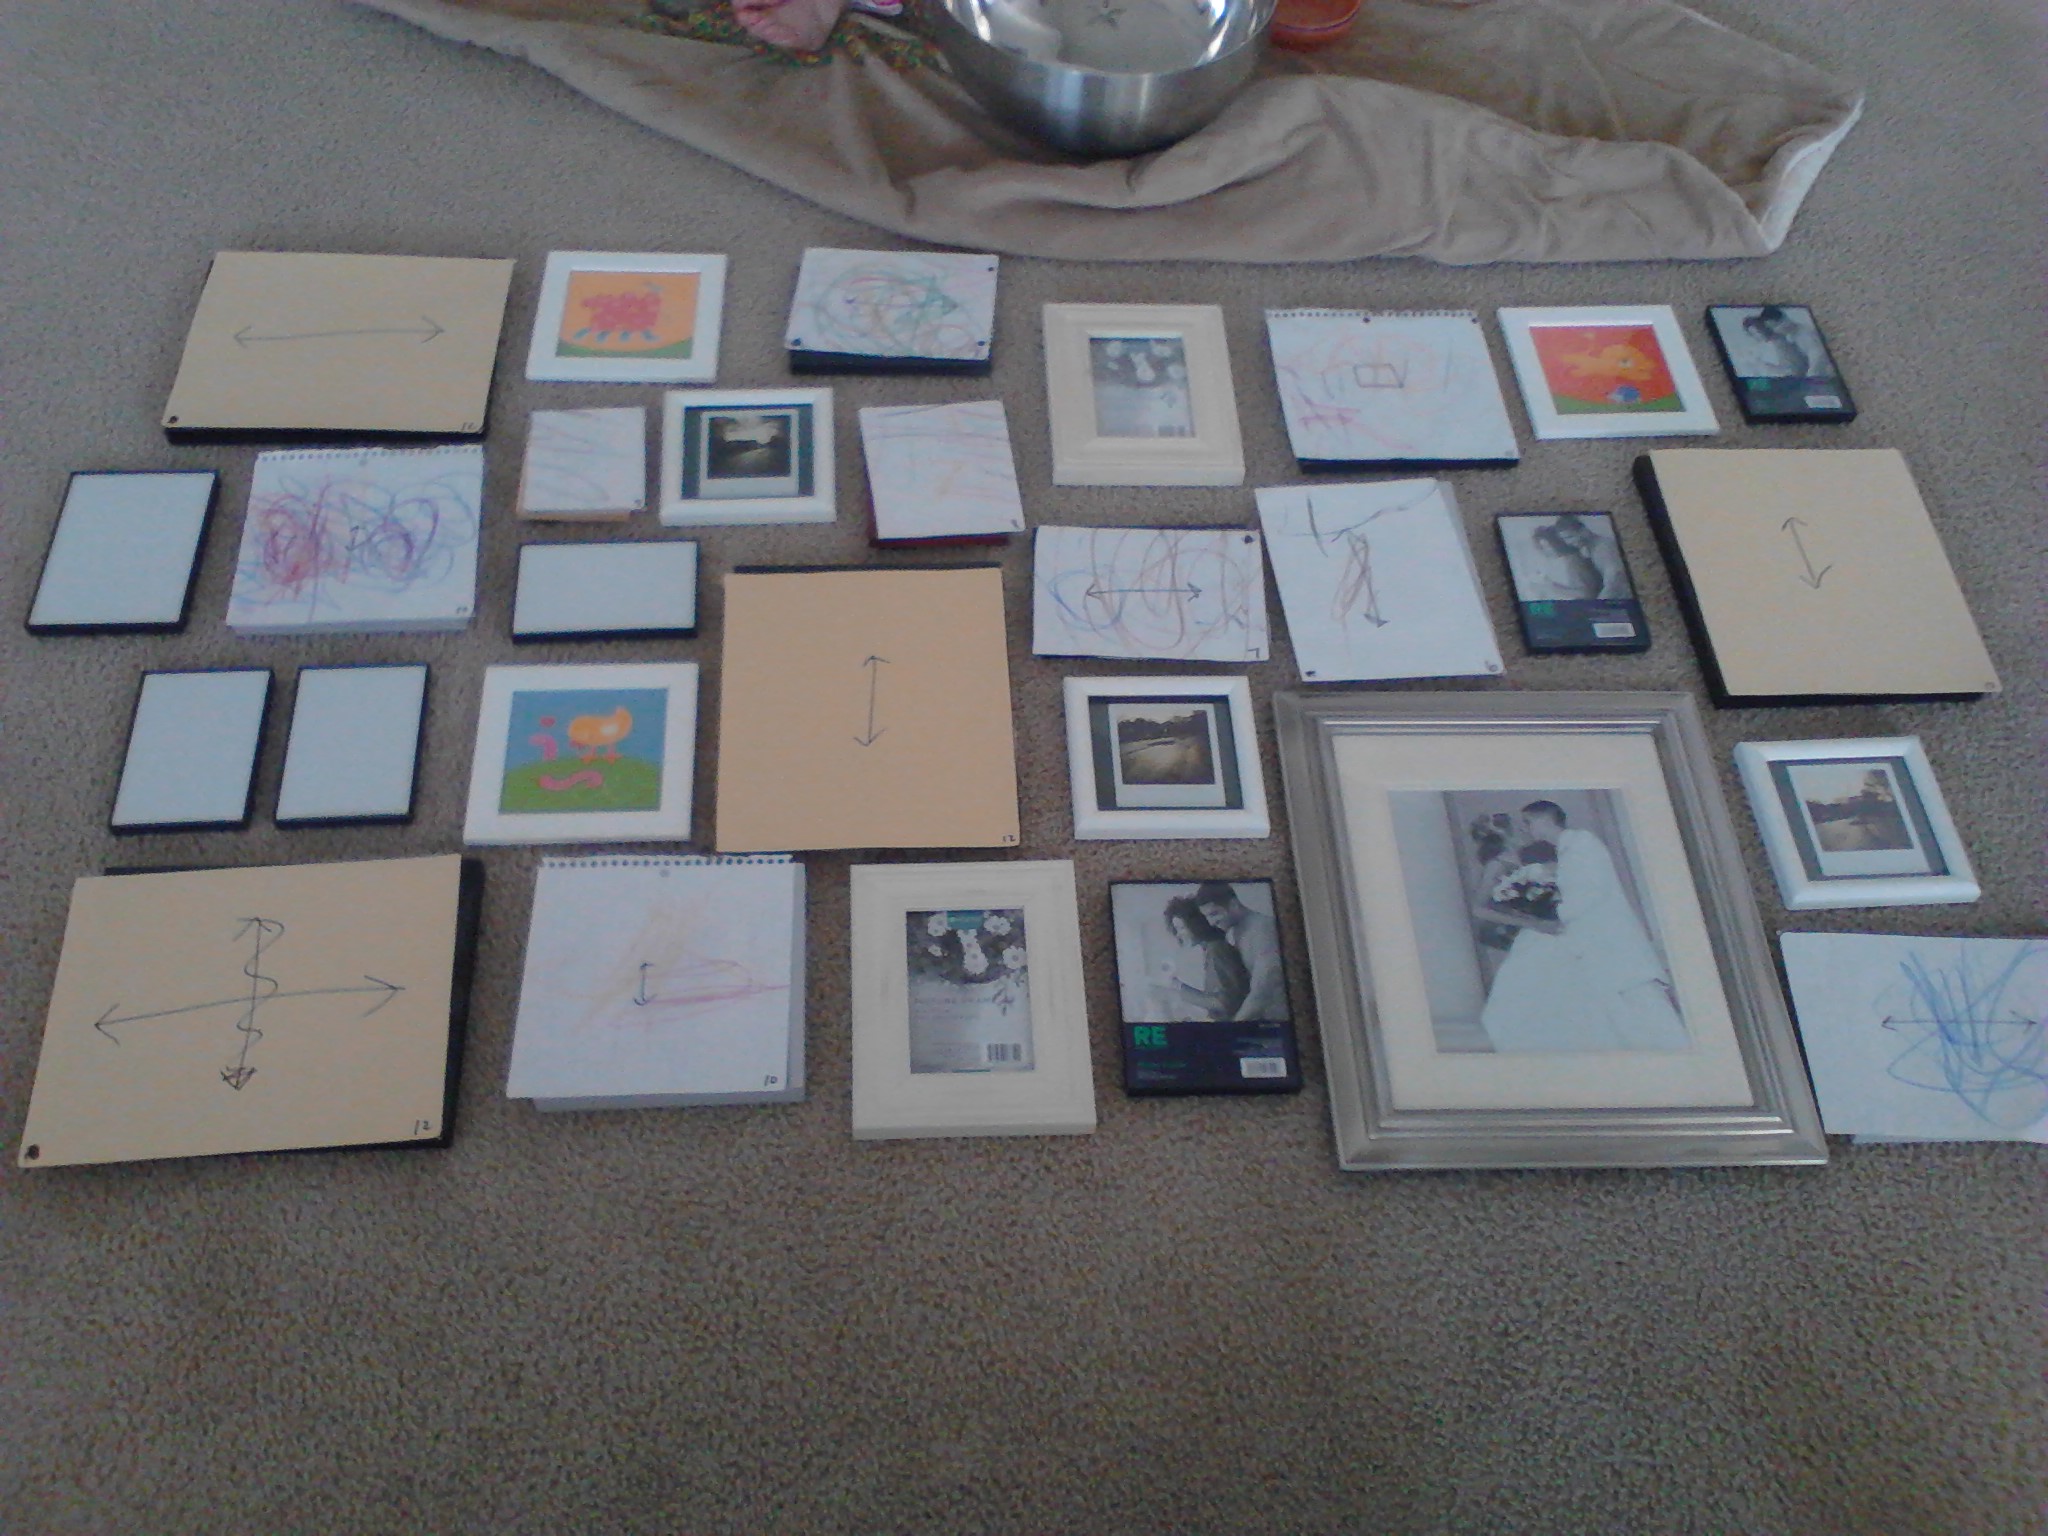
It took about 2 hours to lay out the frames how I wanted them.  I had to…

IMG_20130321_161532

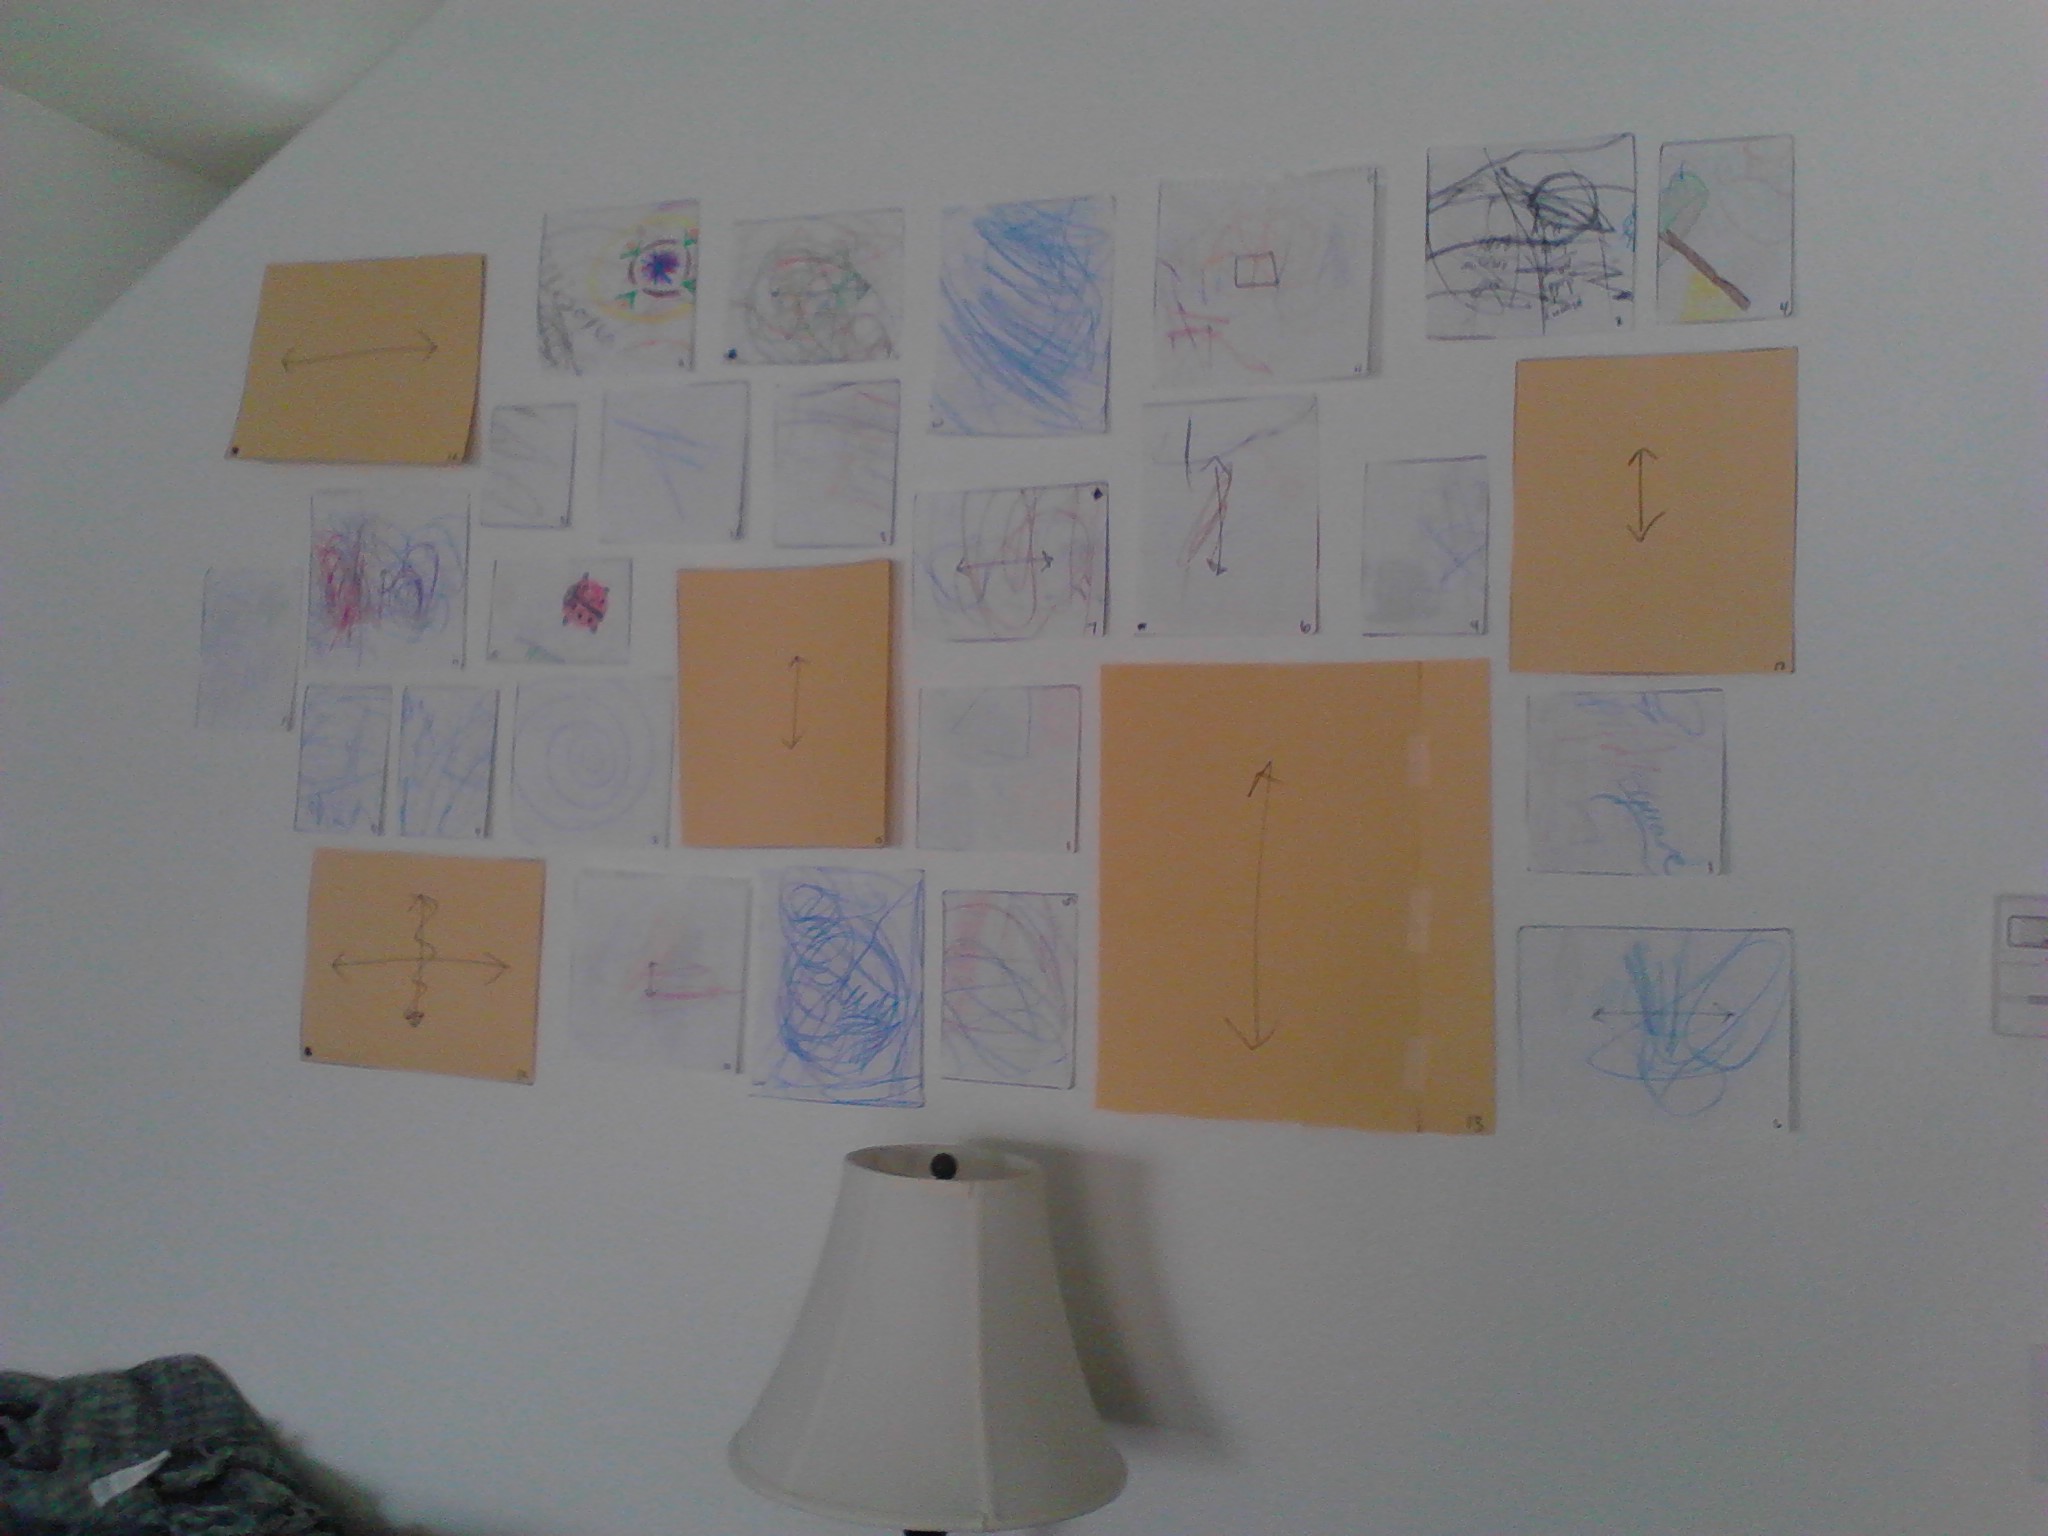
lay out and arrange the frames on the floor to be sure I liked the layout before putting hundreds of nails in the wall.  Then I had to…

IMG_20130321_154555

trace templates of the frames…

IMG_20130321_155604

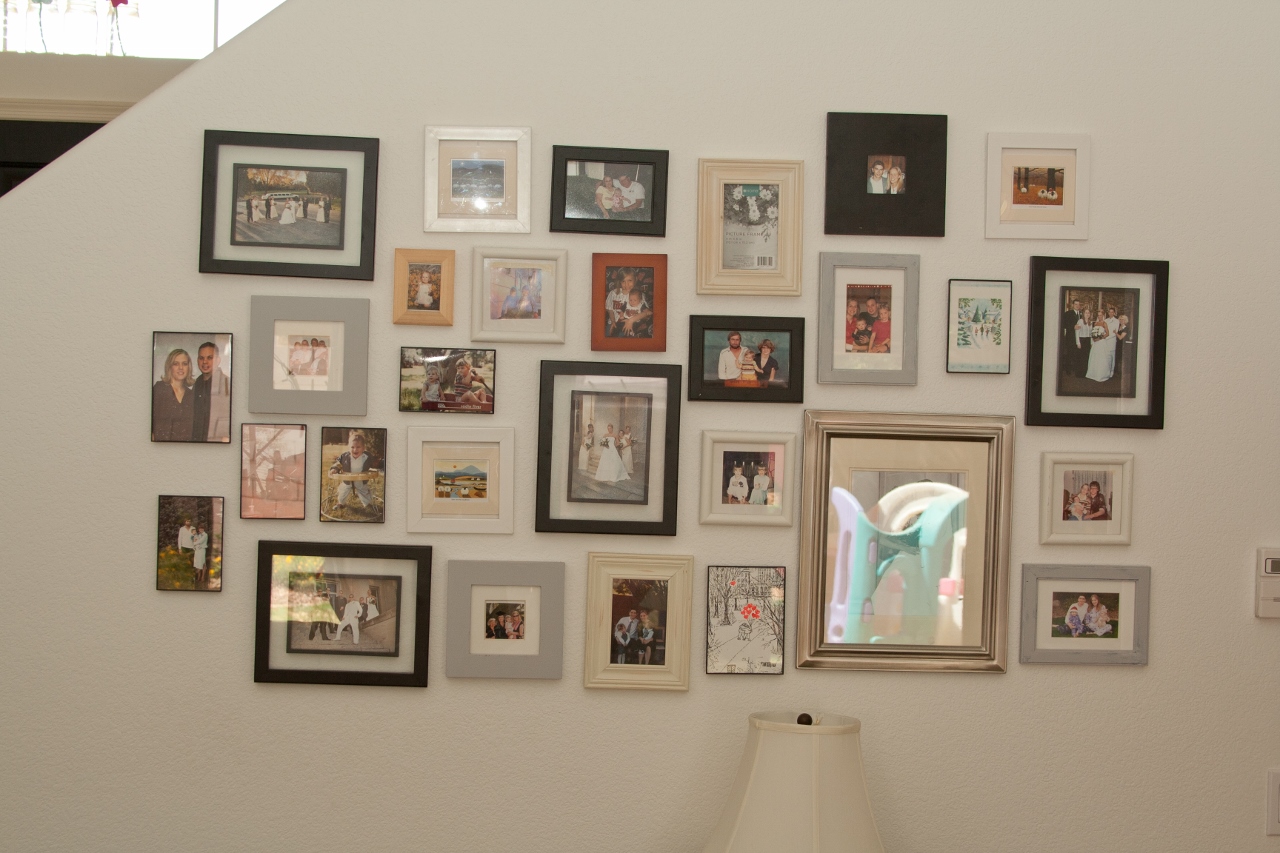
tape the templates to the wall, hold the frame up to the wall to figure out where to hammer the nail (I used the toothpaste method, see here), hammer the nail and finally hang the frame.  I also didn’t have a hanger on the back of one of the frames, so I used a pop top and hot glue gunned it to the back of the frame.  (NOTE:  It was a small frame, if the frame is larger, you might want to screw the pop top in as indicated here.)  The frames didn’t have any pictures in them when I hung them on the wall either, so that would be another process.  I had to sort through pictures and figure out which ones I wanted to use. Don’t worry, I didn’t overwhelm myself by tackling this all at once.  It took me about a month.  Oh well, all is said and done and I can now enjoy my gallery wall…even though the frames can be straightened a dozen times a day, any little knock on the wall will cause them to go crooked.  Good thing I like imperfect ;-)

_MG_0459 (853x1280)

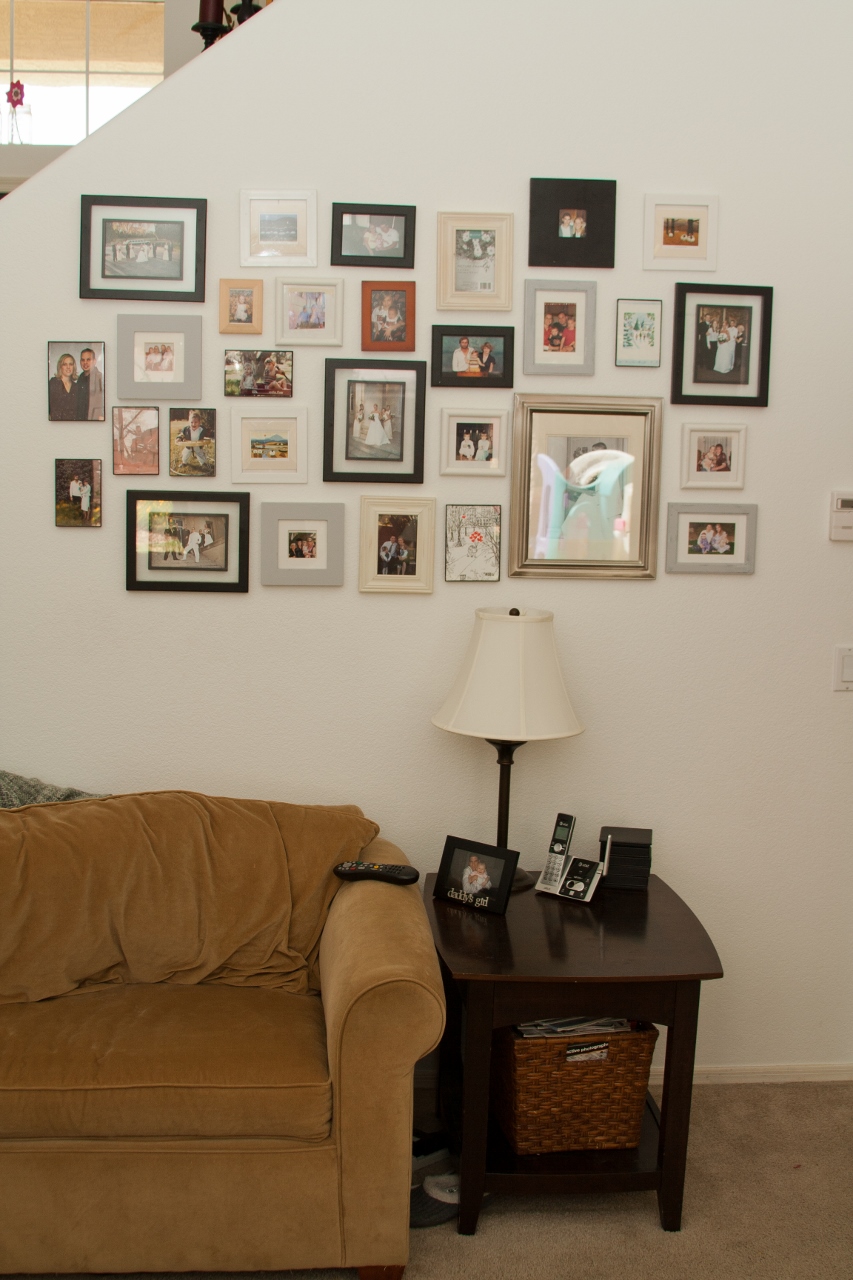
UPDATE:  If you didn’t see my last post, we’ll hopefully be moving in less than a month.  So, the frames were hung for about 3 months and now I must take them all down.  Good thing I like decorating and redecorating…this bothers me none ;-)

Goodbye Green?

_MG_0513 (853x1280)

This is my kids’ bathroom, which is also our guest bathroom.  I painted it 6 years ago when we first moved into our abode.  I was in love with sage green.  I still like the color, but I feel this bathroom is a little dingy now.  Really, I like the bottom color better than the top, so possibly just paint the top a different color?  OR Switch everything?

_MG_0518 (1280x853)

The vanity was painted by the previous owners and could definitely use a new coat of paint.  I’m thinking gray, which means the green would have to go.   I’m definitely not a fan of the floral-y/seashell-y decor on the doors, but we tried to take it off and I’m pretty sure it would permanently damage the doors.  It’s definitely stuck on there for good…yey for the Golden Girls, boo for me.  At the same time, if I painted it gray, I’m at a loss for what color to paint the walls.  I like the chair rail, so that would stay.  This means, I’d have to come up with two colors for the wall.  Sigh…first world problems decisions, decisions.

_MG_0515 (853x1280)

The medicine cabinet trim was gold, but we (by me, I mean the hubby…I was preggo with #2 at the time, preggo with #3 now…am I always preggo??) spray-painted it a brushed nickel/silver color.  It has lasted 2 years and some of the gold is starting to show through where we open it with our hands.  The trim on the bottom of the mirror was also spray-painted, but it’s holding up really well.  It’s a cheap/easy way to get rid of the gold.  I’d like to frame the mirror, but will first need to decide whether or not to change the wall color and the vanity color.  We replaced the sink faucet about a year ago…it was 2-toned and not doing it for me.

_MG_0514 (853x1280)

This is kind of a blah pic, but it shows the shower curtain in all its stripeyness.  So, at this point I’m just not sure what I’m ‘feeling’ for this room.  Any and all suggestions welcome..except for kid-themed bathrooms…I’m just not a fan :-)

Updates to the Master Bathroom

I’ve never been satisfied with our master bedroom.  When we first moved in (6+ years ago), I liked how the previous owner painted using 2 different colors.  I thought it gave the room some depth and a nice accent wall was the “in” thing.  Well, I guess I’ve grown up and my taste has changed.  I am no longer a fan of all the brown in this room.  The bathroom walls were a deep, chocolate brown and every time I went into that room it felt like the walls were closing in on me.  It was just too dark for that closed in space with only a tiny window in the shower area.  I’m also over the deep red color in the shower curtain.

_MG_8538 (853x1280)

This is the right side of the vanity near the linen closet.  (Apologies for the dark photo.)

_MG_8542 (853x1280)

I have dreaded the oak-grade cabinets since day 1.  I also think it’s time to get rid of the 2-tone faucets and unframed mirror.

I present to you, the AFTER:

_MG_0326 (853x1280)

This picture is reversed because the only way to get the entire vanity with mirror in the pic was to take a picture in the walk-in closet mirror.  You get the idea though.

_MG_0320 (853x1280)

I found several tutorials online on how to build a frame for a giant mirror and had my handsome husband built it.  I’m lucky :)

_MG_0315 (1280x853)

The vanity was super easy to tackle.  I was, of course, nervous at first because I’d never painted cabinets before, so I didn’t want to screw it up.  Seriously, easier than painting walls.  Nothing to it really.  I took the doors off of the vanity and sanded those, along with the vanity.  Then I put a coat of latex primer (tinted to match the paint) on.  After recommended drying time, I used a foam roller to put 2 coats of latex paint on.  After each coat of paint (and primer), I sanded gently to get rid of any flaws.  I am really impressed by the coverage and how well the paint went on.

*NOTE:  Always hold your paint swatch up to where you plan to paint because that is the lighting you will see it in.  I chose to paint the cabinet doors in the garage and boy did I not like the paint color at all.  I was extremely nervous and thought I had screwed up, but it was just a difference in lighting.

_MG_0313 (1280x853)

I’m loving the dark vanity against the white walls.  It really opens up the space in this room and makes it more serene.

_MG_9590 (1280x853)

I thought I’d include this fun pic.  After I’d painted the walls and vanity, I noticed a couple of bugs down in the corner by the bathtub.  I mentioned it to my husband and after further investigating, we had water damage to the floor right by the bathtub.  Not.Impressed.At.All.  Luckily, we only had to rip up one row of tiles and take care of the bugs, and then put in new floor boards.  I’m so glad I have a handy husband to fix this because hiring it out would have been spendy.

All in all, when you don’t have a lot of $$$ to spend, but want to update a room, paint and wood are some cheap ways to revamp.  The most expensive part of this update was the faucets.  I ordered them online from a cheaper source though, so I highly recommend checking that out before heading to the local hardware store because they can be costly.

Here’s to a Happy Monday!