Furniture Friday – A Makeover of a TV Stand

Happy Friday!  After taking a week off from doing anything remotely productive around here, I’m back at it (thank goodness!).

TV Stand

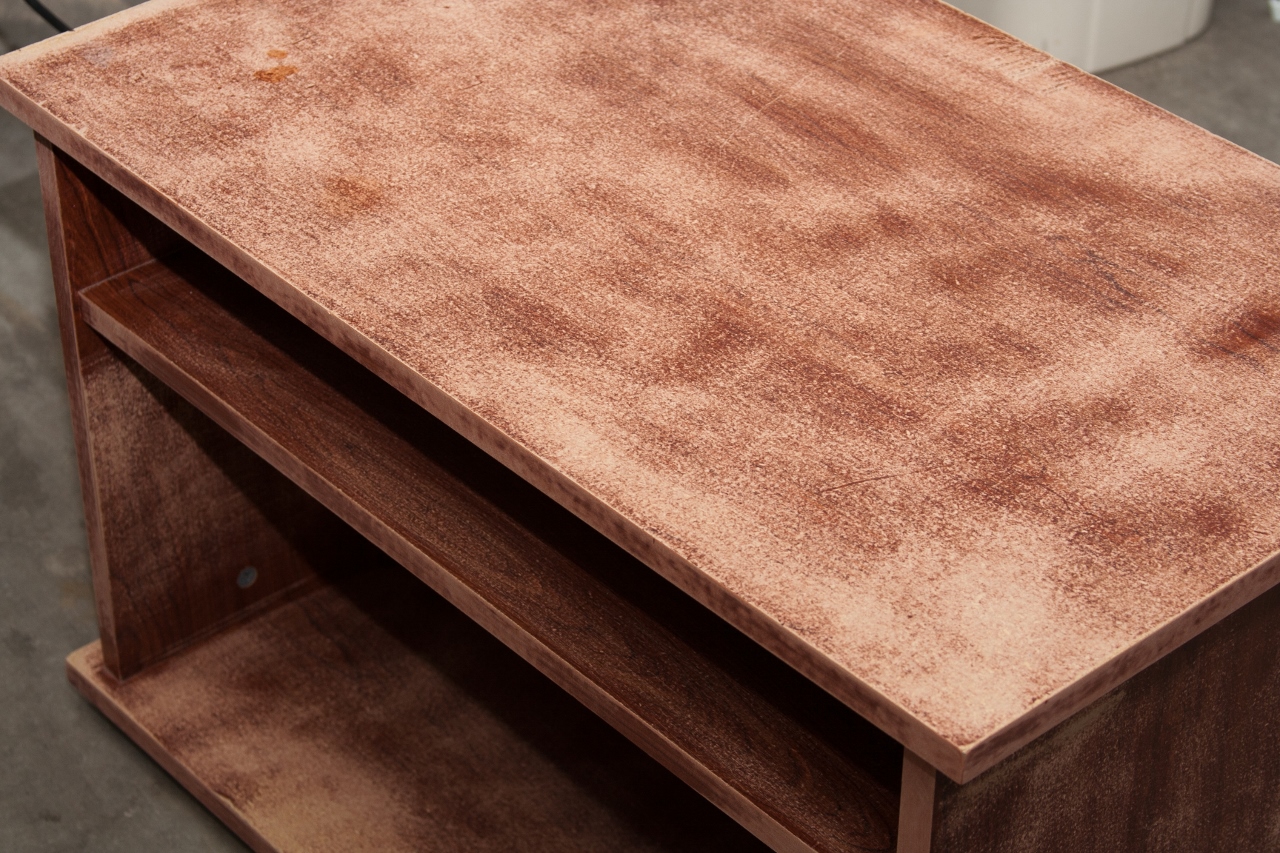
The hubby brought home this little tv stand/printer cart-thingy from work one day.  It was going to be placed in the trash, but he knew I could do something with it (free furniture is better than flowers any day).  This is how it looked after I sanded it down using 60 grit sandpaper.  It’s a VERY sturdy piece of furniture, but was still covered in that shiny, laminate stuff.

TV Stand 2

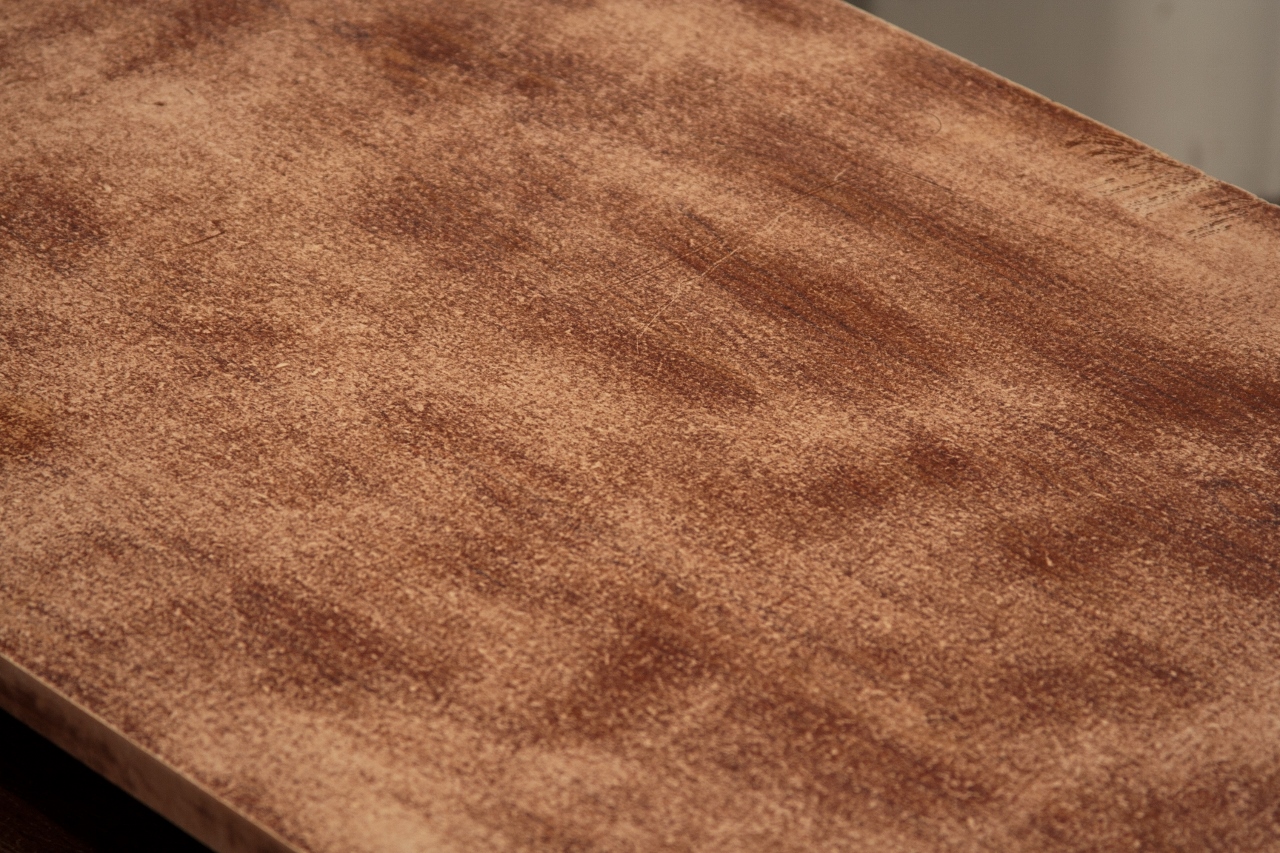
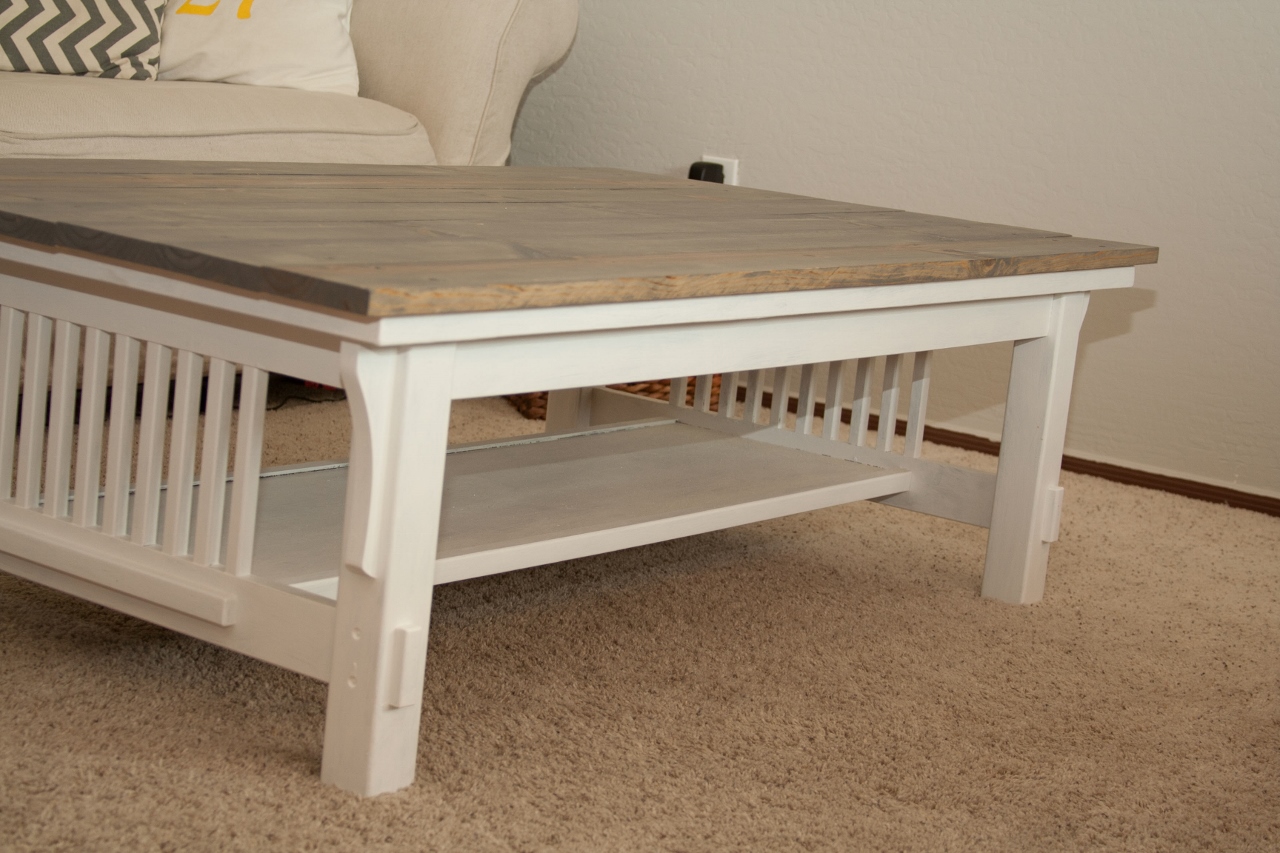
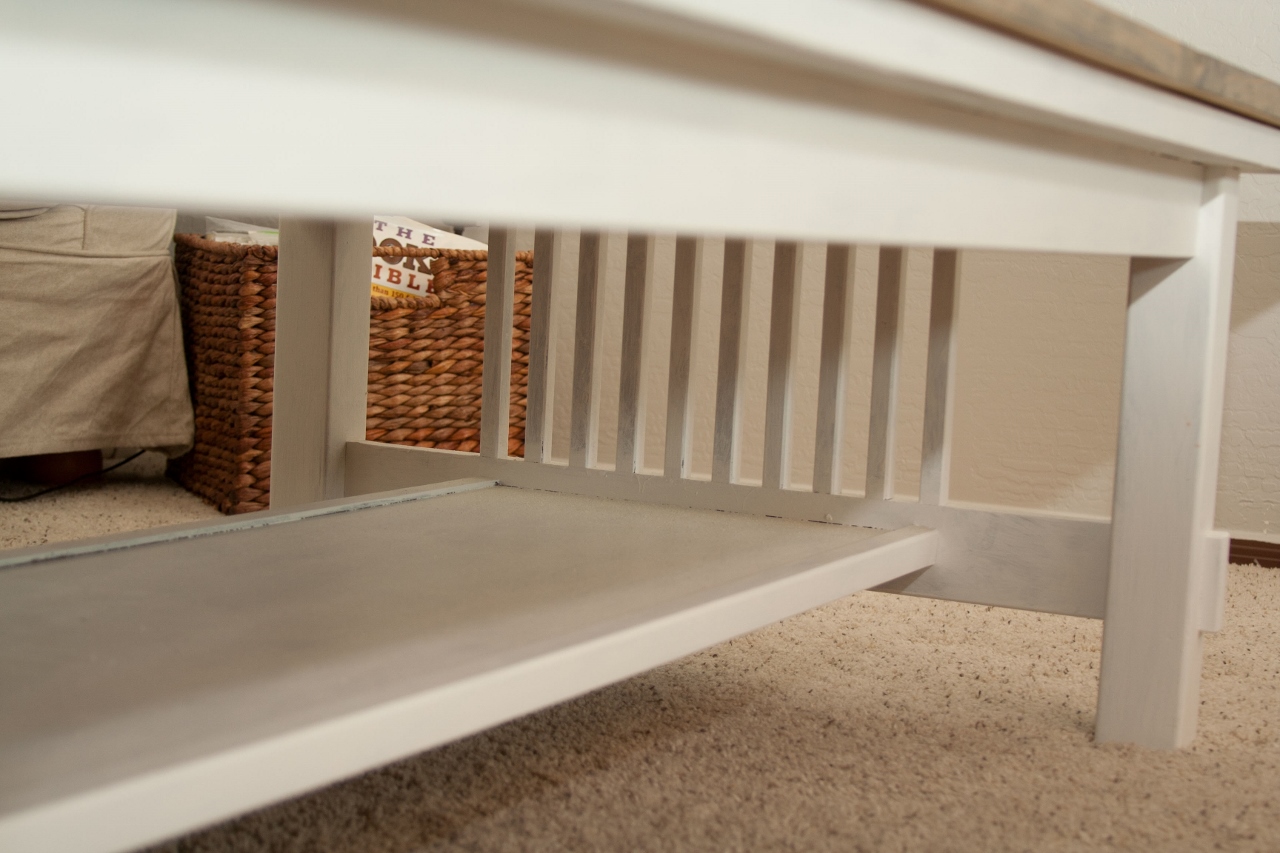
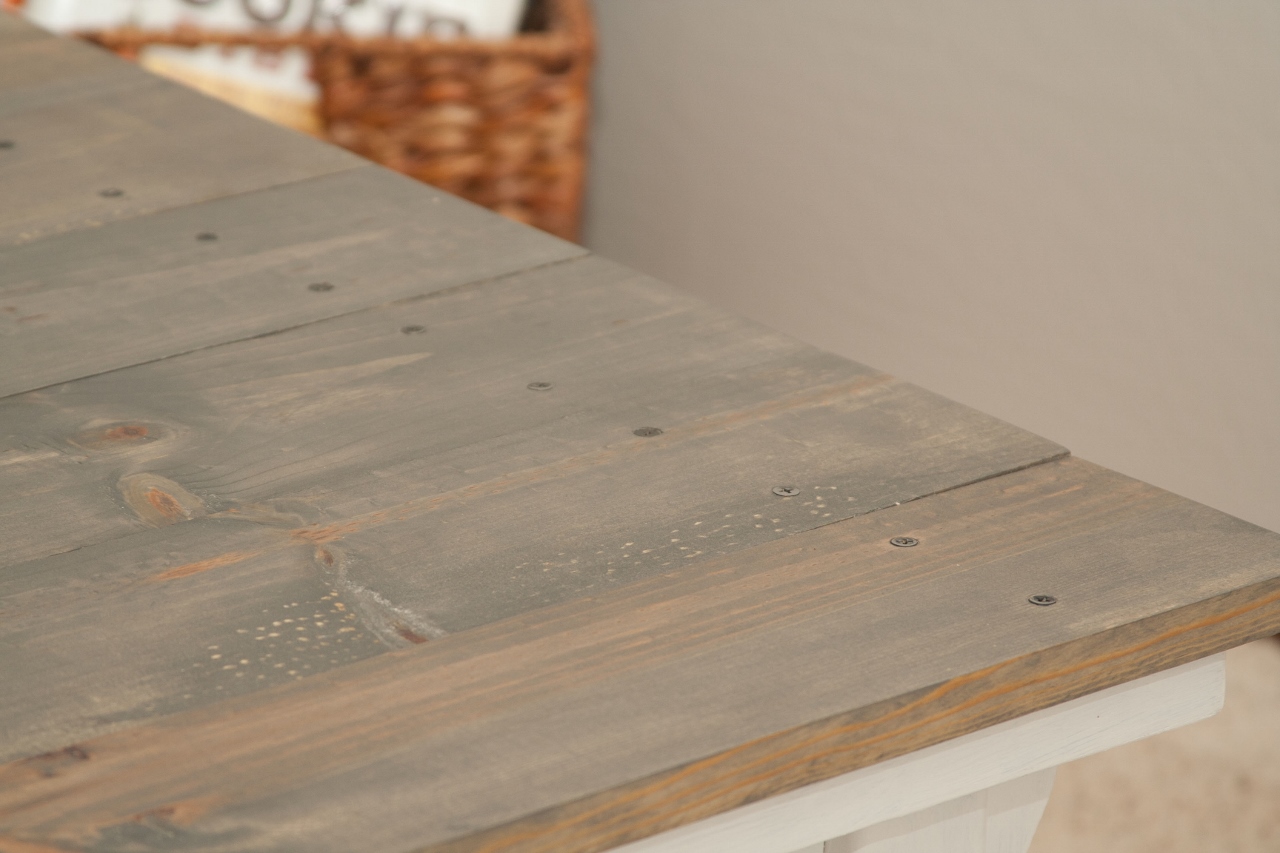
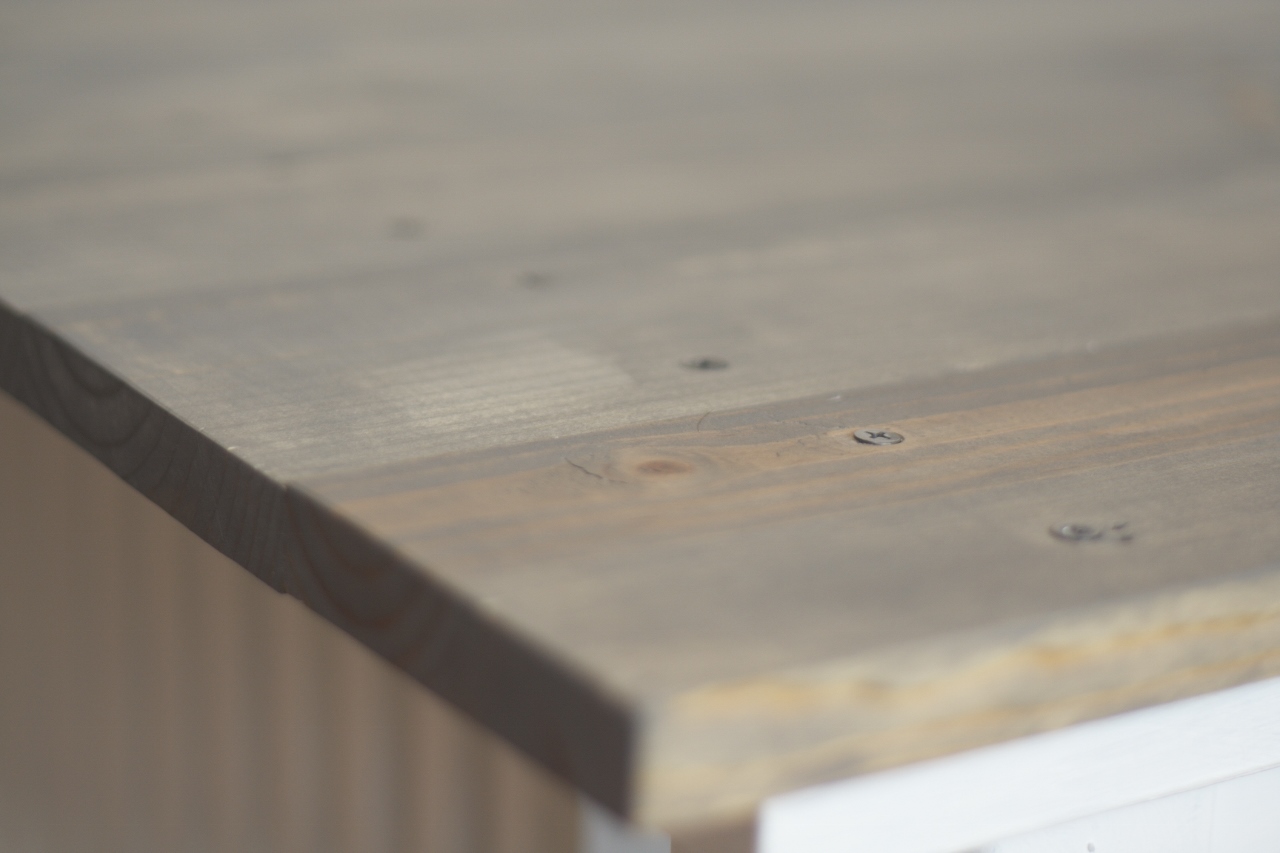
I basically sanded, primed and painted it.  I normally don’t use primer because I buy the paint that has primer mixed in, but I used “oops” paint I got on discount at HD and it was not paint + primer.  It took 1 coat of primer and 3 coats of paint.  That wood was daaaaaark.

Gray and White TV Stand

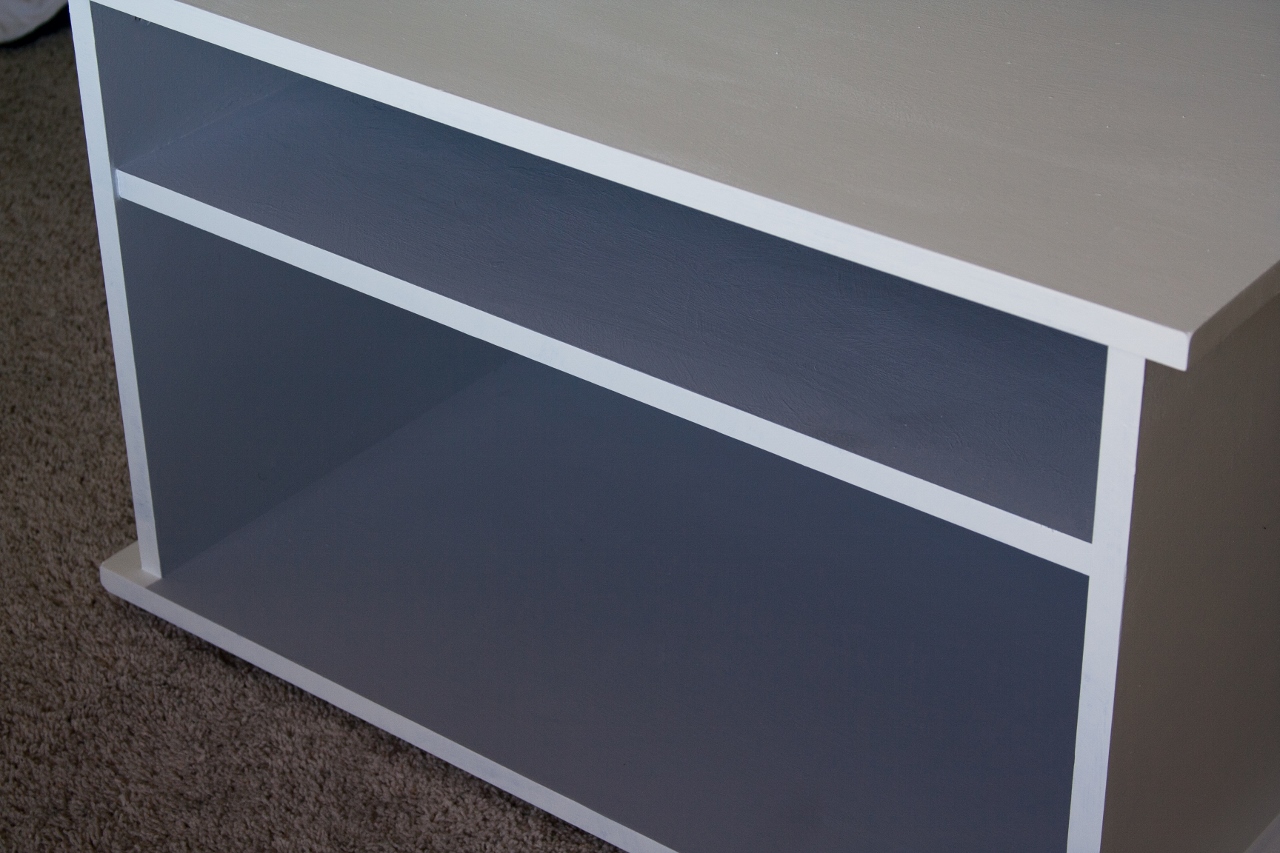
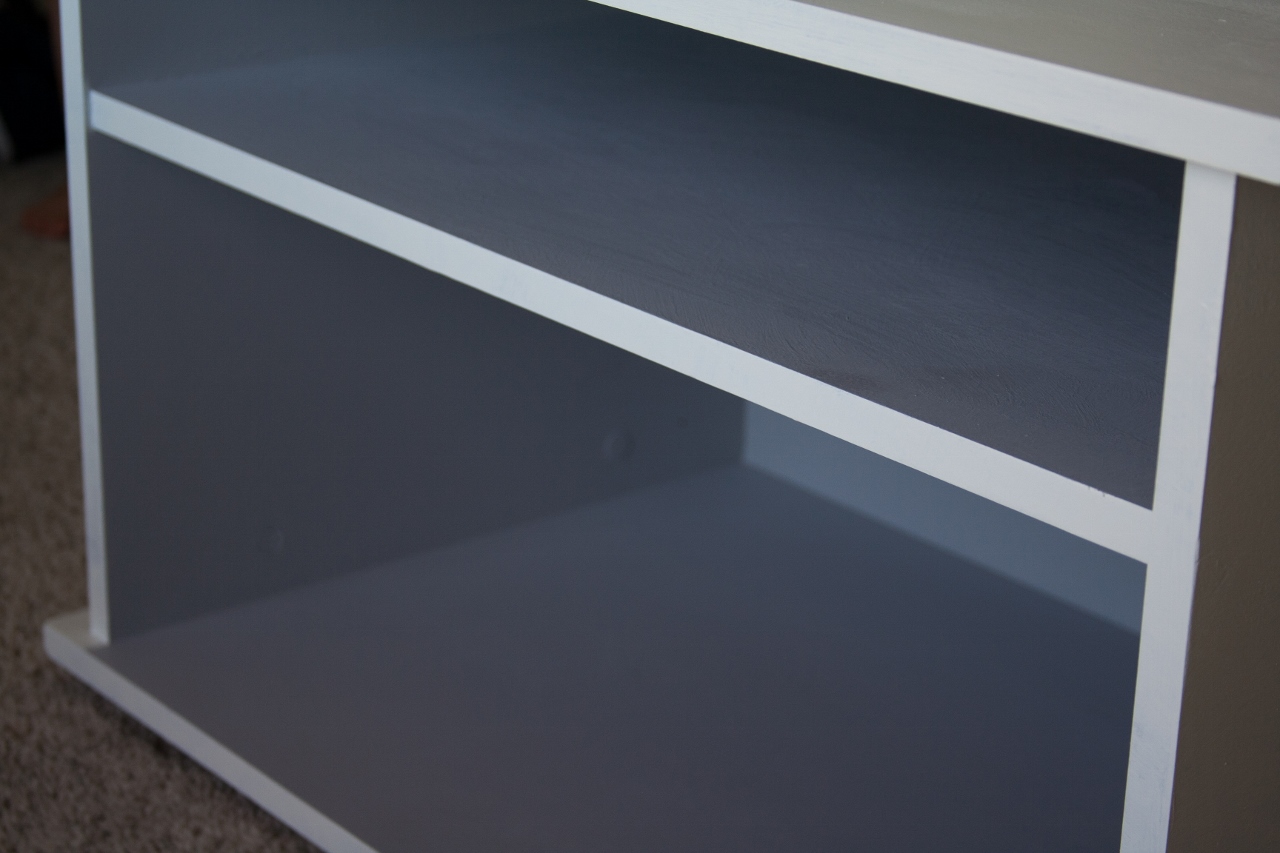
Voila!  A pretty simple, straightforward little project to do on the weekend or in the evenings while watching reruns of Home Improvement (still LOVE that show).

Gray and White TV Stand 3

I thought about selling it, but I need some shelving in the office closet.  So, I’ll be hanging onto it for now.

Office - Before

Speaking of the office…I’ve been busy with it too.  Can you say disaster (I spy Dilbert!)?! I’ve been working on this room for weeks.  It’s finally painted and furniture is being moved back, BUT I’m in the mood to paint the furniture too.  It’s all very dark and I’m going light people.  Sooo, it might be a little while before I’m able to finish it up.  I don’t know though. I’ve really been in the painting mood.  It’s easier to do during the day now because my little lady is in school and it’s just me and the 2 little boys.

I am so looking forward to having a place where I can be productive.  It’s hard to sit on the laptop downstairs, in front of the tv, eating bon-bons and get stuff done.  I really do need a designated space where I don’t have to put away my “mess” every time and then drag it all out again.

Office - Before 2

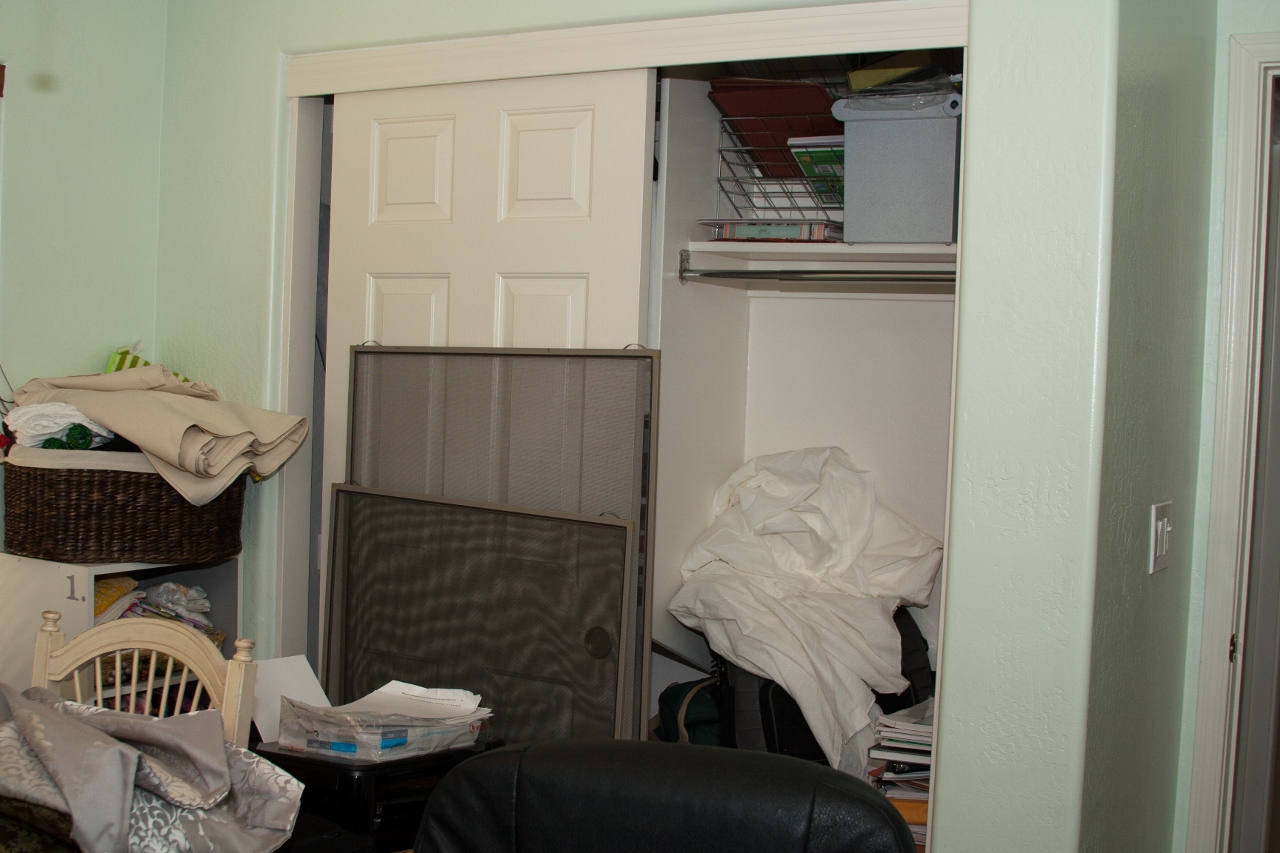
Yup, looks like the closet threw up.  Hence the need for some shelving to organize.  I think this tv stand will serve its purpose just fine in there.  Don’t you think?  AND it’s painted to match that little bookshelf you see in the corner.  It’s like it’s meant to be ;)

Have a great weekend!

Linking up with Miss Mustard Seed’s Furniture Feature Friday (here)!

Furniture Friday – An Easy Fix to Bar Stools That Are Too High

Happy Friday!  I have another little furniture remake that I’ve been working on and FINALLY finished.  Man, it sure does feel good to accomplish tasks.  Am I right?

About a month ago, I took my little family to Target to get a couple of items.  Now, if you’re a Target shopper, you probably know that you never end up leaving with a “couple” of items.  We don’t have a Target in our city and it’s pretty much the saddest thing ever.  The closest one is about 15 miles away, so we don’t frequent it but once or twice a month.  I would visit it at least once a week before we moved to our new house.  No joke.  Anyway, back to my story.  So, the hubby left me with the two older kiddos while he pushed the stroller with our sleeping baby.  I had zero intentions of buying bar stools that day, but somehow they ended up in my cart.  Just picture me loading two giant boxes the size of Texas (almost kidding) into my small cart.  Three people saw me trying to lift these things and fit them into my cart and none of the helped me.  One guy actually said, “Maybe you should have had your kids a little earlier in life and then they could help you.  I can’t help because I have a bad back.  Have fun with that!”  Sounds like a true gentleman.  His wife must be so lucky.  I wanted to page a team member and say, “Clean up in Aisle 4.” because that’s what would’ve been needed after I punched….sorry, too much wrestling with the kids.

Target French Country Bar Stool 3

Back to the bar stools.  I have an island in my kitchen and had plans of placing two bar stools there, but not anytime soon.  I hadn’t been actively looking, but I noticed an end cap at Target with three giant boxes and two of them just happened to be the bar stools you see above.  There wasn’t an actual picture of the product on the box, but more of a stick drawing.  I thought they’d be perfect.  I checked the price tag and it was actually an online item ordered by someone and then never picked up or returned for some unknown reason. Get this, regular price was $109…A PIECE.  I would NEVER pay that much, but they were almost 90% off.  SAY WHAT?!  Yup, I paid $15 a piece.  It was like Christmas.  The clearance gods were watching out for me.  I think I actually heard angels singing.

Target French Country Bar Stool 2

After bringing them home, I had to assemble them.  I then placed them at the counter they’d be at and they were too high.  I couldn’t even fit my leg in there.  I was kind of devastated.  I then started thinking about possibly cutting the legs off.  I wasn’t sure if it could be done or not, so I did some research online and did some measurements to figure out how much I’d need to take off the legs.

Target French Country Bar Stool

The front legs of the bar stool had a little bit of a curve to them, which extended about 4″ up and then the leg is pretty much straight.  The bar stools were 29″, so taking them down to 25″ would be about perfect.  The back legs were slightly curved the entire way up, but I didn’t see that as being a real problem.  I just had to make sure to make clean, straight cuts to ensure no wobbliness.  Challenge accepted :-)  (Any HIMYM fans out there???)

Target French Country Bar Stool 5

I found a tutorial online on how to do this process (here).  It worked like a charm!  I removed the little white pads from the parts of the legs that were cut off, drilled a hole in the “new”, shorter leg and popped those in.

Target French Country Bar Stool 4

They look pretty good from a distance and they don’t wobble – yey!

Target French Country Bar Stool 7

Just don’t look too closely.  This might have been my first time using a jigsaw ;-)

Target French Country Bar Stool 6

See?  EVEN!!!  :-D  AND, did I mention that they don’t wobble???  Woot!

Target French Country Bar Stool 8

I must say, they look pretty good and I’m so glad I don’t have to return them.  It would’ve been a shame, I tell ya ;-)


Furniture Friday – A Mission Coffee Table Redo

I’ve decided to start a little series on here called “Furniture Friday”.  I’m just soooo creative in coming up with names like that.  I mean, I’m sure no one else in the world has ever been as creative as this.  Can you sense sarcasm?  I hope so ;)  I thought about “Makeover Monday”, but I think of people being made over and that’s not what I was going  for.  I’m positive I won’t have a blog post every Friday for this series, but hopefully one a month?  Maybe two?  I guess we’ll see :)

_MG_2102 (1280x853)

Remember a long, long time ago when I showed the before pics (still haven’t done after pics, but you’ll get a glimpse in the pics below) of our large living room?  You see that coffee table there?  Well, I bought that almost a year ago off of Craigslist.  I never LOVED the piece the way it was, but I knew it had good “bones”.  I had a plan in mind for it, but never had time to get around to it until now.  Since seeing this pic, I’m now eyeing the end table and think I might attack it soon.

_MG_2323 (1280x853)

In case you weren’t aware, this is a circular saw.  I’ve never used one in my life.  Typically, whenever I want something made, I tell the hubby what I want and he goes off on his merry way to make it for me.  Now he’s all about me learning how to do it myself.  Is he planning on leaving and he wants to teach me to fish instead of feed me fish?  I’m all for learning new things, but I think he forgets how clumsy I am and I’m really not in the market to lose a finger or forbid a whole hand.  Ever since having children, I’m so easily distracted by their screams and cries.  It’s not their fault and I am pretty much incapable of tuning them out. After much begging and pleading, he was kind enough to measure everything out and cut the boards too.  I DID end up using the saw though.  After I attached the boards to the table, I used this puppy to cut a nice straight line down the ends of the table.  In case you were wondering, I’m still typing with 10 fingers ;)  I still don’t feel super comfortable with using the saw, but I will probably try it again in the future.  Kudos to the hubbs for pushing me!

_MG_2324 (1280x853)

I should have taken a pic of the coffee table before the pine boards were attached, but I basically sanded the entire thing down and then painted the bottom of the coffee table white (I forgot the name of the paint I used…oops).  I did not paint the top of the table because I knew I’d be attaching these boards to it, so why waste time and paint?  I then laid the boards (there were 7 of them) on top of the table.  It took a bit of rearranging to get the boards to lay nicely on the table.  I found the boards in the 70% off wood section of Home Depot and they were a little warped.  You get what you pay for and it took quite a bit to try and straighten these boards, but it was totally worth it…70% off!  Love me a deal :)

After arranging the boards, I visually pictured where I wanted the screws (I used 1 5/8″ drywall screws, which was just enough to go through the boards and top of the coffee table.) and used a level and combination square to get a precise measurement for where the screws would be placed.  I used 4 screws per board (2 on each end).

_MG_2314 (1280x853)

I used an electric drill to make the holes for the screws to go in.  I wanted the screws to sit flush with the board, so I made a divot on top of the screw hole using a counter sink bit.  It worked rather nicely.  (I may or may not have went full boar on the drill and caused it to smoke…oops.  Although, I love the smell of burning wood.  Totally reminded me of shop class in high school.)

_MG_2313 (1280x853)

I started with the middle board and worked my way out to the sides.

_MG_2315 (1280x853)

I used black screws, but you could use any color of your choice.  After all of the screws were in, I proceeded to sand the entire table to give it a super smooth finish.

_MG_2355 (1280x853)

I decided to use Minwax Wood Finish in Classic Gray, found here.  I applied two coats to get this color.  When I bought the stain, I really wasn’t sure that it’d come out gray, but it did and I LOVE it!  I let the stain set for a couple of days and then put a clear wax (here) on it to protect the wood from grungy little fingers :)

_MG_2357 (1280x853) _MG_2363 (1280x853) _MG_2366 (1280x853) _MG_2358 (1280x853) _MG_2359 (1280x853) _MG_2370 (1280x853)   _MG_2356 (1280x853)

I LOVE how it turned out!  Looks so much lighter, brighter and better than the before…don’t you think?