Ahhh Friday, we meet again. Can you believe this is the last Friday of September this year? ROctober is right around the corner. I call it that because it’s the cat’s birthday (yes, we celebrate), the hubby’s and my wedding anniversary, his birthday and my birthday, all wrapped up into one little month. Craaaaazy. Anyway, onto more reno of the master bathroom, shall we?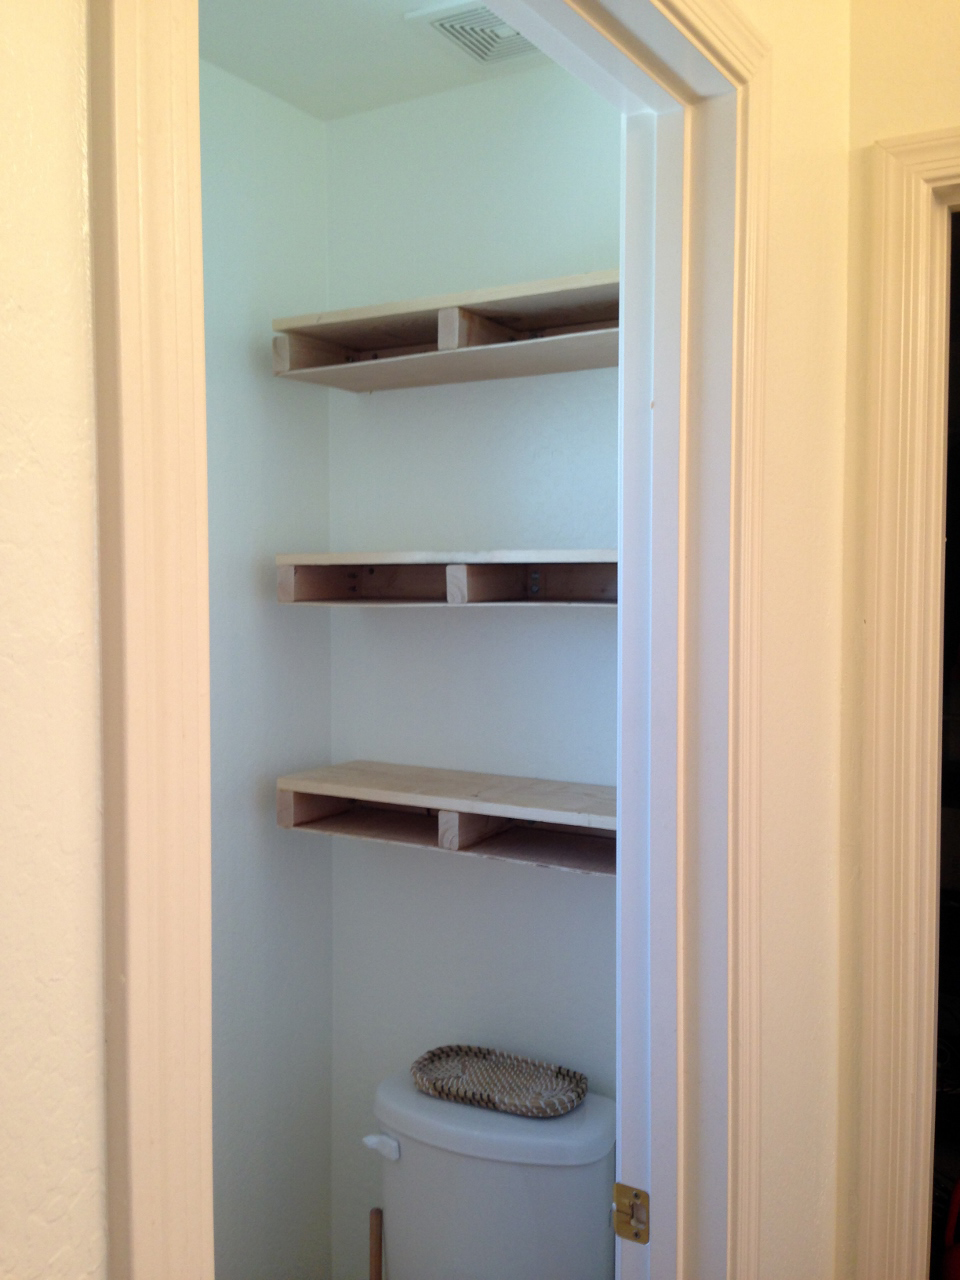
Now, I don’t have a true “before” pic of the toilet room. Is that what you call it? I think it’s called a water cooler. No wait. I think that’s where people stand around to talk at work. Well, maybe that’s right then because I tend to have a crowd of three little people around me while I’m at “work” conducting my “business” sometimes. I don’t remember. Maybe it was water closet? Let’s just called it a toilet room. Anywho, just imagine this little toilet room without the shelves being built and that is the “before”.

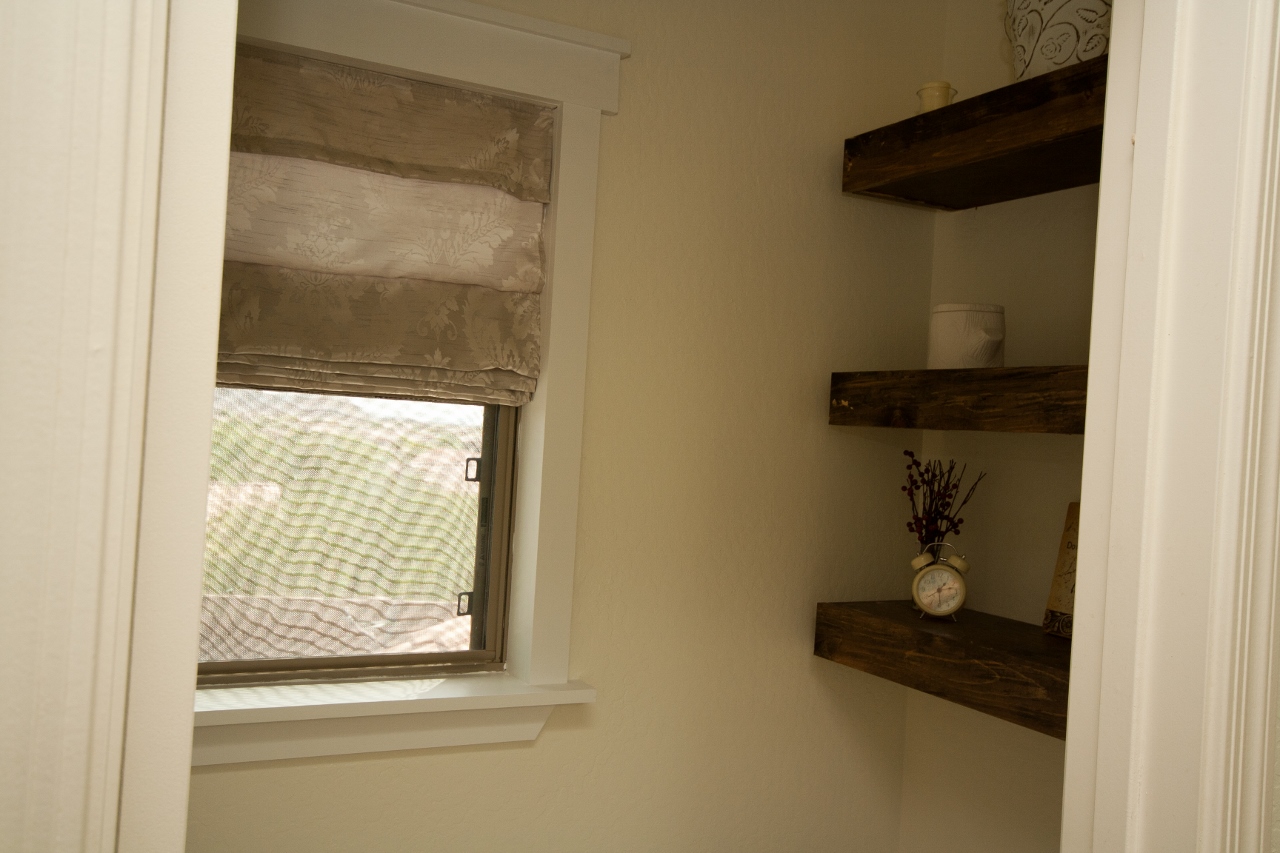
I found some plans for floating shelves on Pinterest (found here) and asked the hubby if he could build them for me us. After an eye roll and a deep sigh, he obliged. Love ya babe!
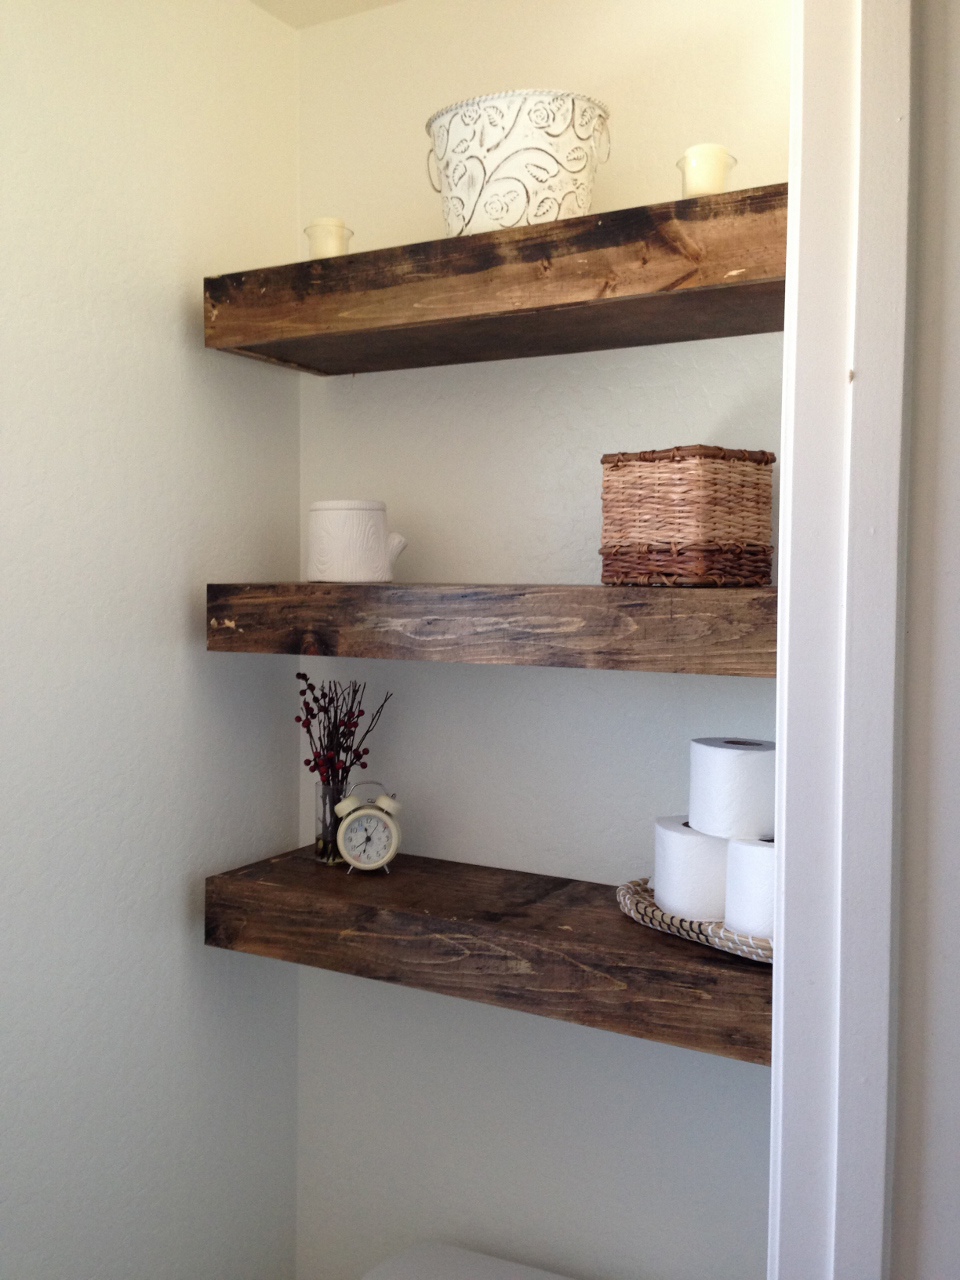
After they were built, I sanded them a bit and stained them. You can use whatever color stain you’d like. There are lots to choose from, but I went with Minwax Dark Walnut 2716 (found here). If you’ve never stained anything before, it can be pretty intimidating at first. There are several ways to apply the stain, but I choose to use an old washcloth to apply the stain. It will get on your hands. It will stink. It will stain (obviously). It’s somewhat of a mess. I’ve tried gloves. The stink was still there. Meh, what can ya do. It’s totally worth it and really not that bad after you’ve done it a time or two. Besides, it doesn’t last forever on your hands, just a couple of days. Also, a little stain goes a long way.

After staining, I applied some Minwax Past Finishing Wax (found here). Apply this all over the shelves and then buff out with a rag after 15 minutes. I let them set for a couple of days to let them air out (they do smell pretty powerful from the stain) before putting up decor.
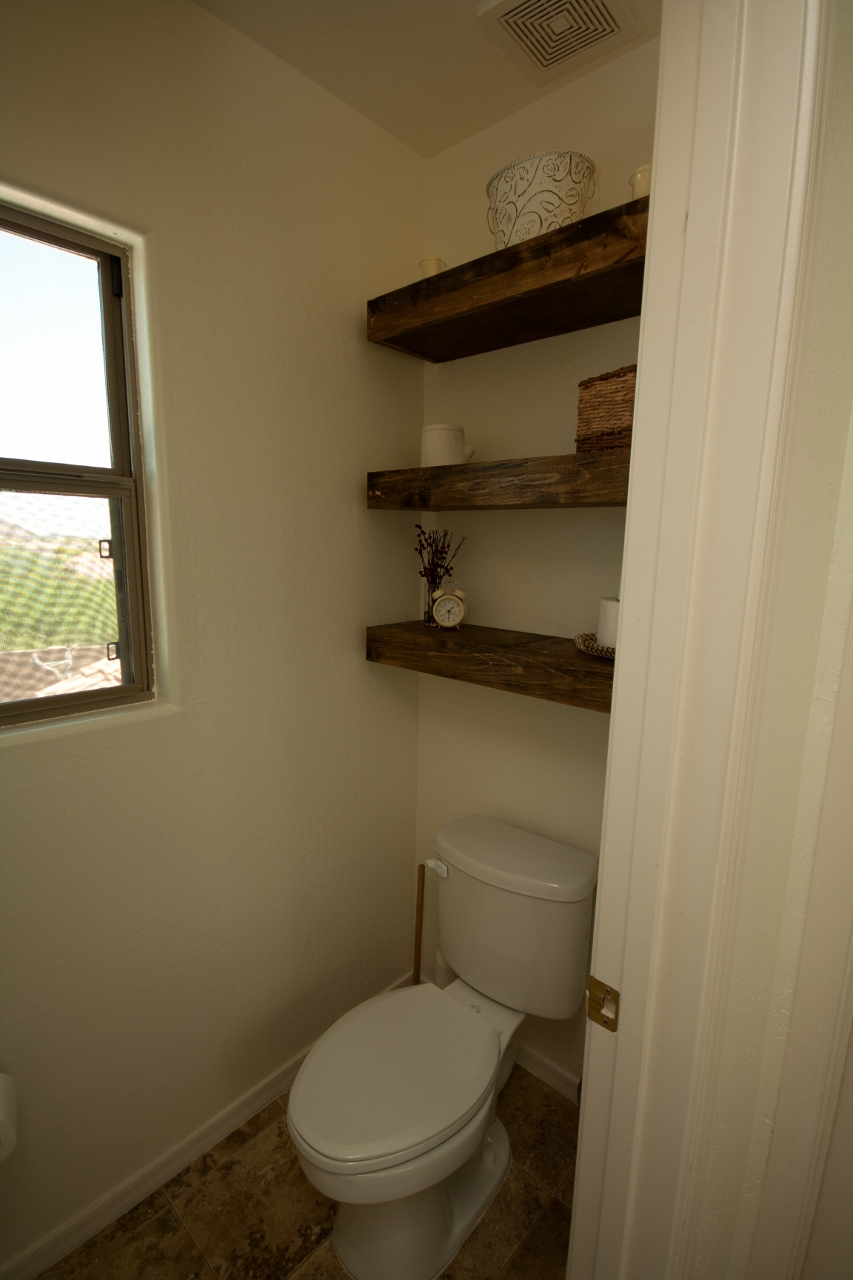

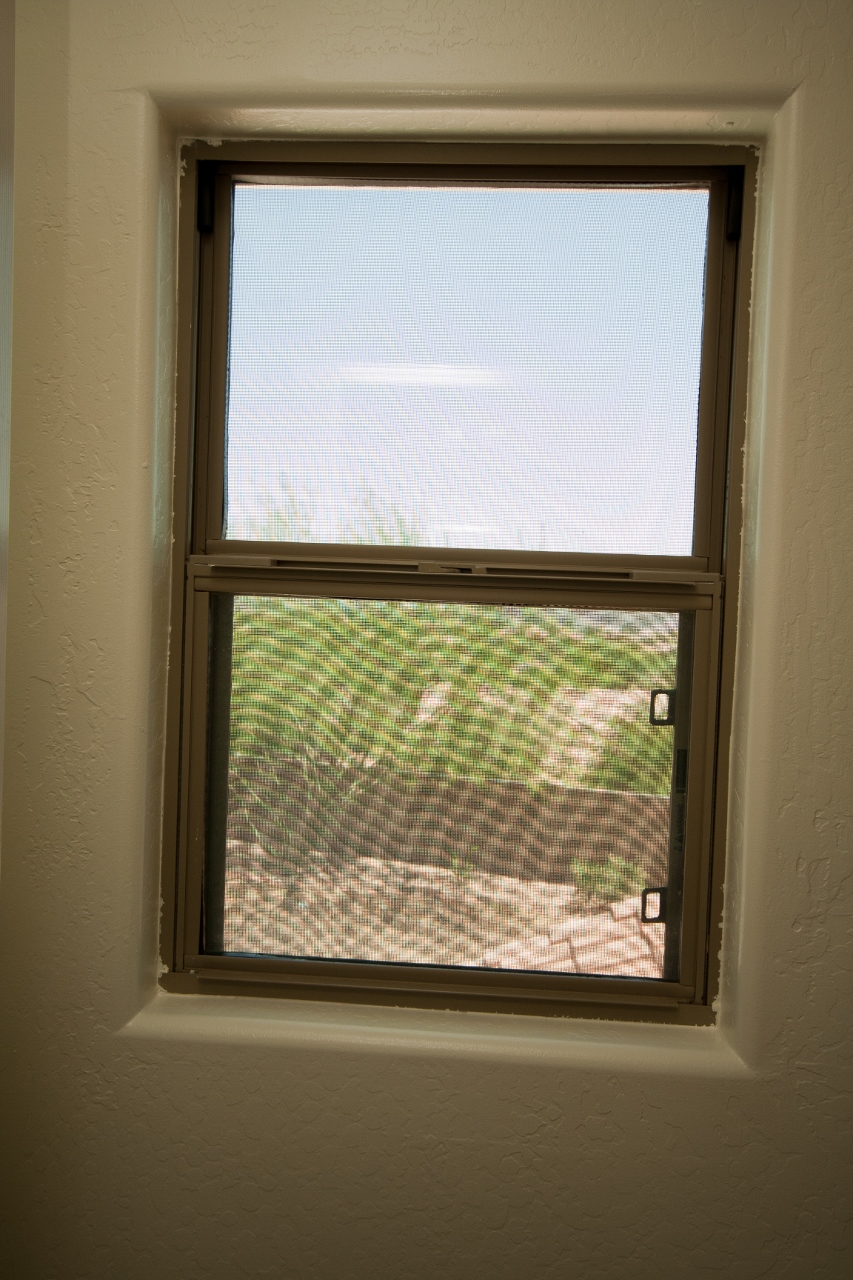
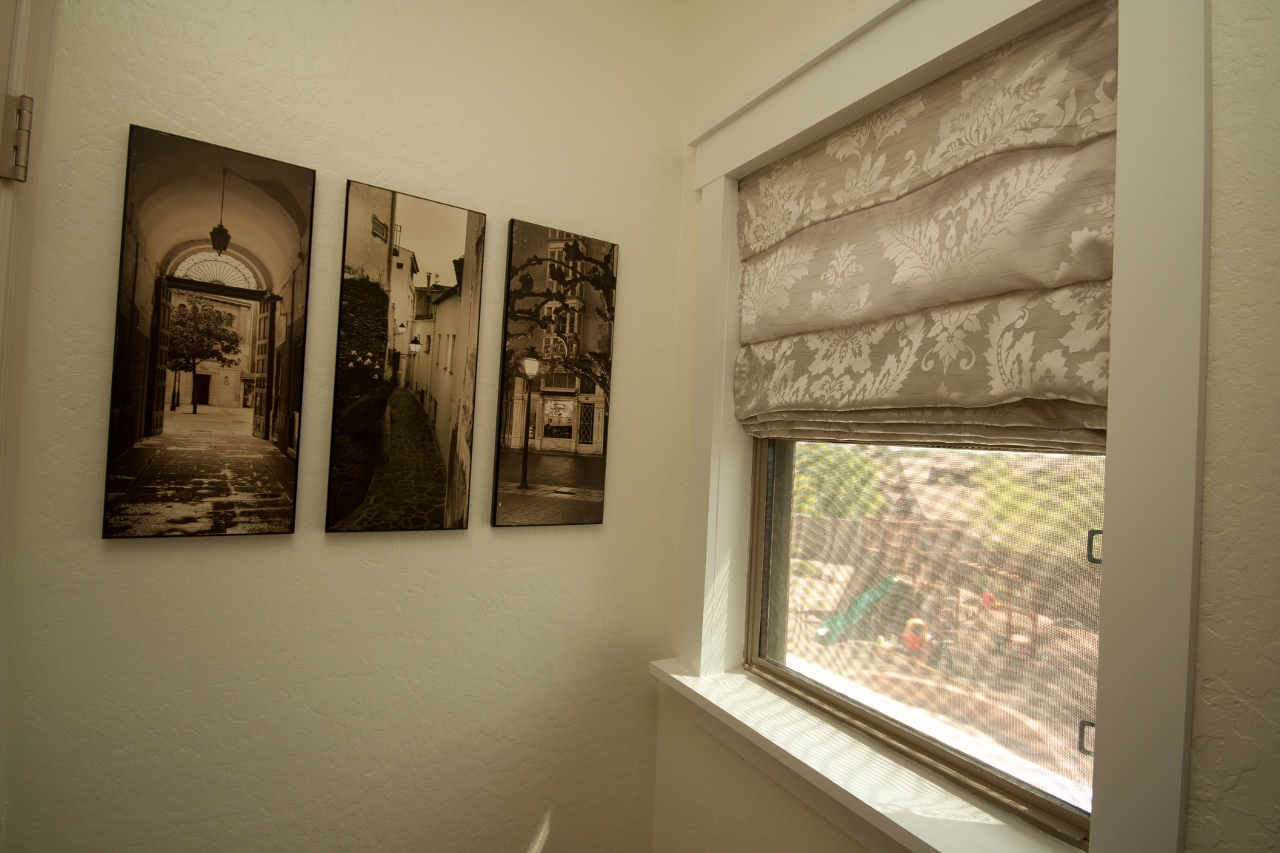
Just look at this poor, pathetic looking window. What are we to do about such an eye-sore? Oh wait, “Honey, do you know how to frame a window? I’ve got a picture of how I want it to look. Do you think you can make it happen? I don’t have any real plans, but I think we can make something work.” (Insert me tilting head, smiling prettily and batting eyes.)
Poof! Just like that, it was framed. I knew all of those saws I bought him over the years would be put to good use. He rocks. I love him lots.
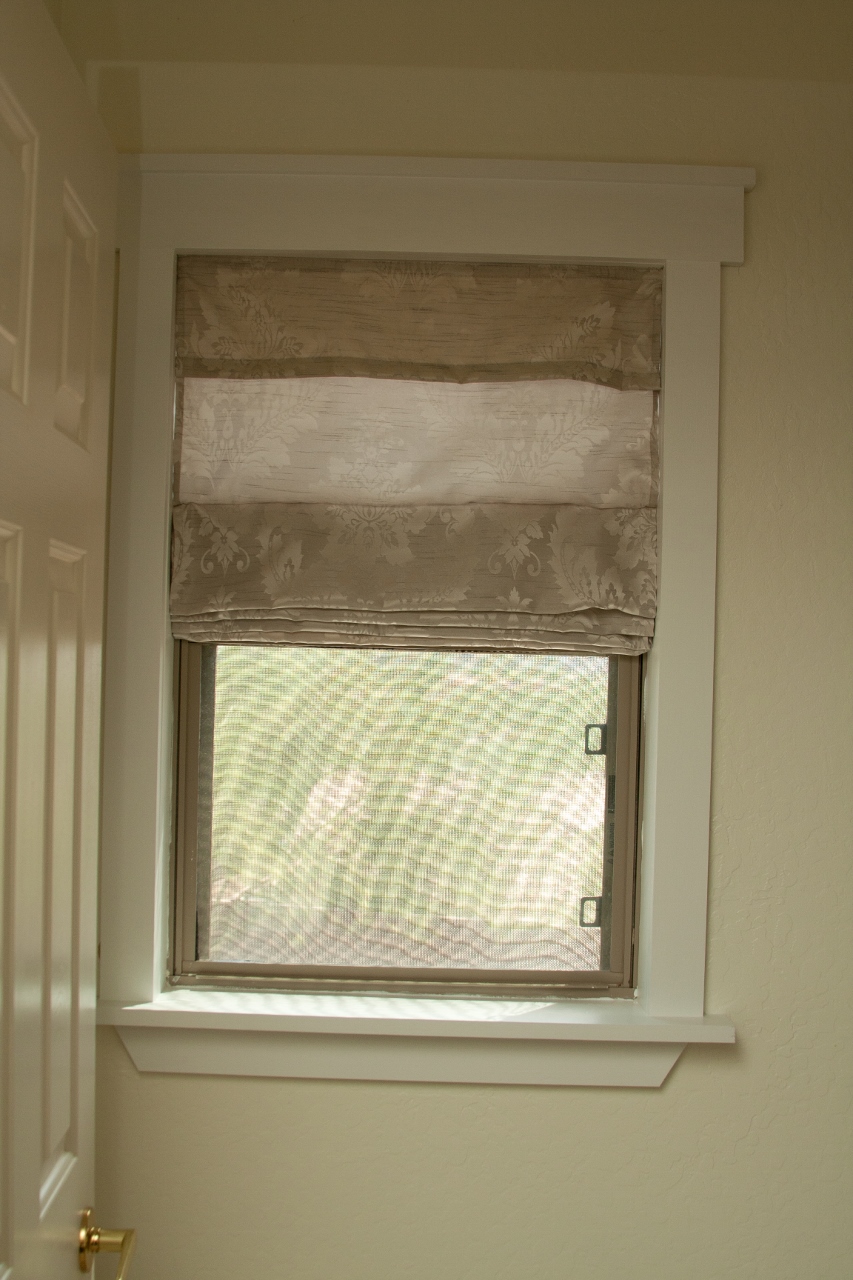
A million times better. Am I right? It really helps complete this little room and looks sooooo good. And now I want all of my windows to look like this. Lol. I think I’d better get used to using that saw in the garage ;-) . I just really don’t want to lose a digit or worse yet, a limb. Yikes.
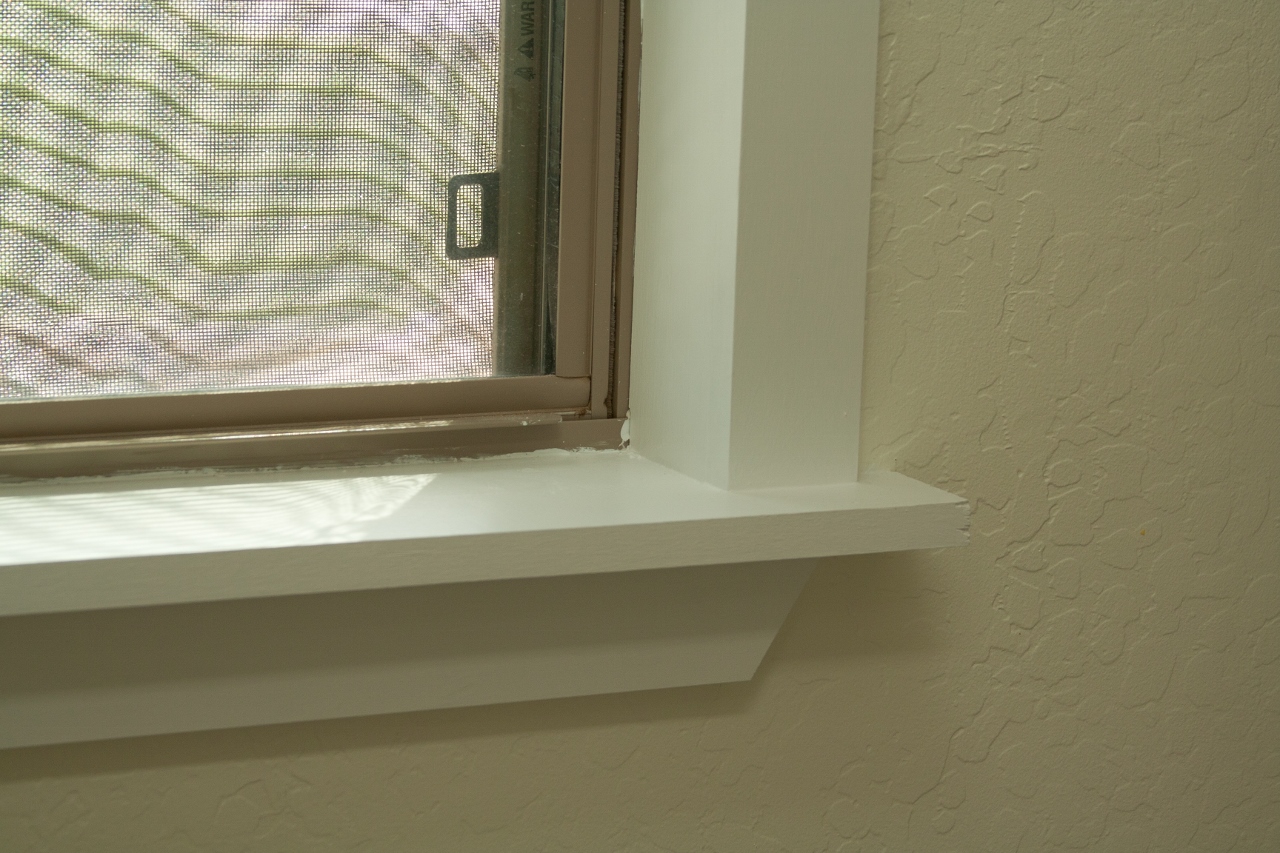
After the frame was built, I put a coat of primer and two coats of paint on to complete the look. I just used a can of “white” paint from HD off the shelf, no tinting.
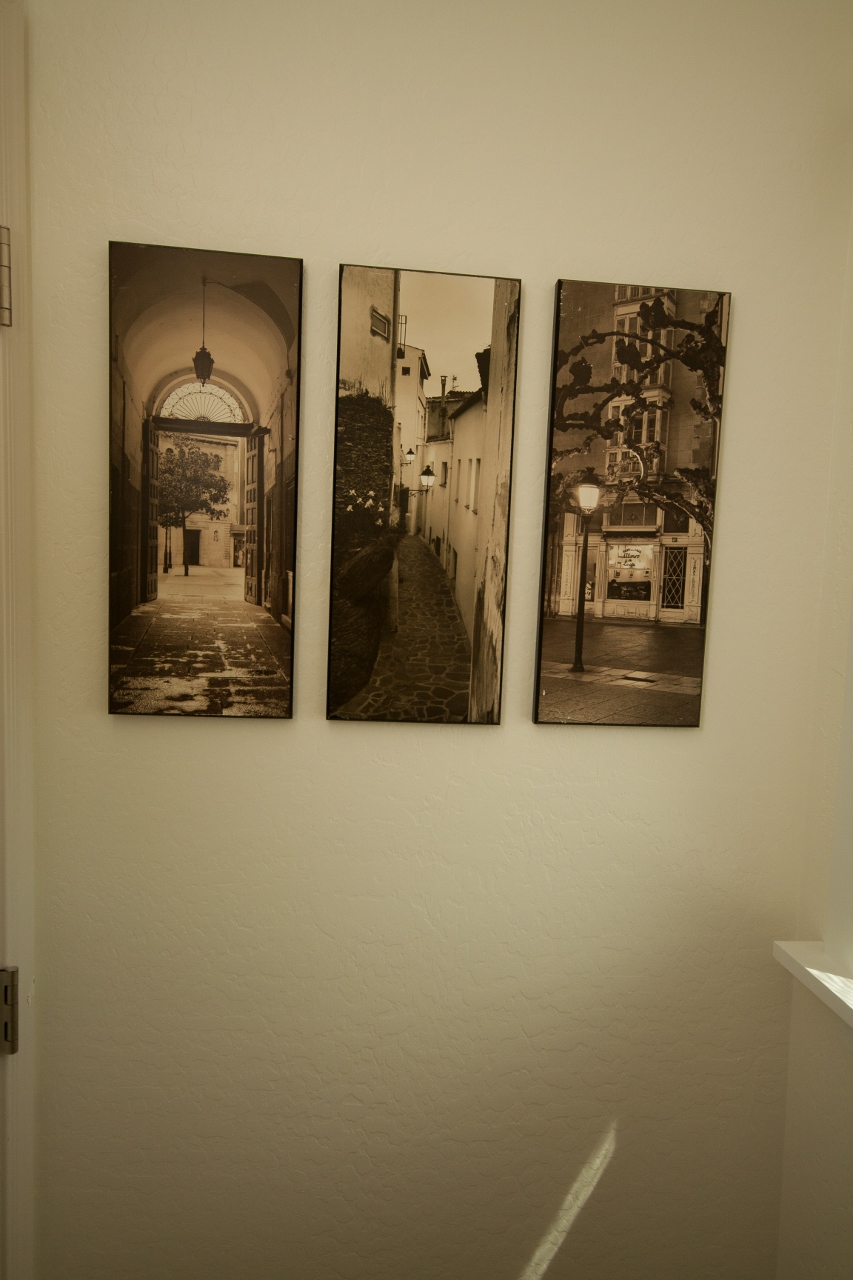
I decided to put up some artwork I had already had because it was a tad boring to look at a blank wall while sitting on the throne of our castle.
I really love how it all turned out and I’m happy to say that this little water closet is complete. A small room, yet a good sense of accomplishment. AND, it was relatively cheap for such a big impact (under $60). I hope you feel inspired and have a great weekend!
One Reply to “More Updates to the Master Bathroom”