Happy Friday! Since moving into our house just over 2 years ago, I had already decided that at some point (when I had time) all of the cabinets in the house would be painted. I am just not a fan of the builder grade oak throughout the house. I know lots of people like it (which is fine), but I’m not one of them. (I apologize for the quality of some of the before pics. The sun was shining in and it wasn’t an optimal time to be taking photos. But the kids were actually playing quietly together, so I dove at the chance to do some work.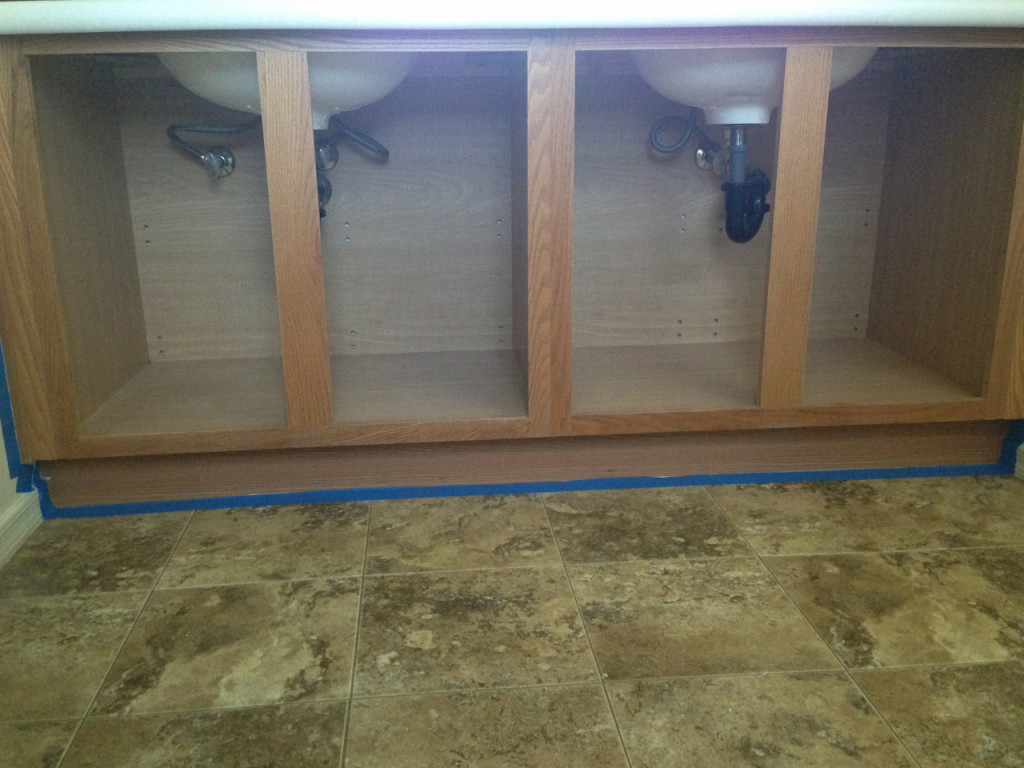
Anywho, a couple months back, I decided to give it a go in the Master Bathroom. I should’ve probably taken a picture of the vanity with the cabinets, but whatever. I started by removing the doors and then taking everything out from the cabinets. I DO NOT waste time on painting the inside of the cabinets. Not for a bathroom. Kitchen? Probably. Maybe. Depends. After that, I used a de-greaser to clean the wood and then sanded it, just to roughen it up a bit. Then wash everything down really well to get rid of the dust. Then proceed to tape everything off, so you don’t get paint on the walls or floor. (Although, I hate the flooring in this room, so maybe I shouldn’t have taped???)
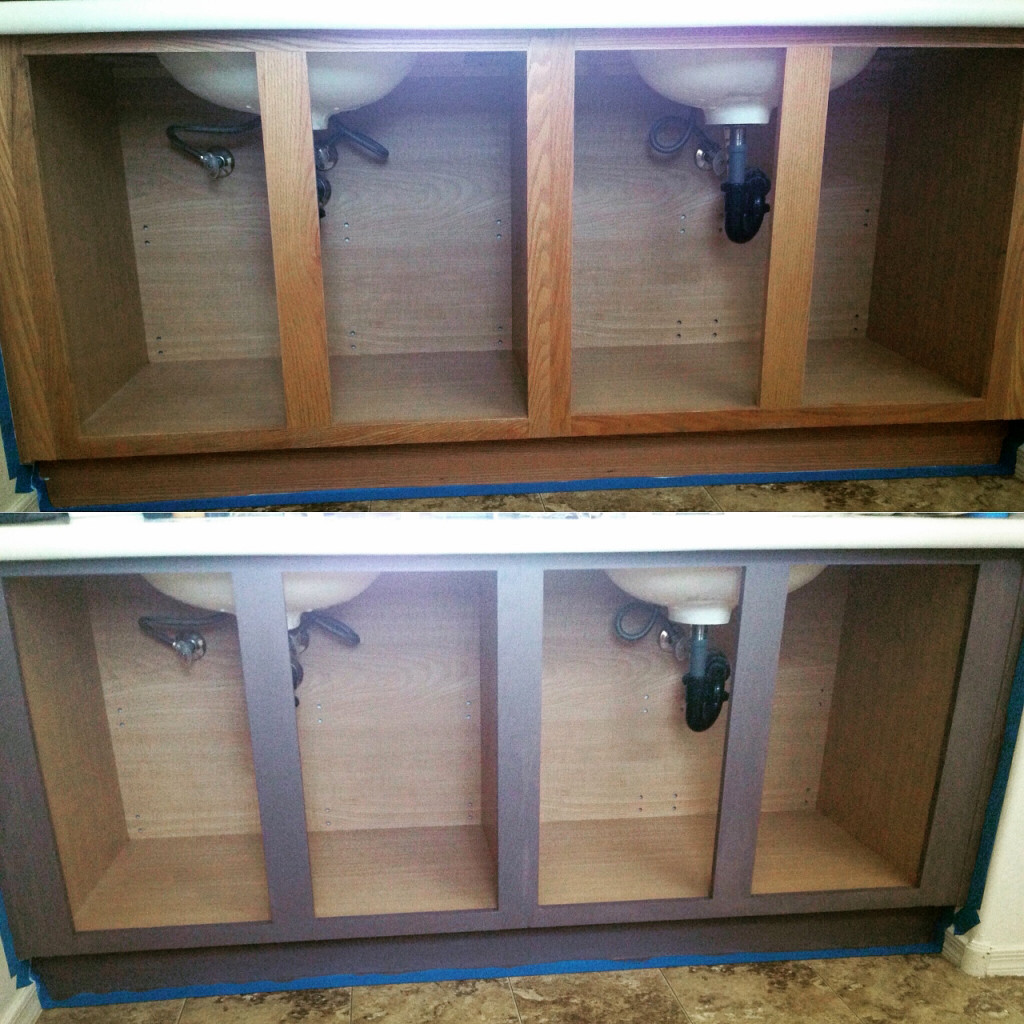
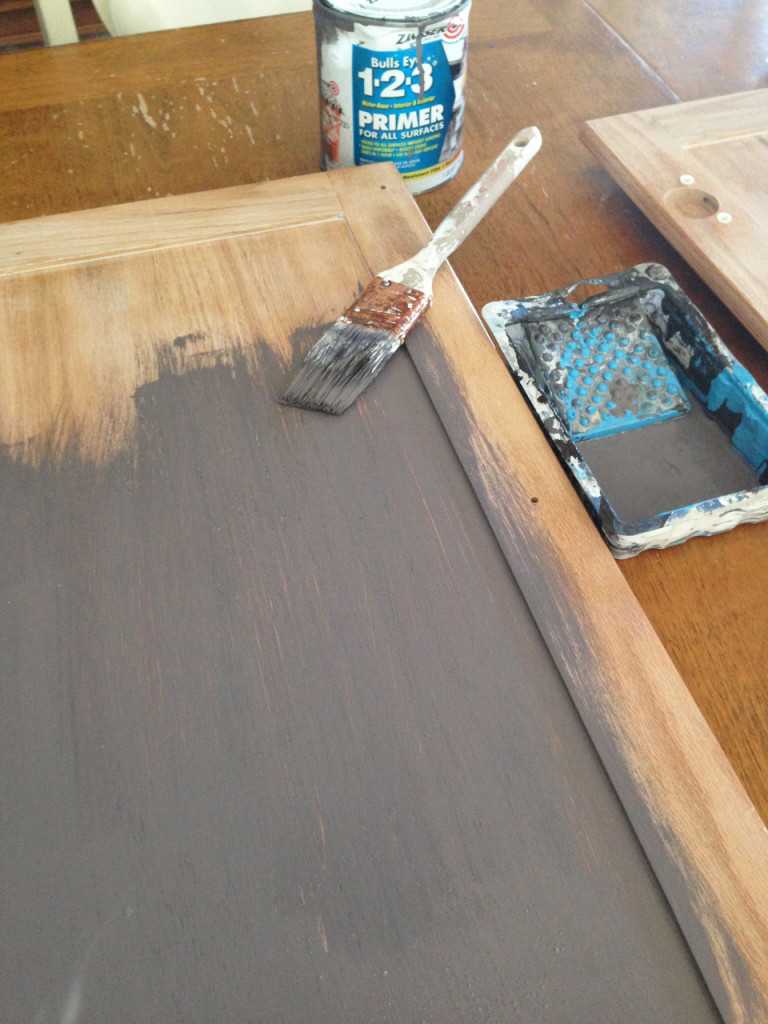
I was going to use a darker color paint (not even sure of the color because it was oops paint from HD), so I opted for tinted primer. Here is how it looks with one coat of primer. I used water-based because it is what I had on hand.
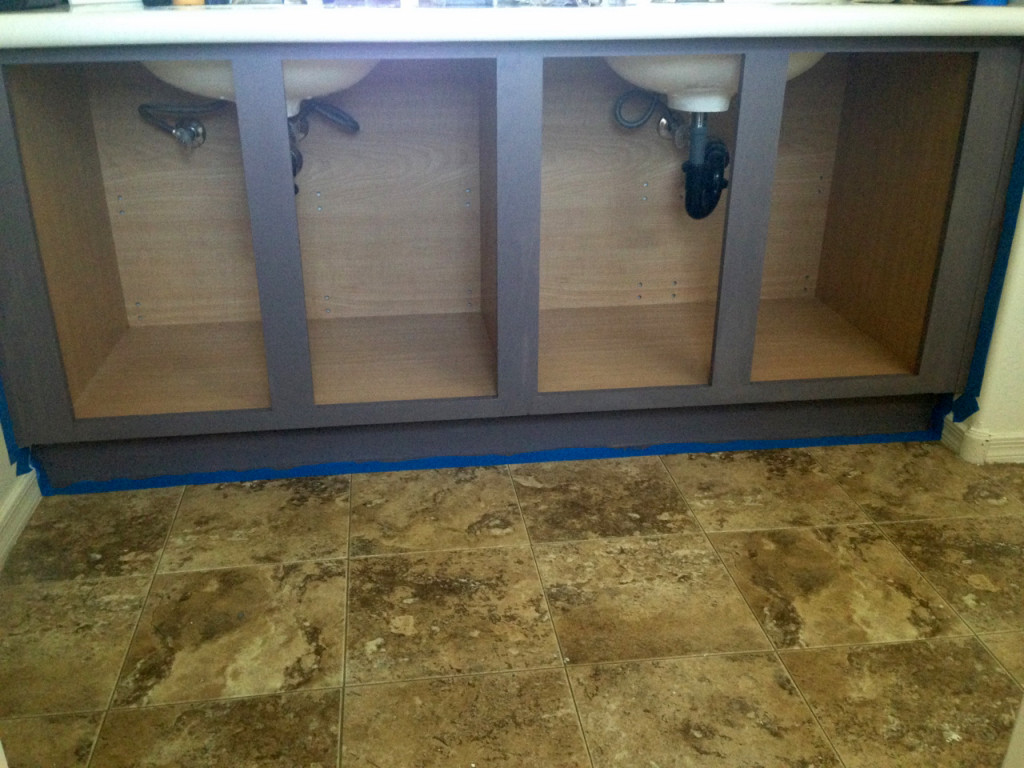
Here’s how it looks as the first coat of paint was going on. I ended up putting two coats on and it covered nicely.
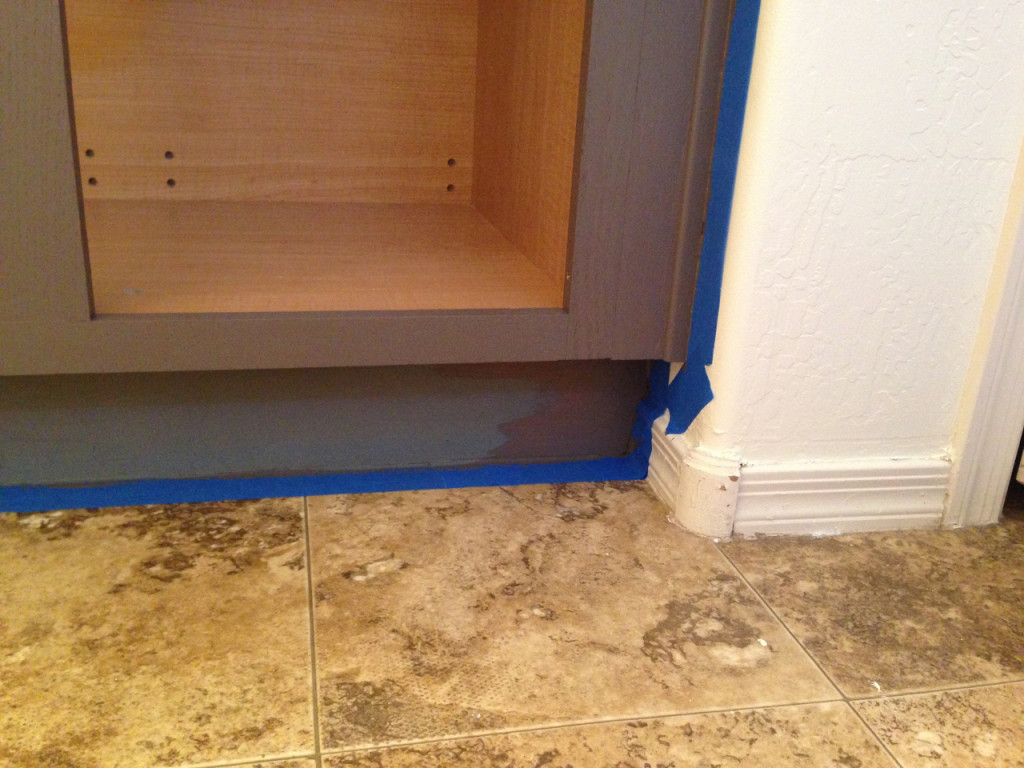
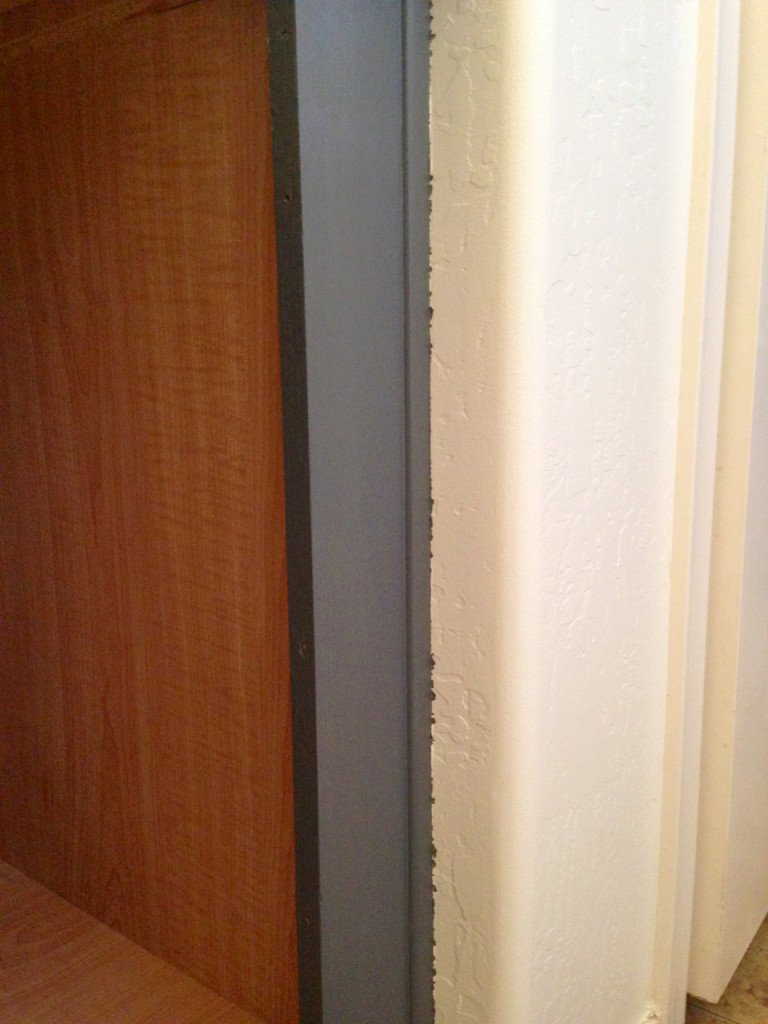
Now, once you pull the tape off, there is bound to be some “bleed”. Annoying, but true.
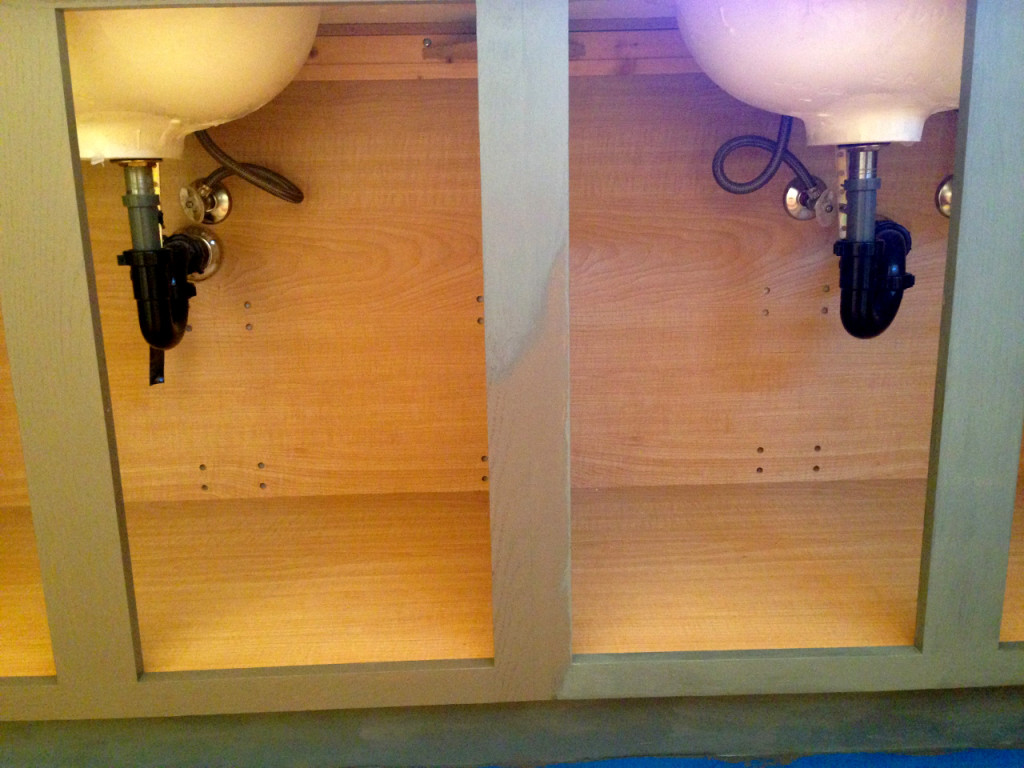
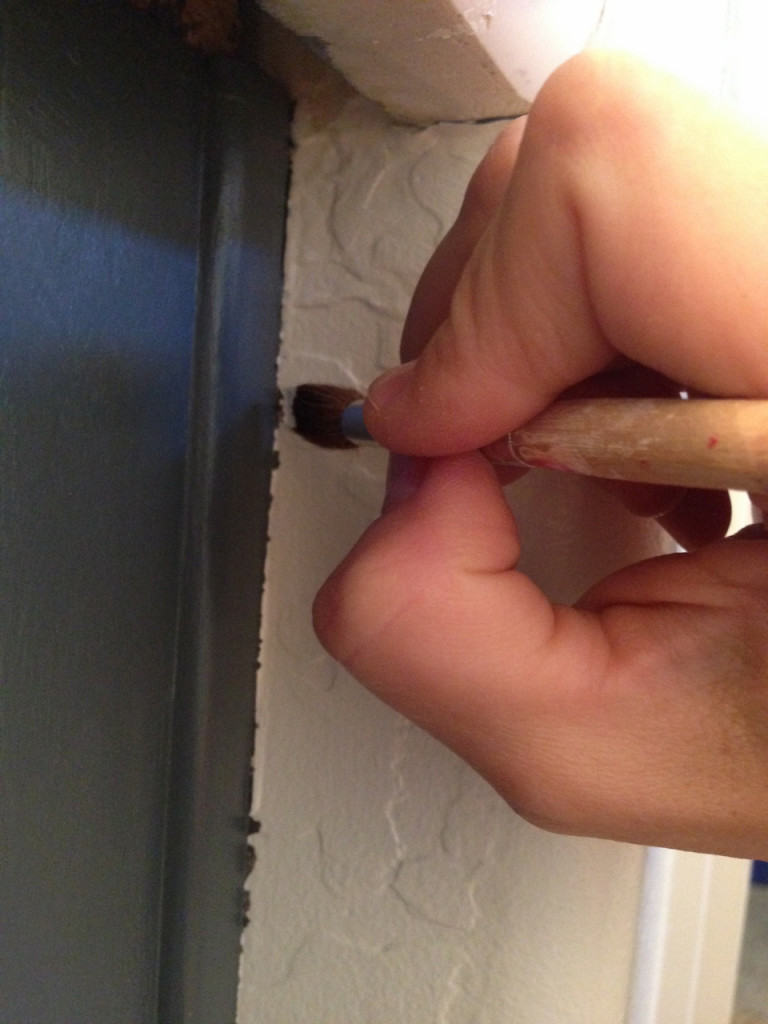
I just grabbed a little art brush from the kids’ painting supplies and proceeded to do some touch-ups.
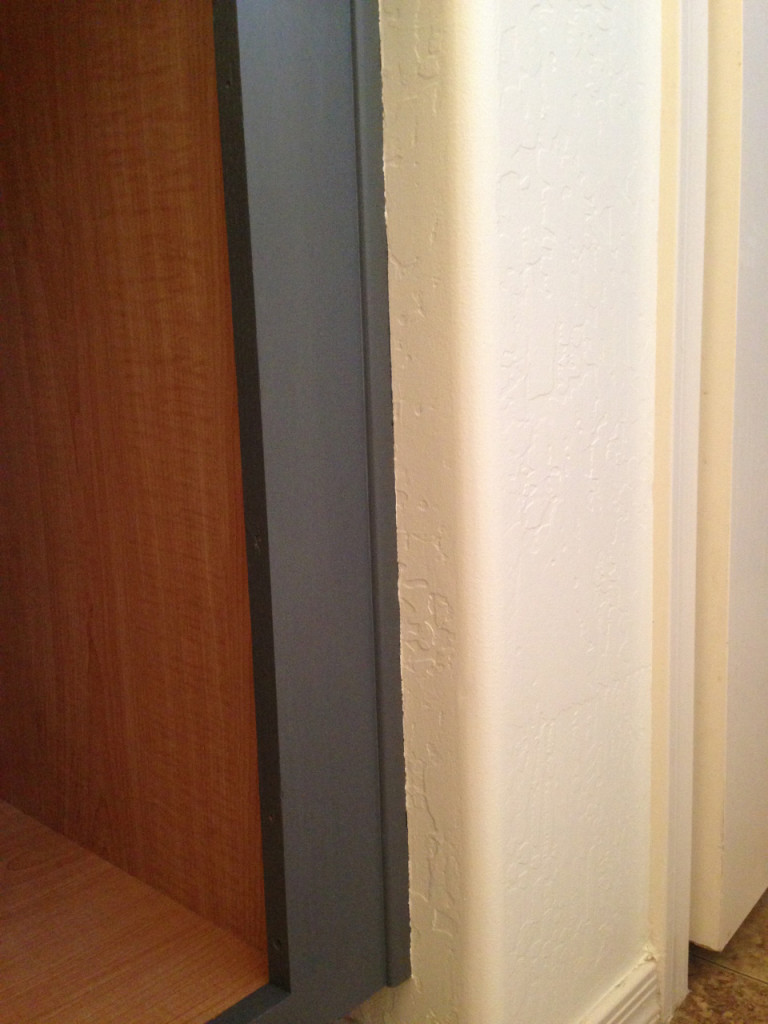
Ta-da! Not too bad. You could also take off that little strip of wood and paint it separately, but I’m too lazy I didn’t want to risk breaking the board and such.
Now you’ve got to paint the doors. Fun stuff, I tell ya. I know people might be all, “Just buy new cabinets and screw this crap!” by this point, but A) I don’t have the money and B) I really take pride in doing all of this. I LOVE a good before and after transformation knowing that I did it with my own two hands.
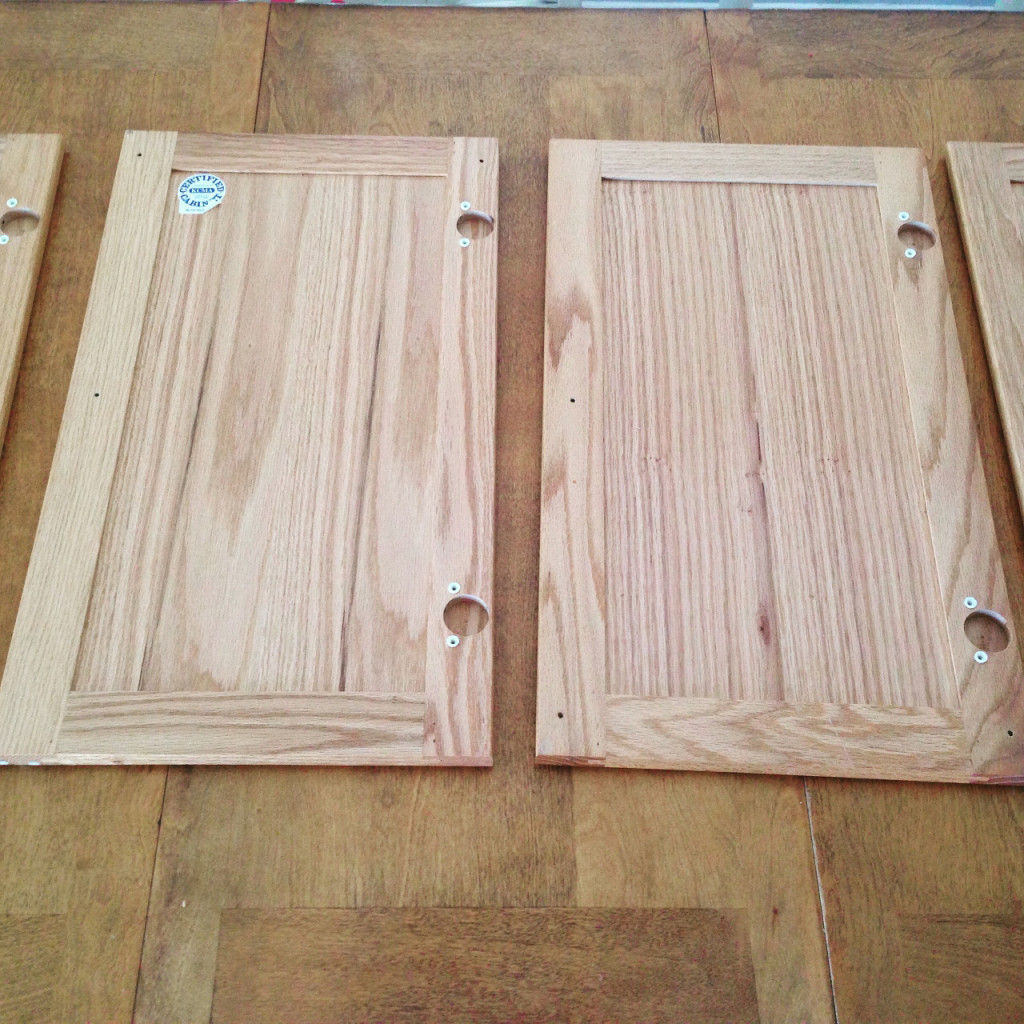
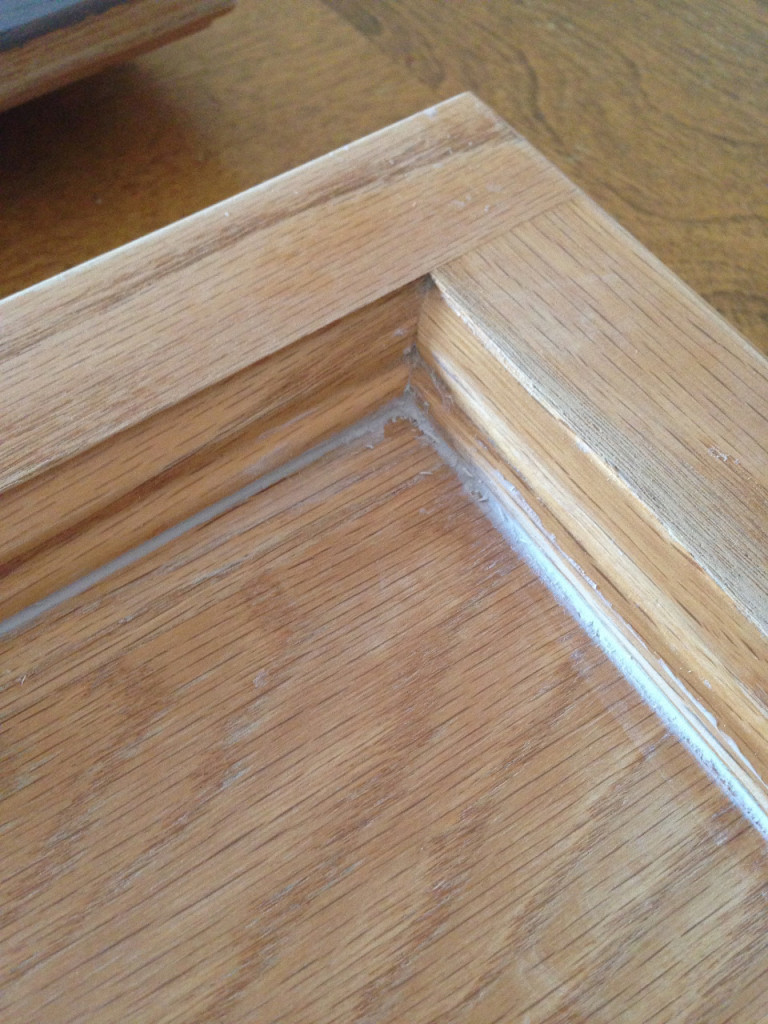
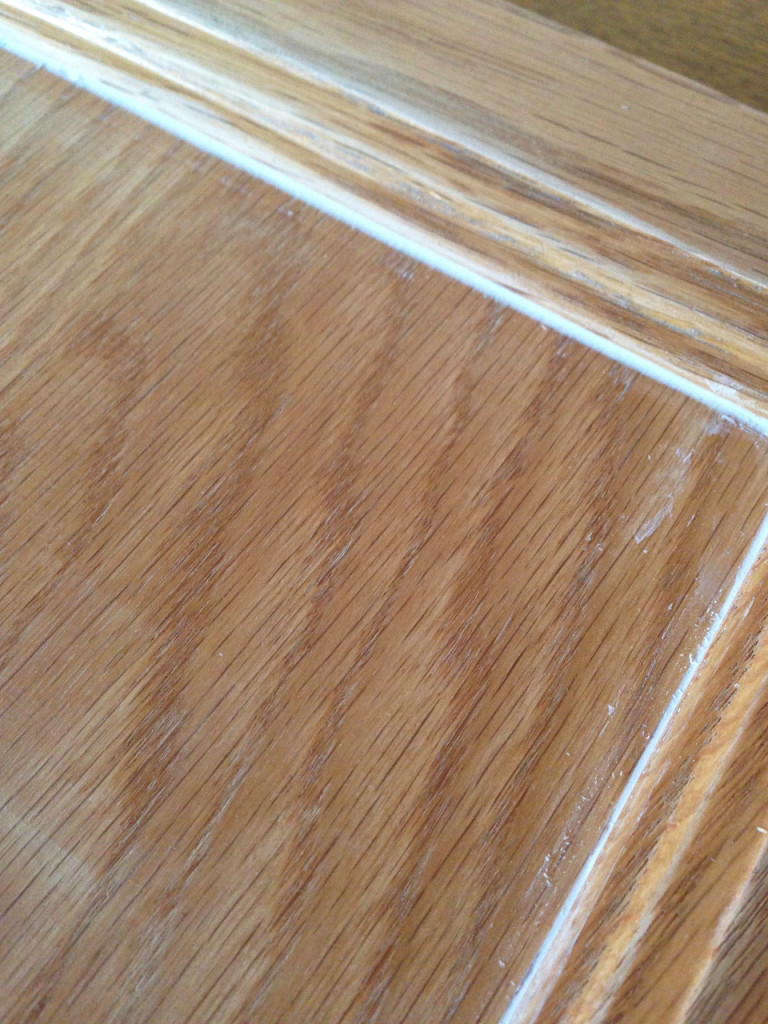
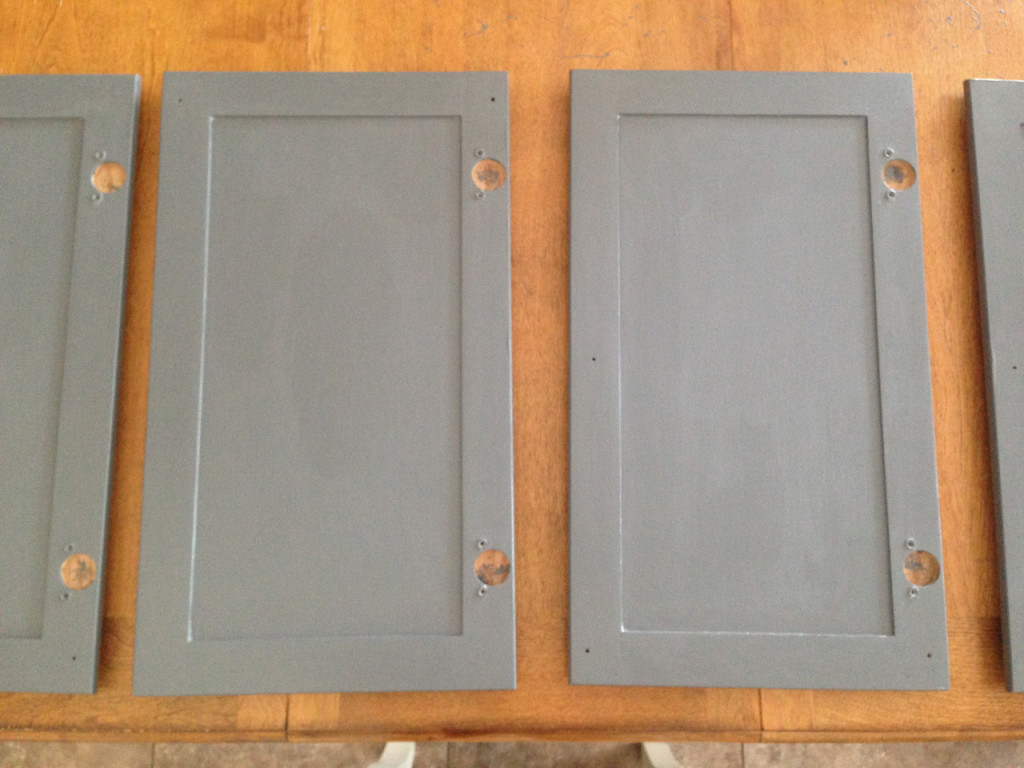
After you’ve removed all of the hardware and hinges from the doors, you will need to caulk around the inside trim of the door. If you skip this step, the paint will not cover very well and there will be “holes” where paint didn’t cover and such.
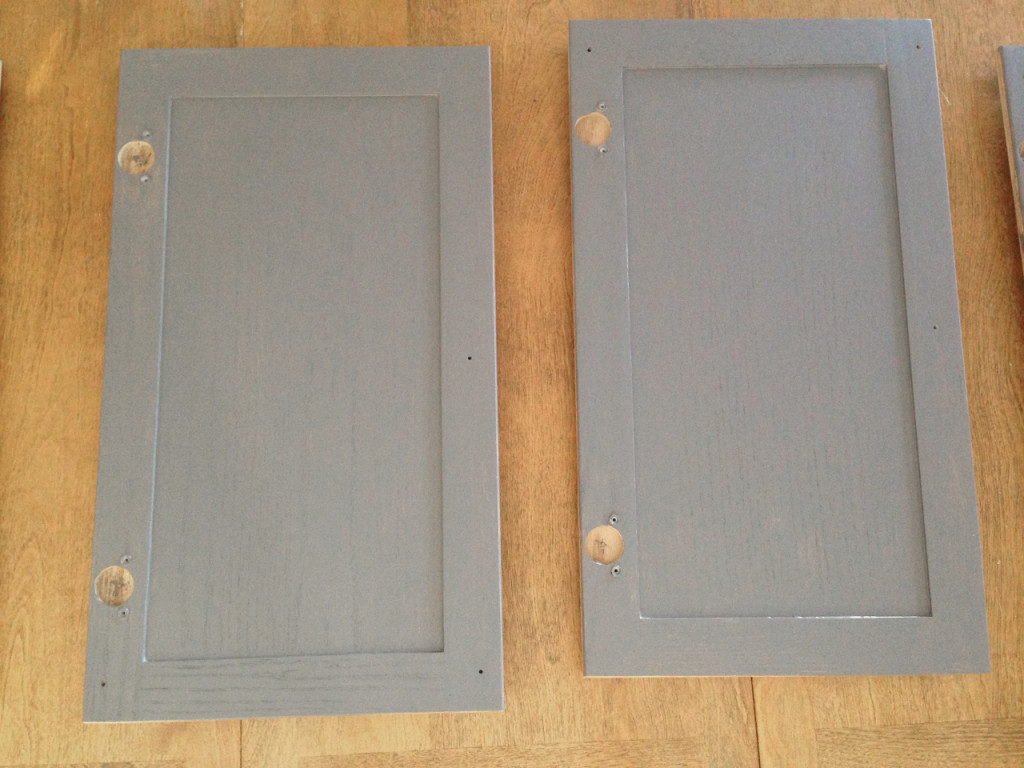
Here they are after a coat of primer.
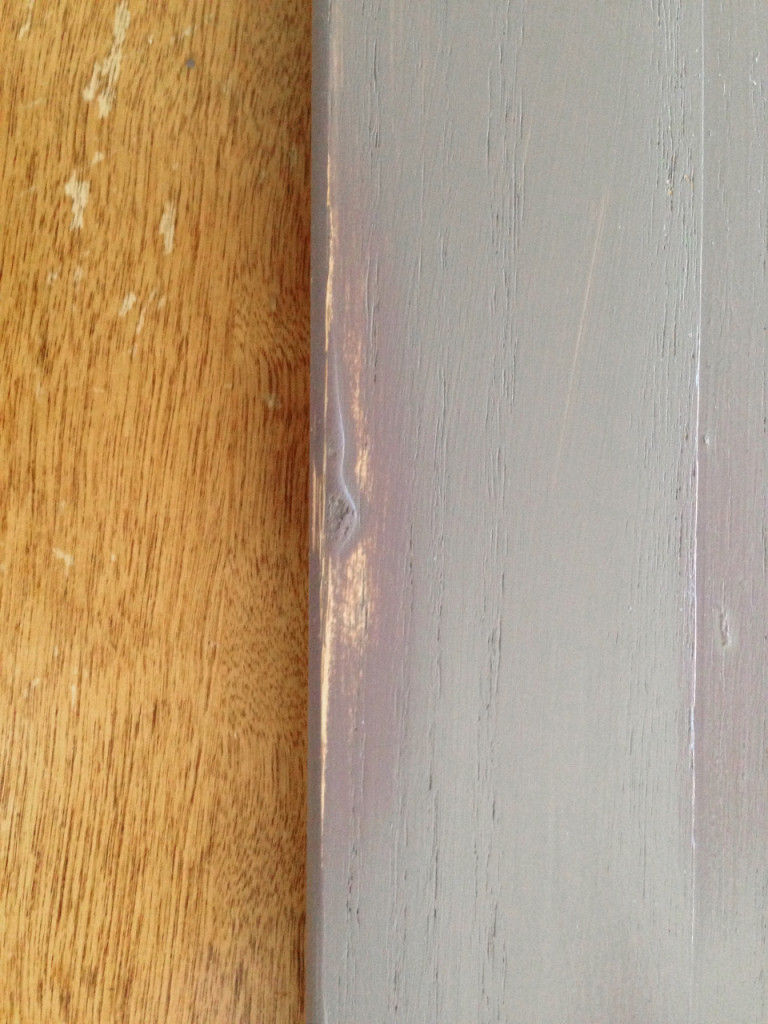
Now, if you were doing this at midnight because that is when your third born night terror went to bed, you might have some drips from the primer if you didn’t happen to catch them before they dried. Just sand those down and then put a light coat of primer over top and let dry.
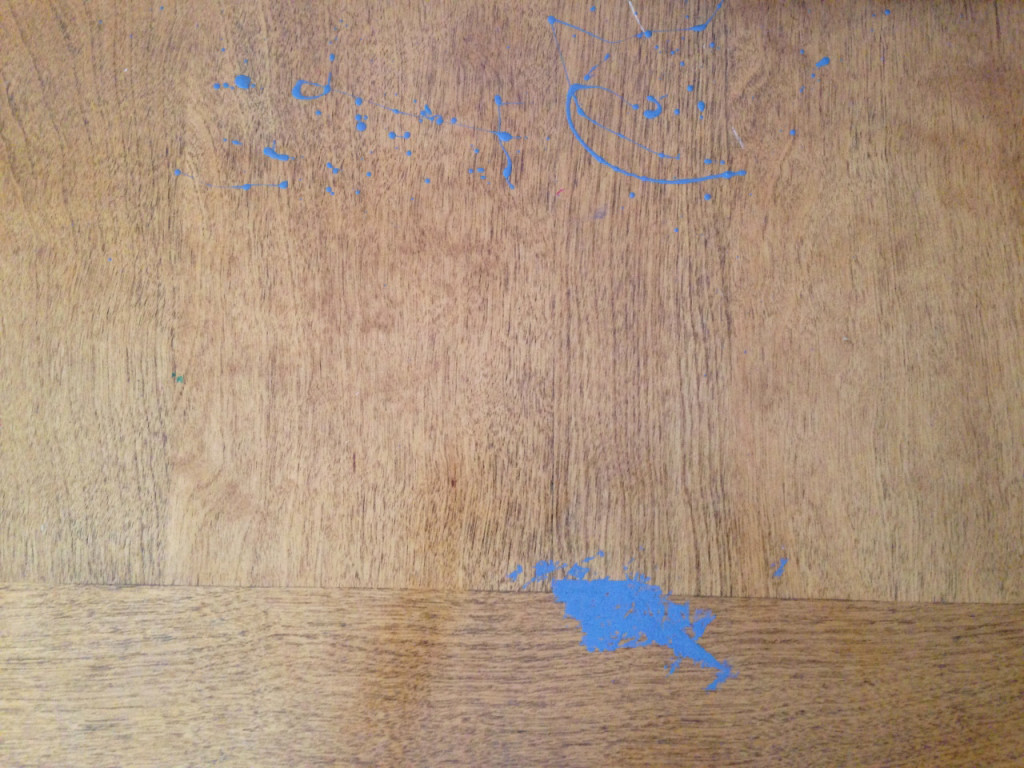
This is how your kitchen table will look if you don’t put newspaper down. Ha…ha…ha. I actually have plans to sand down the table and stain it a different color. Just shake your head like my hubbby does and move on.
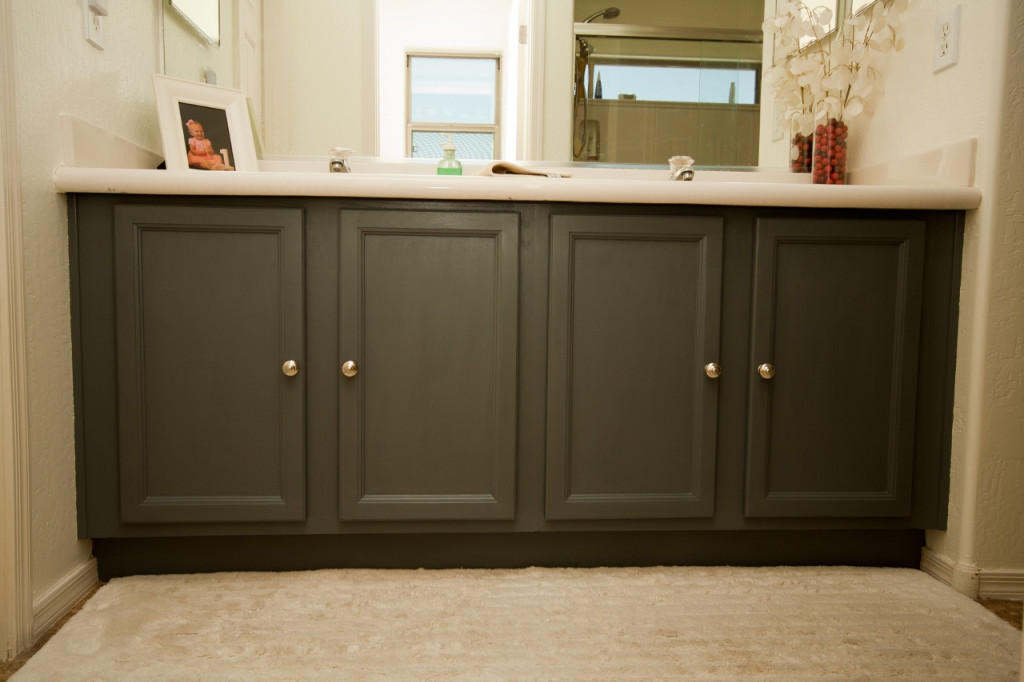
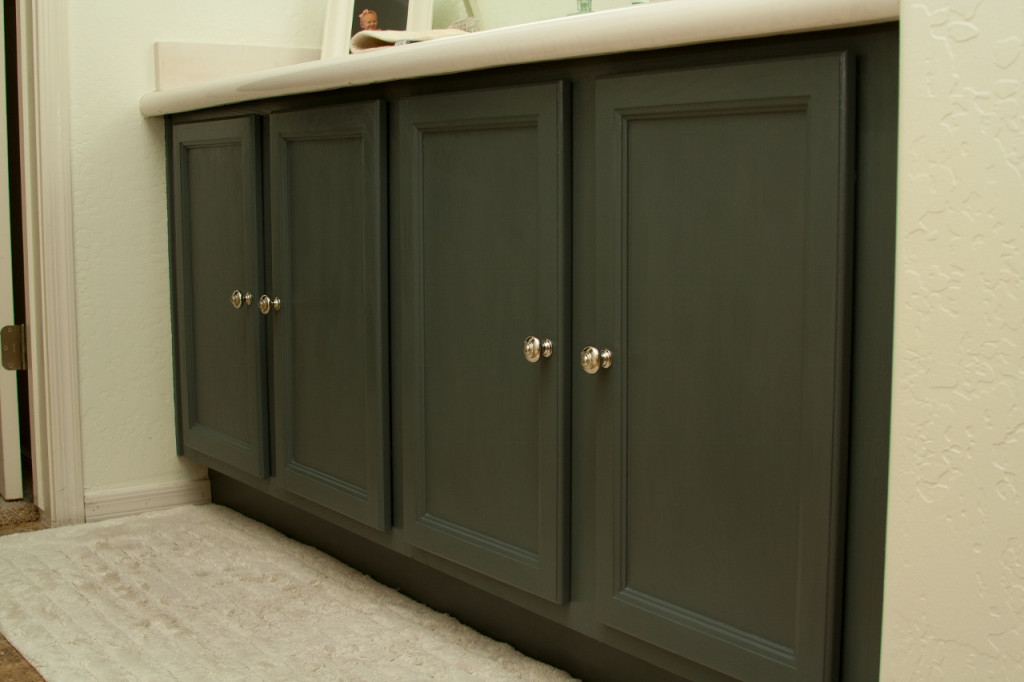
Voila! Ain’t she perdy? I think so.
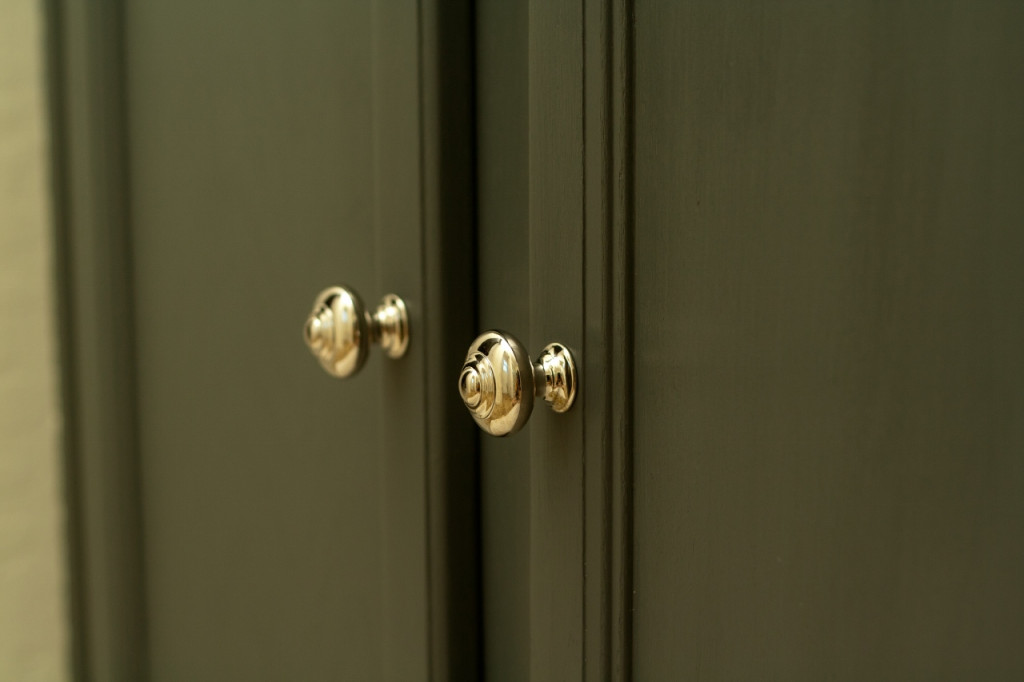
I did splurge a bit on knobs and I really like how they shine. Worth every penny.
I am typically a white cabinet kind of person, but since I painted the entire bathroom white, I decided to add some color to the cabinets. I’m glad I did. I really love it. Now to save my pennies so we can replace the flooring! Have a great weekend!

That looks really nice! What a transformation.
Thanks! I really like it too :)