Fall Wreath – A Pinterest Fail (My Fault)

Fall-Burlap-Wreath-DIY-Chevron-Orange-Pumpkin

Once upon a time (last week), some friends and I decided to get together and try to make the wreath you see above (click pic for source).  This blogger said that he took her 20 minutes to make it.  I’ve never made a wreath before, but I figured it shouldn’t be that hard.

_MG_3793 (1280x853)

WOW!  Doesn’t it look amazing?!  I mean, it looks exactly like the example above.  Am I right? No really, look closer.  Give it time, you’ll see it eventually.  Lolz.  It’s just so sad and pathetic-looking.  I ended up spending 4 hours (really only like 2 actual hours of being productive) working on it and I came home with this.  I would not give up though.  To be fair, I didn’t have the right kind of burlap.  After getting the correct supplies, I worked on it over the weekend (about an hour total) and produced a finish product.

_MG_3795 (1280x853)

Much better.  I’m kind of digging it.  A little proud of myself.  It’s not the same as the Pinterest one, but much of the burlap she had was unavailable, so I just kind of made stuff up as I went.  Good ol’ trial and error.  Also, watching a two minute YouTube video did wonders for me.

_MG_3794 (853x1280) _MG_3796 (1280x853) _MG_3797 (1280x853) _MG_3798 (1280x853) _MG_3799 (853x1280)

Don’t be surprised if the next time you see my front door it’s a different color and has a new handle.  I’m in all out remodel mode and nobody can stop me now.

_MG_3800 (853x1280)

I’ve been ready for Autumn for over a month now.  I could “feel” it in the air.  I don’t do a lot of decorating for Autumn, so it will be this and some random pumpkins around the house. I did spy some cinnamon scented pine cones at the the grocery store that were subtly calling my name.  They’re on my list to pick up this week.  They smell so amazing and I just can’t resist!

Master Bathroom – Updating the Vanity

Happy Friday!  Since moving into our house just over 2 years ago, I had already decided that at some point (when I had time) all of the cabinets in the house would be painted.  I am just not a fan of the builder grade oak throughout the house.  I know lots of people like it (which is fine), but I’m not one of them.  (I apologize for the quality of some of the before pics.  The sun was shining in and it wasn’t an optimal time to be taking photos.   But the kids were actually playing quietly together, so I dove at the chance to do some work.IMG_2689 (1280x960)

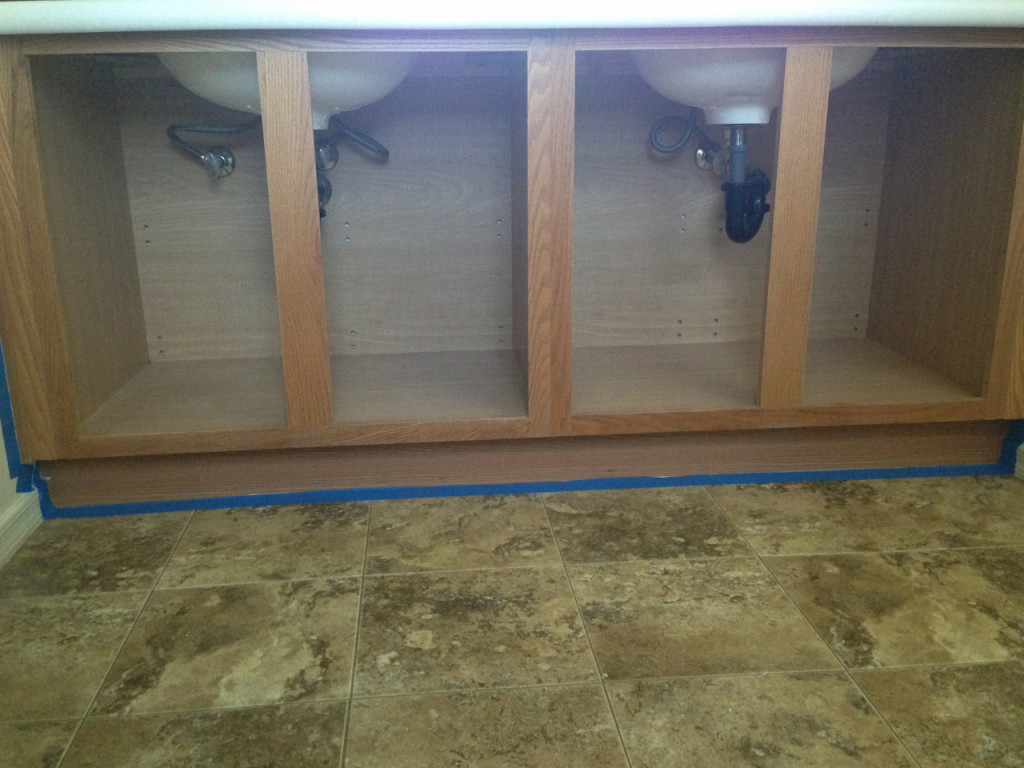
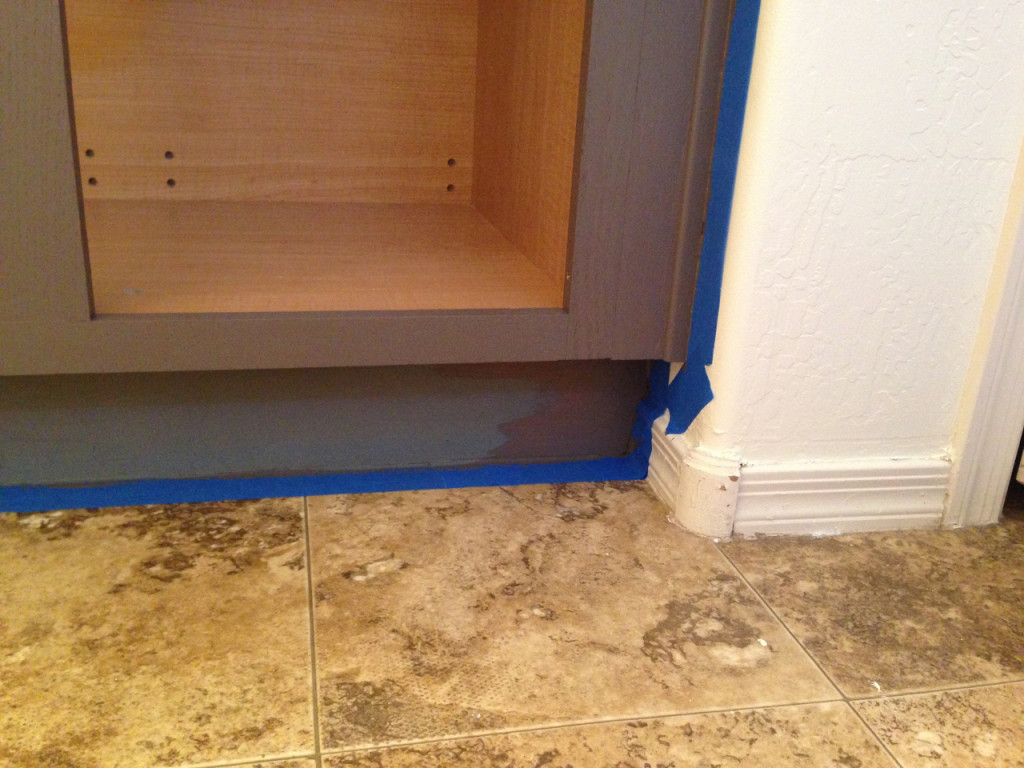
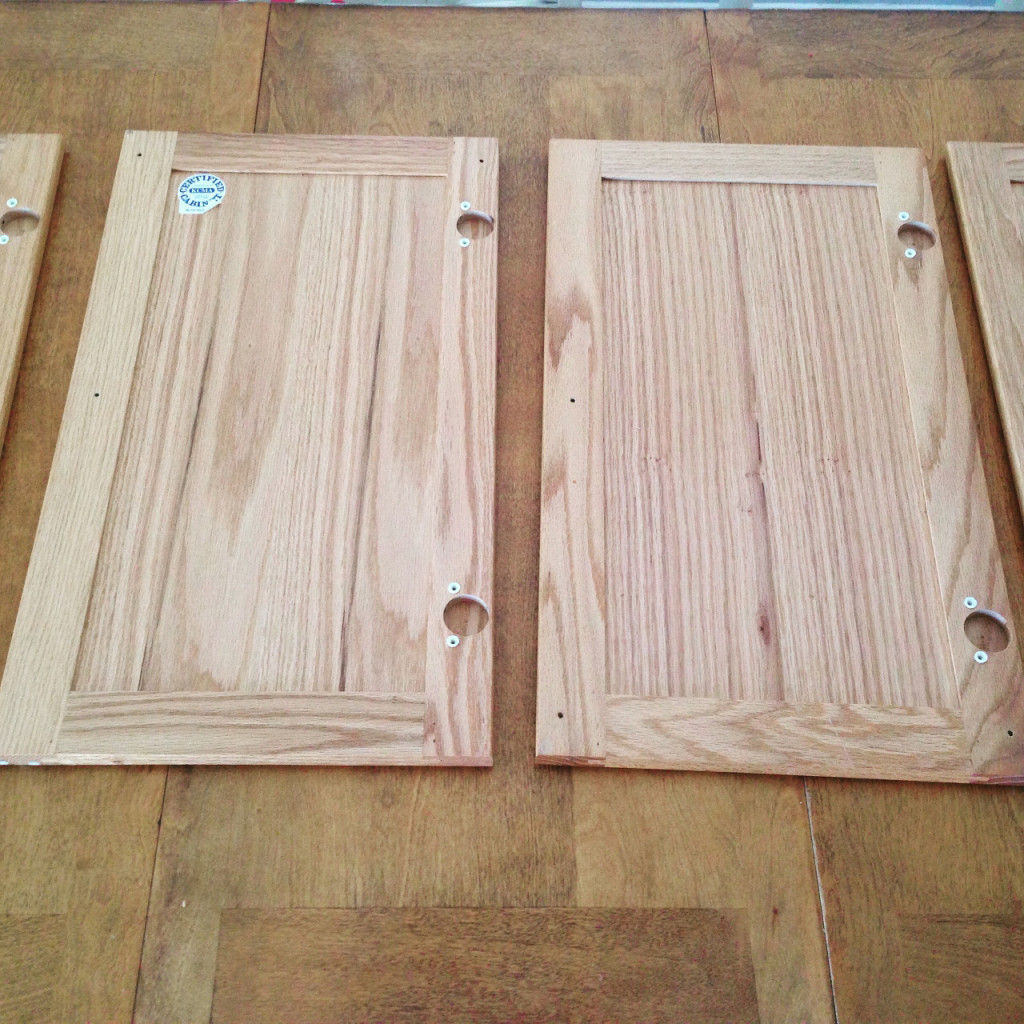
Anywho, a couple months back, I decided to give it a go in the Master Bathroom.  I should’ve probably taken a picture of the vanity with the cabinets, but whatever.  I started by removing the doors and then taking everything out from the cabinets.  I DO NOT waste time on painting the inside of the cabinets.  Not for a bathroom.  Kitchen?  Probably. Maybe.  Depends.  After that, I used a de-greaser to clean the wood and then sanded it, just to roughen it up a bit.  Then wash everything down really well to get rid of the dust. Then proceed to tape everything off, so you don’t get paint on the walls or floor.  (Although, I hate the flooring in this room, so maybe I shouldn’t have taped???)

IMG_2692 (1280x1280)

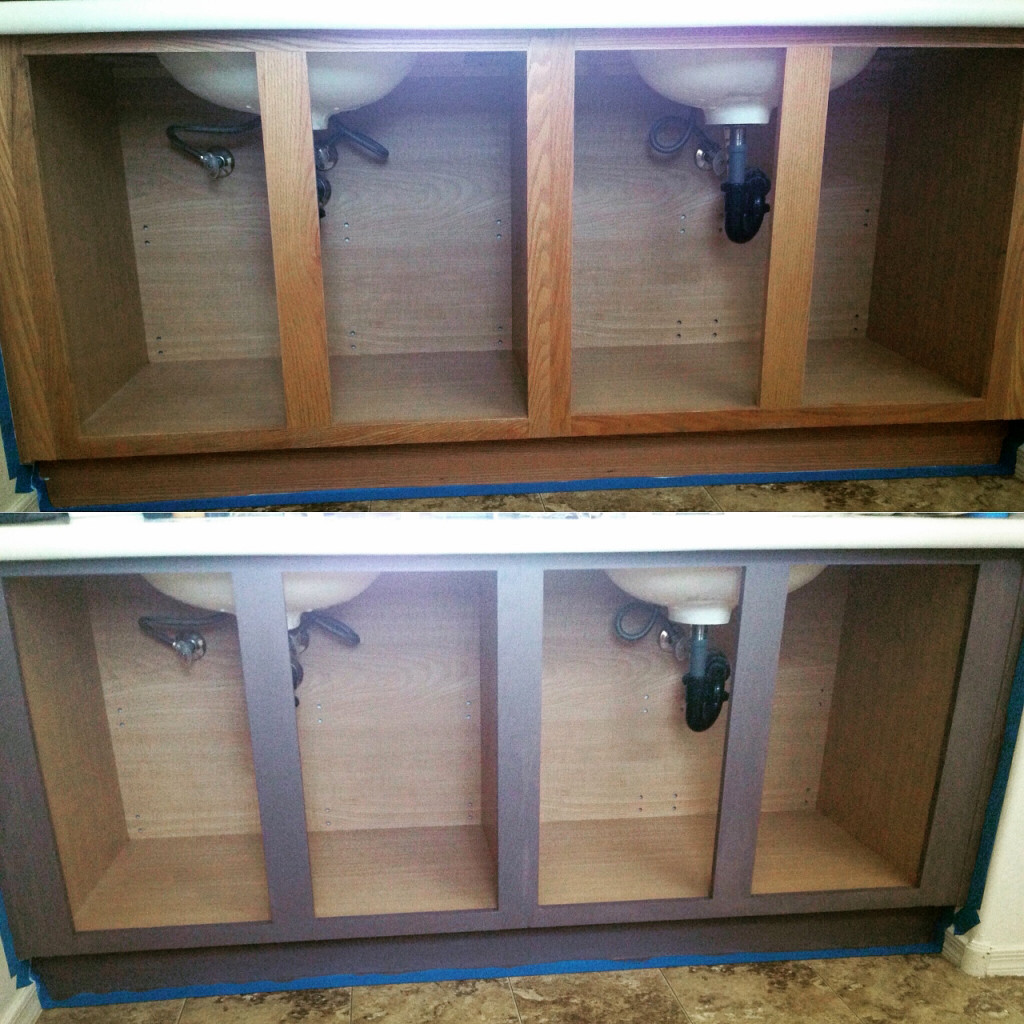
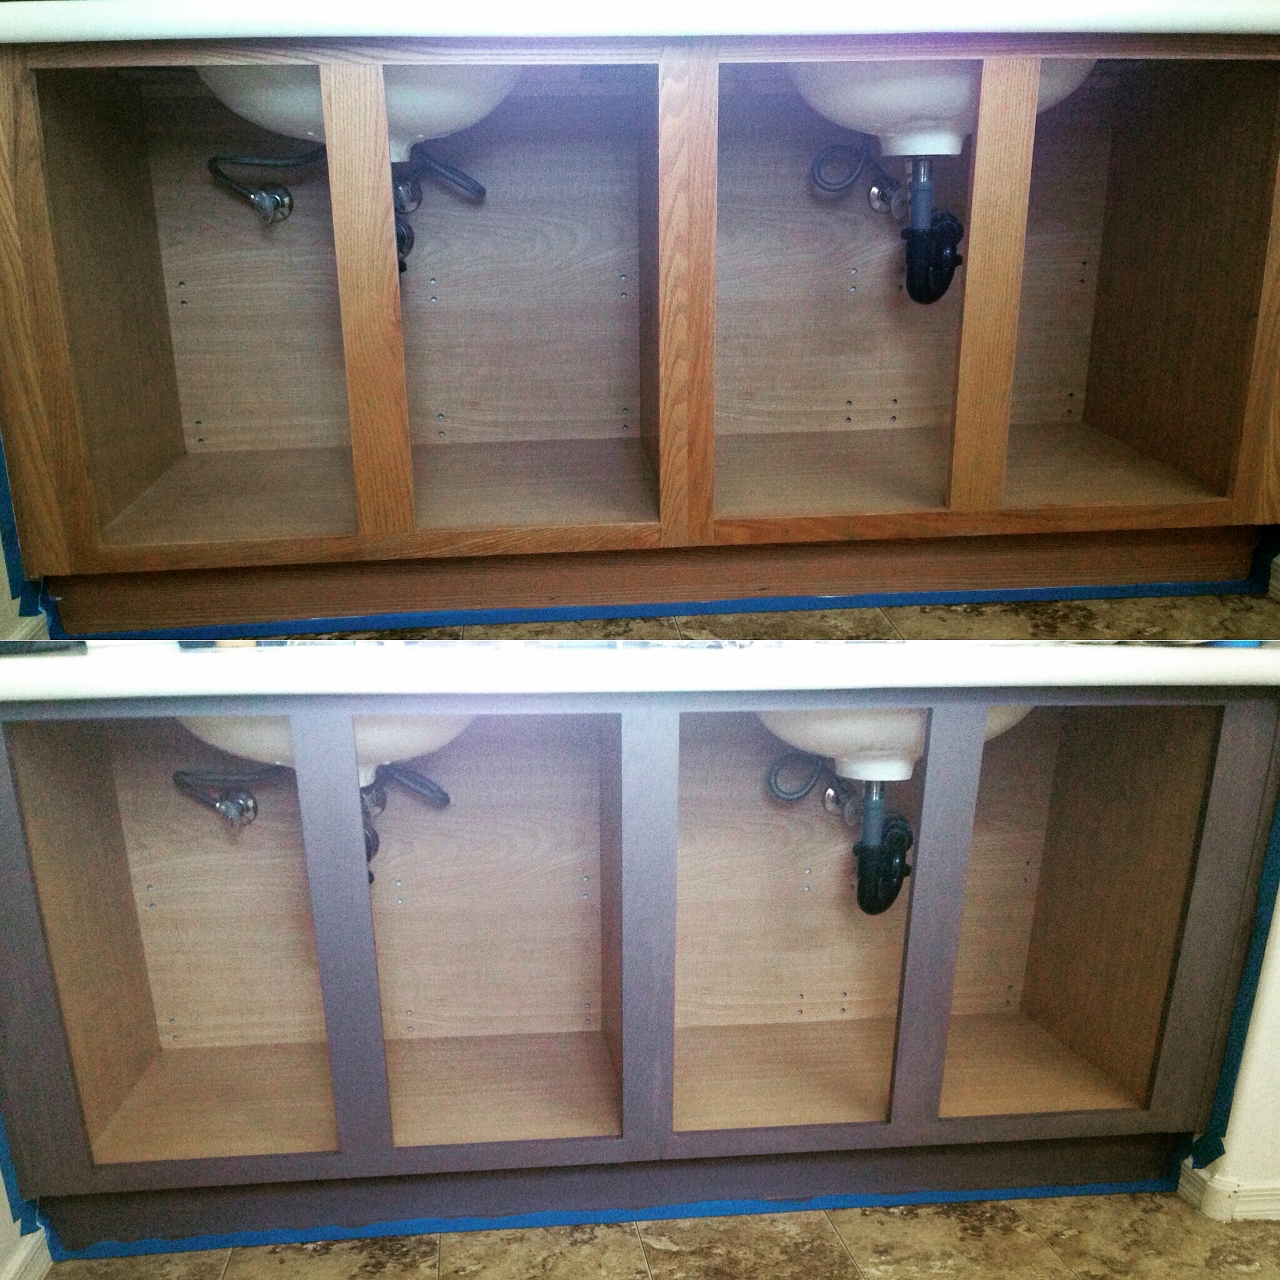
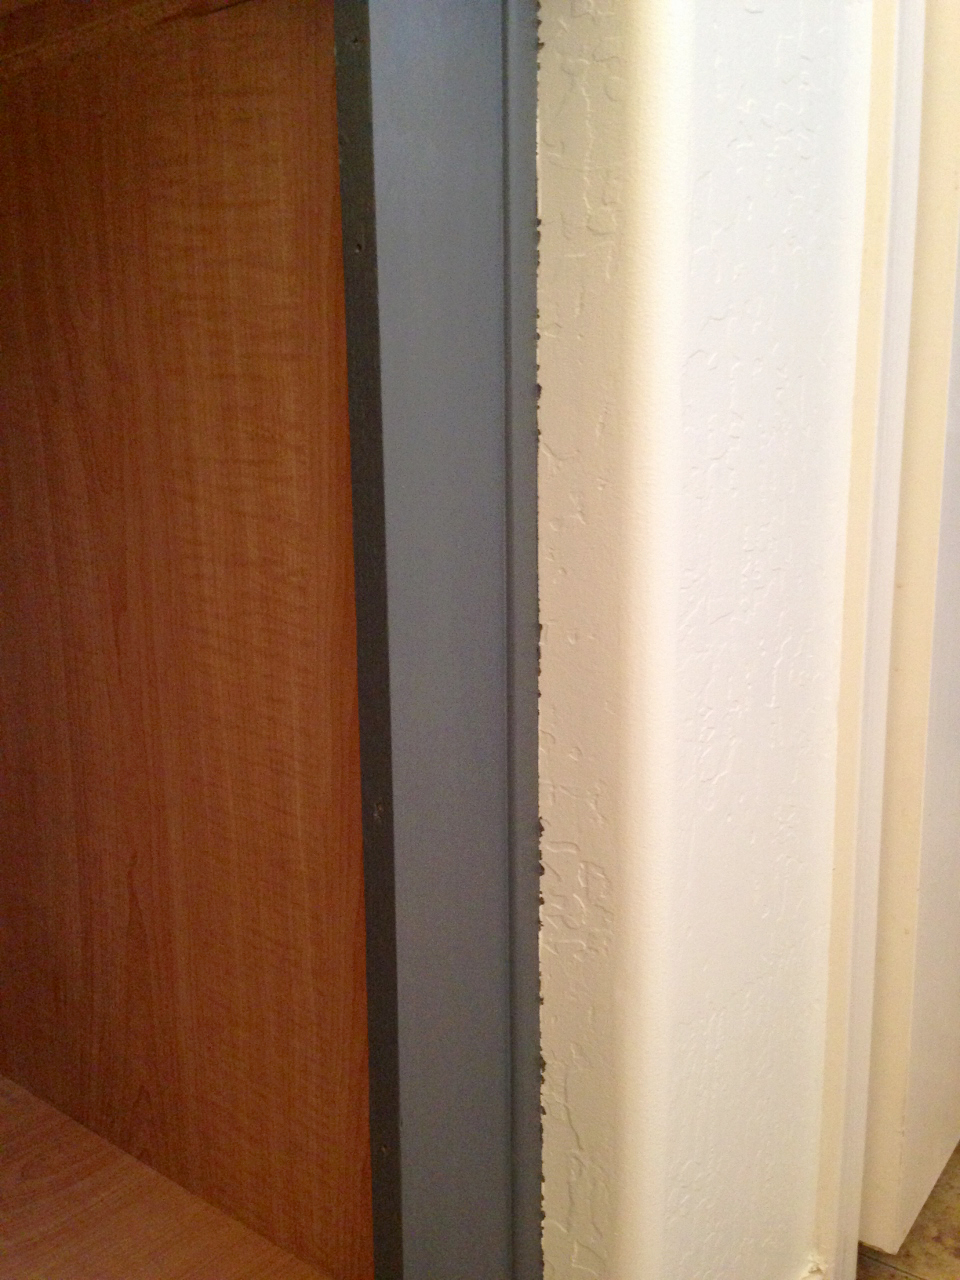
I was going to use a darker color paint (not even sure of the color because it was oops paint from HD), so I opted for tinted primer.  Here is how it looks with one coat of primer.  I used water-based because it is what I had on hand.

IMG_2690 (1280x960) IMG_2705 (1280x960)

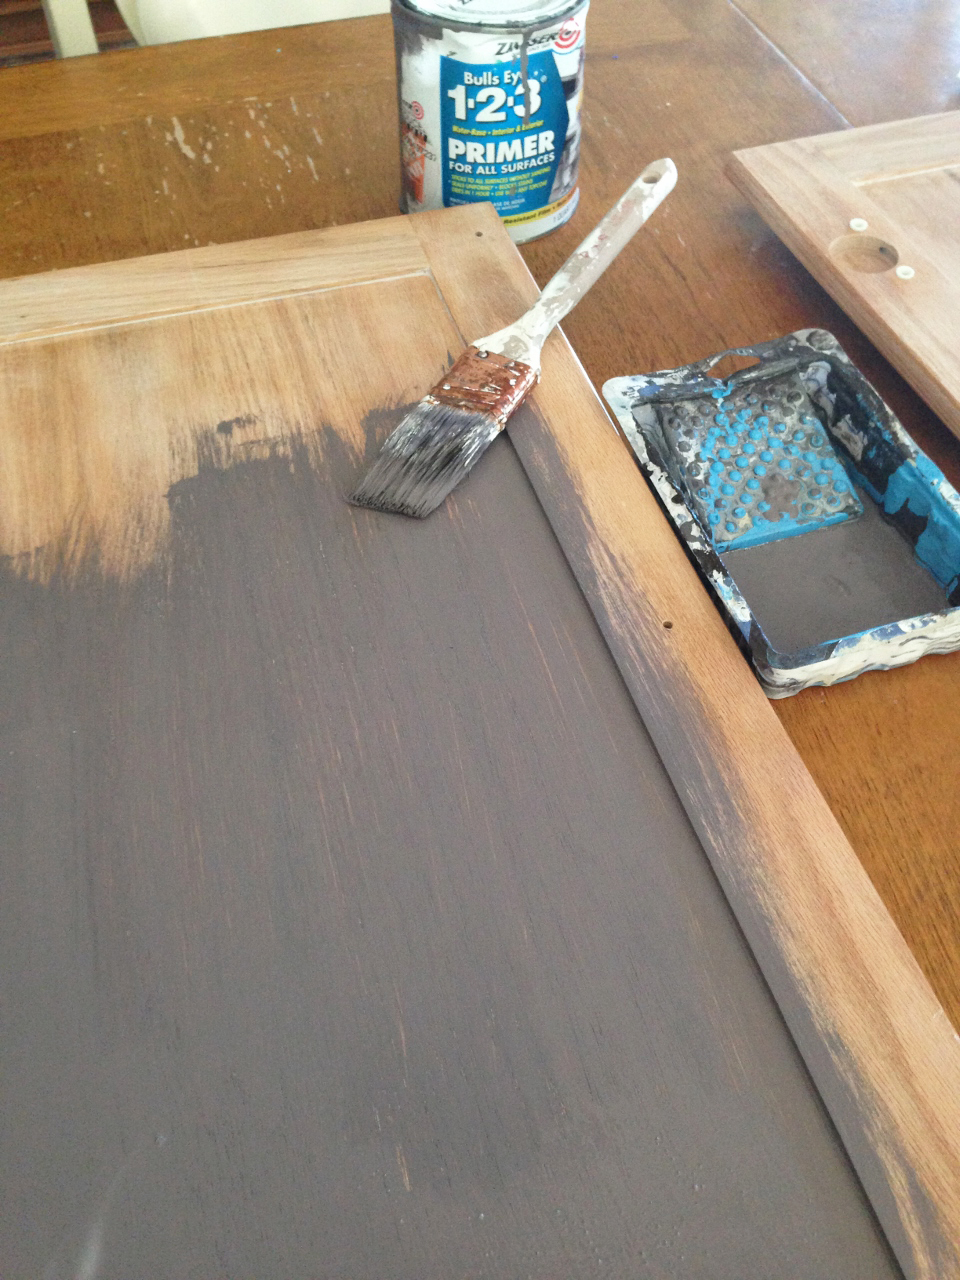
Here’s how it looks as the first coat of paint was going on.  I ended up putting two coats on and it covered nicely.

IMG_2704 (1280x960) IMG_2742 (1280x960)

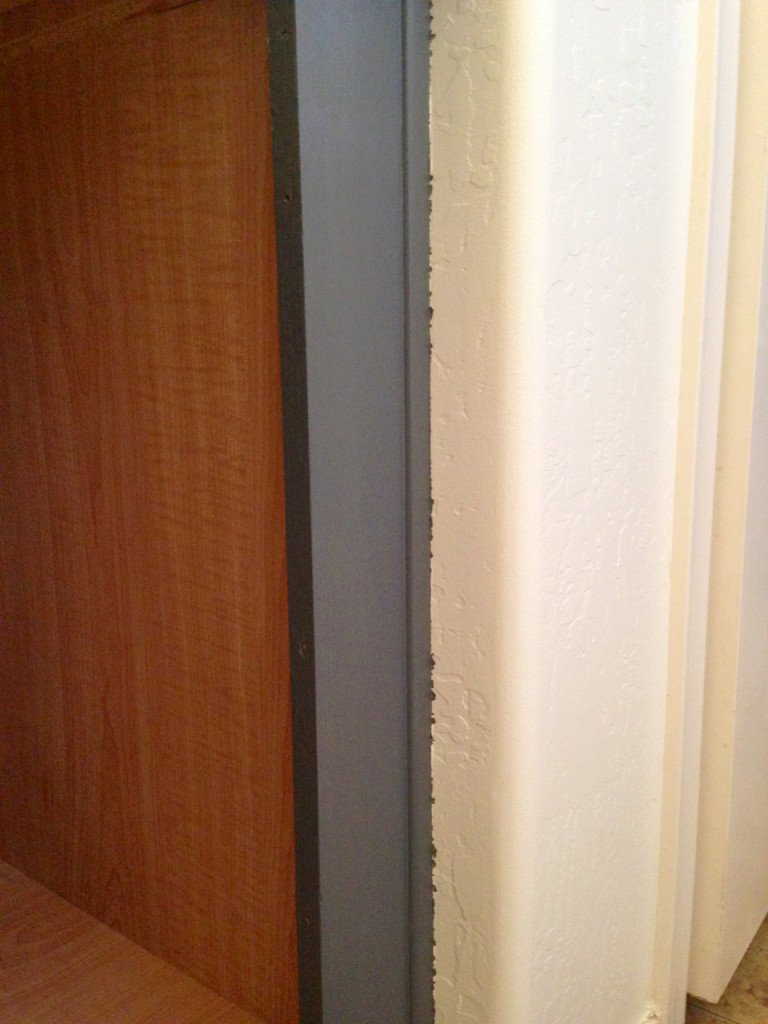
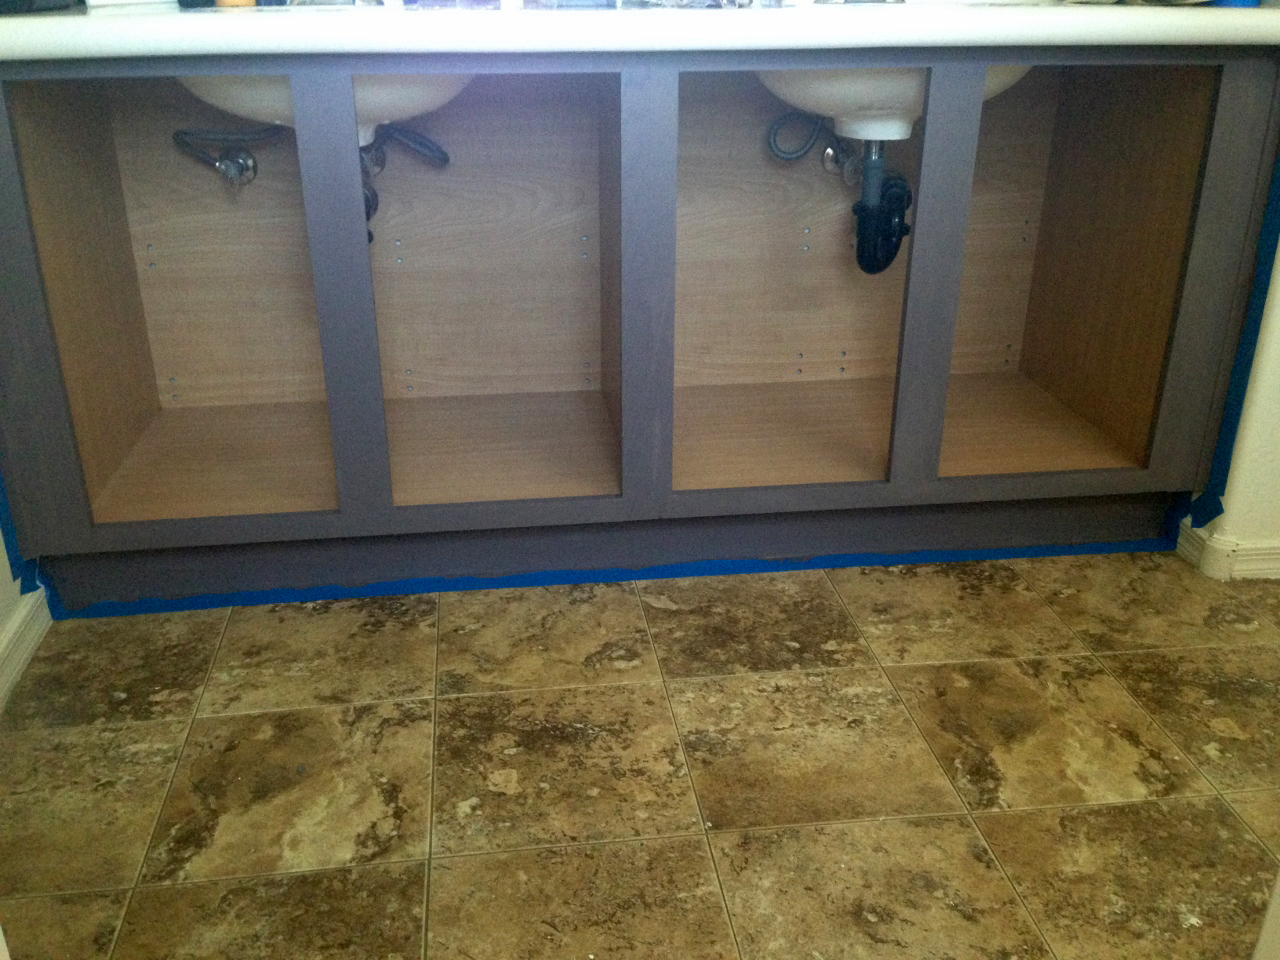
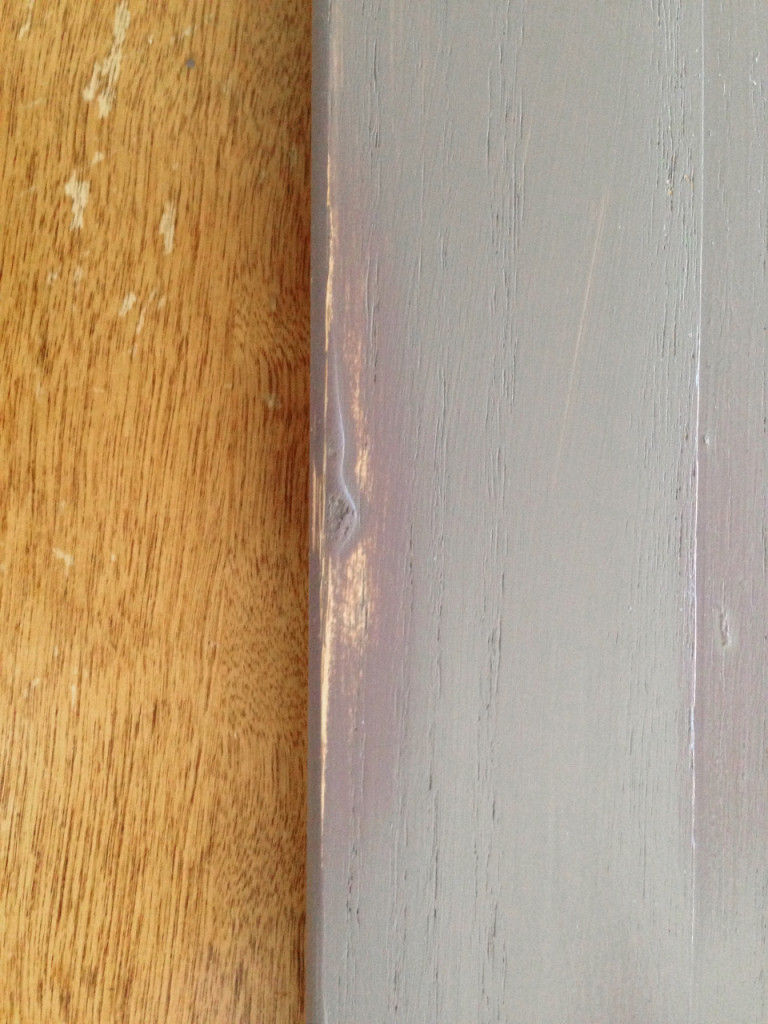
Now, once you pull the tape off, there is bound to be some “bleed”.  Annoying, but true.

IMG_2743 (1280x960)

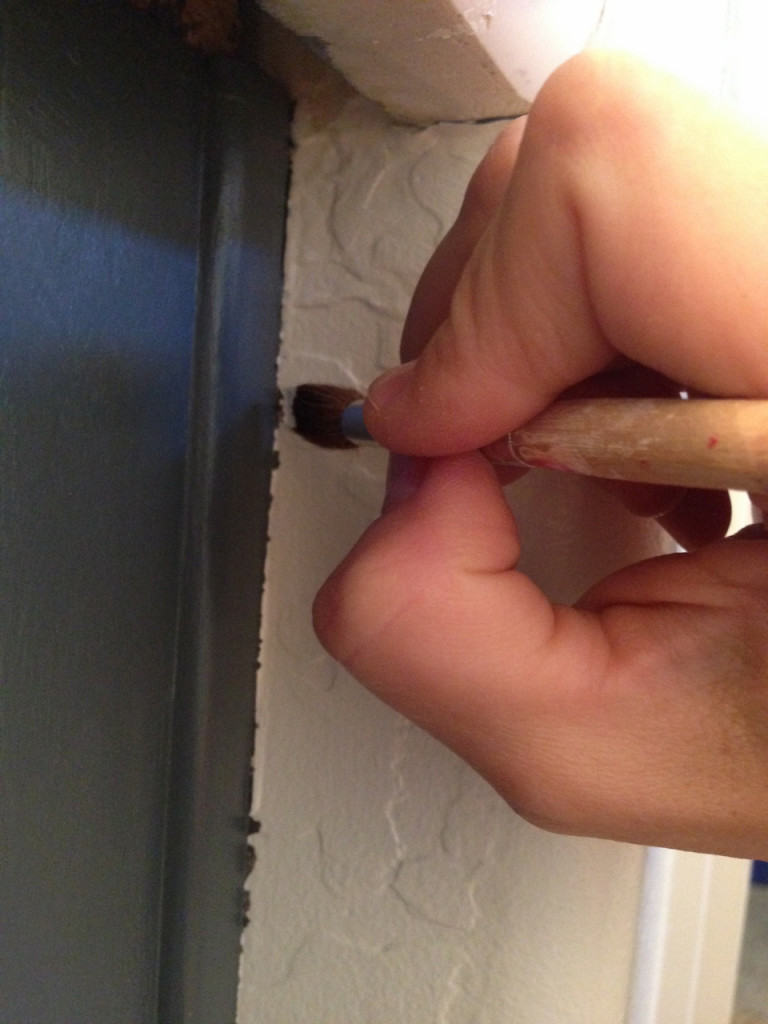
I just grabbed a little art brush from the kids’ painting supplies and proceeded to do some touch-ups.

IMG_2744 (1280x960)

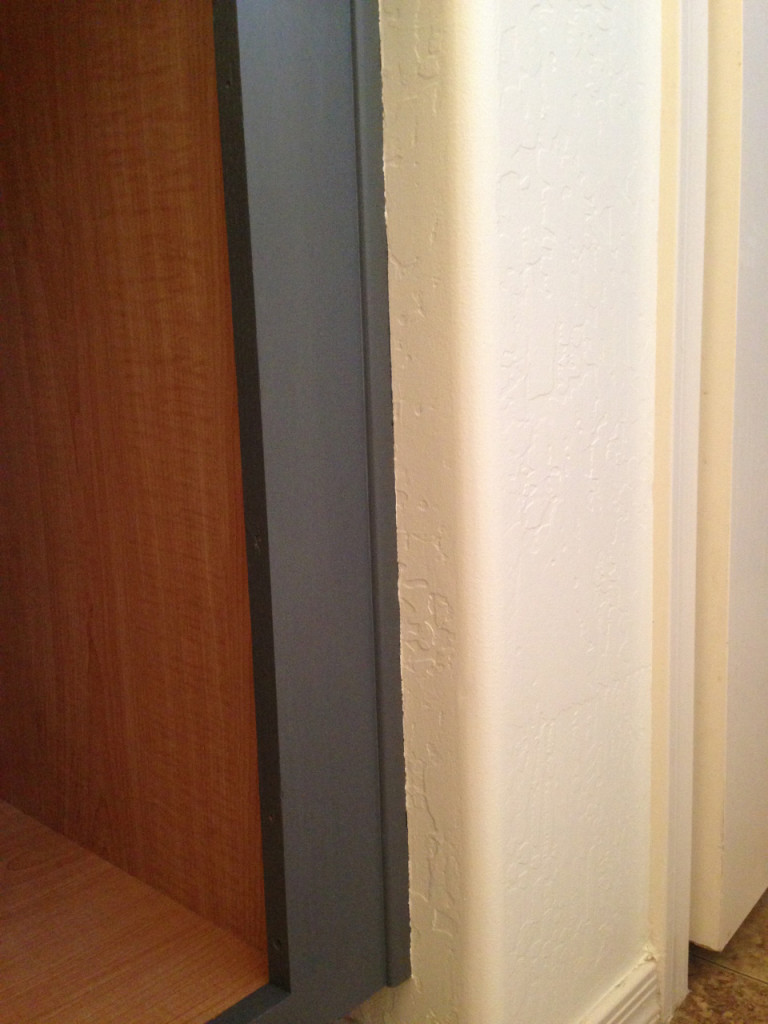
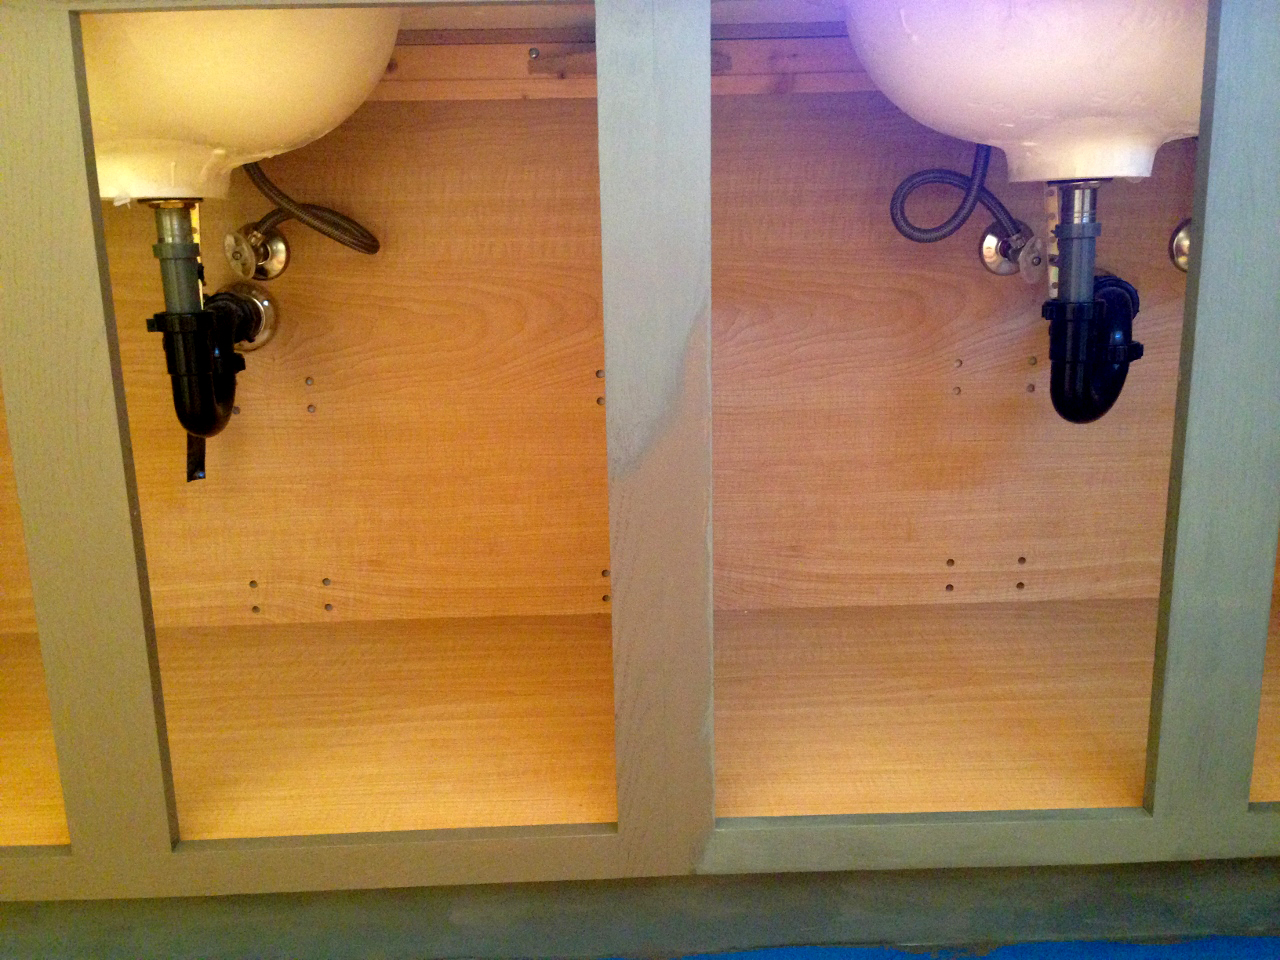
Ta-da!  Not too bad.  You could also take off that little strip of wood and paint it separately, but I’m too lazy I didn’t want to risk breaking the board and such.

IMG_2522 (1280x1280)

Now you’ve got to paint the doors.  Fun stuff, I tell ya.  I know people might be all, “Just buy new cabinets and screw this crap!” by this point, but A) I don’t have the money and B) I really take pride in doing all of this.  I LOVE a good before and after transformation knowing that I did it with my own two hands.

IMG_2751 (1280x960)

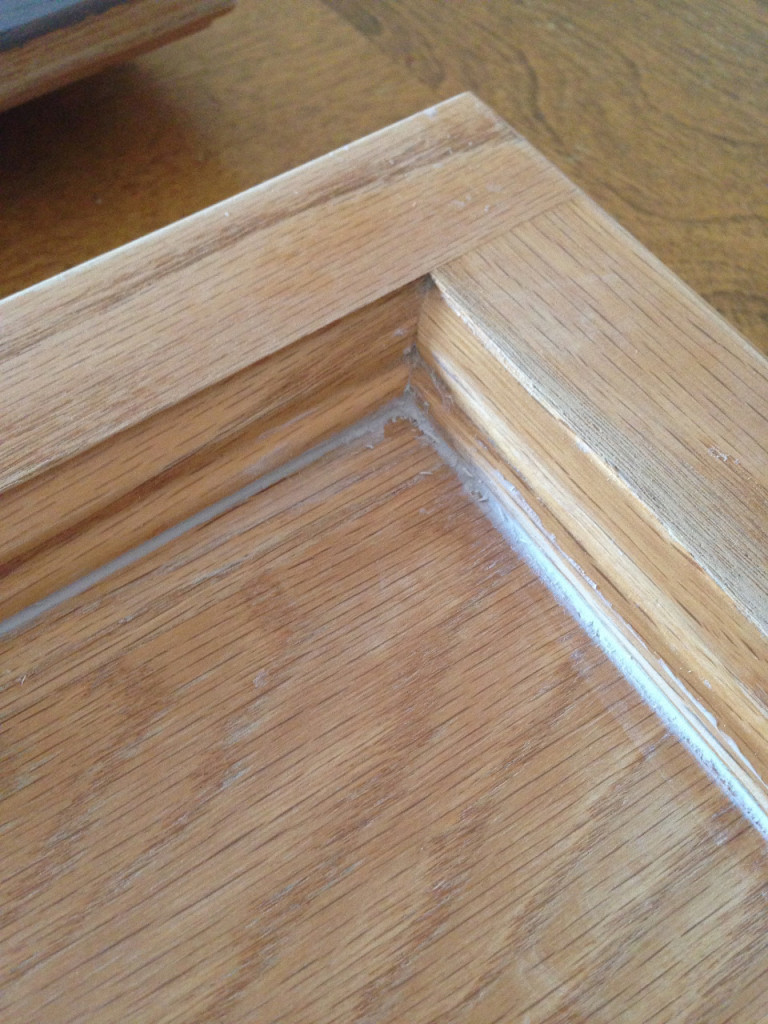
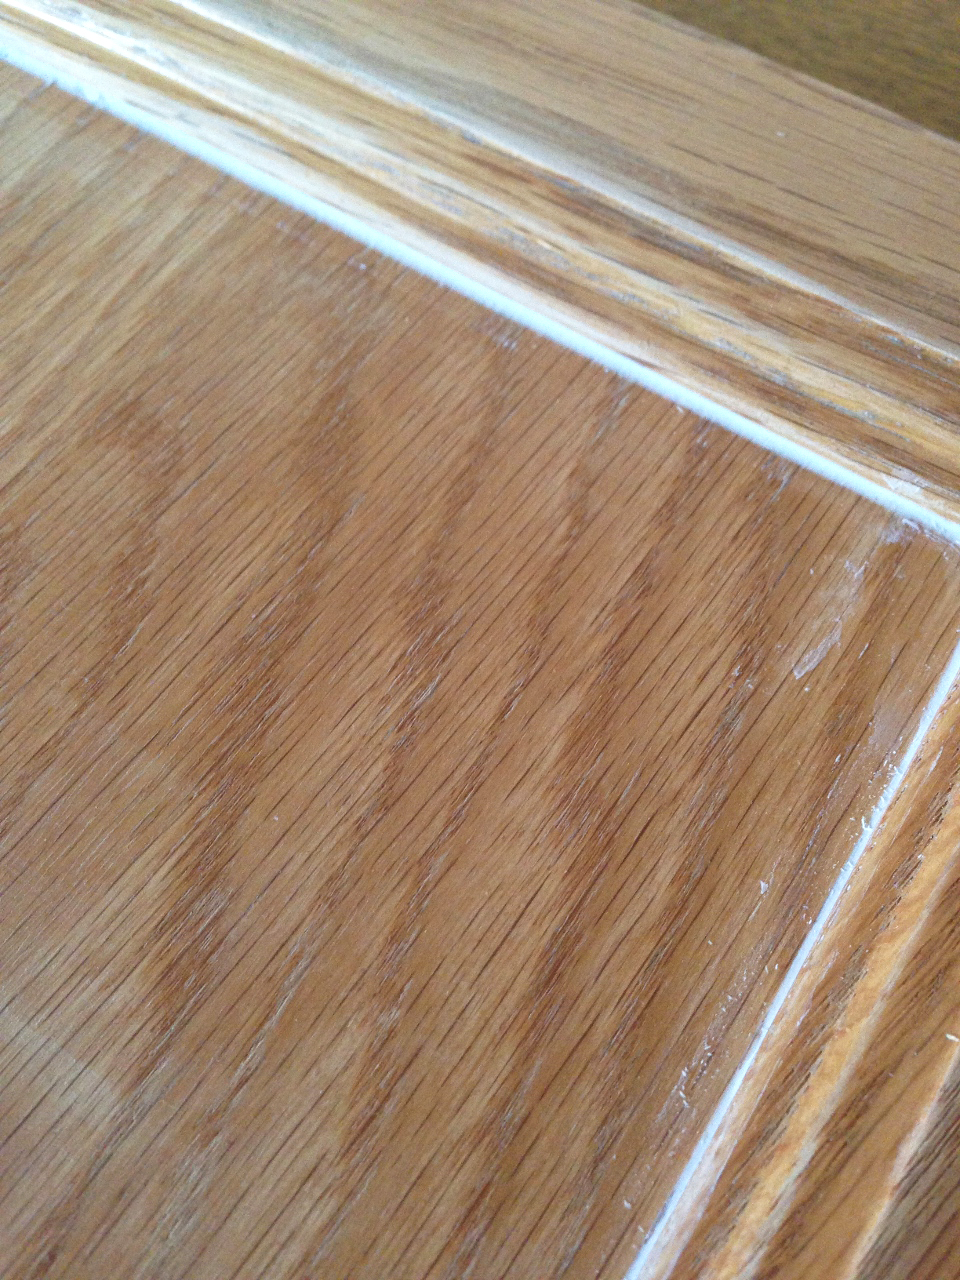
After you’ve removed all of the hardware and hinges from the doors, you will need to caulk around the inside trim of the door.  If you skip this step, the paint will not cover very well and there will be “holes” where paint didn’t cover and such.

IMG_2750 (1280x960) IMG_2745 (1280x960) IMG_2746 (1280x960)

IMG_2817 (1280x960)

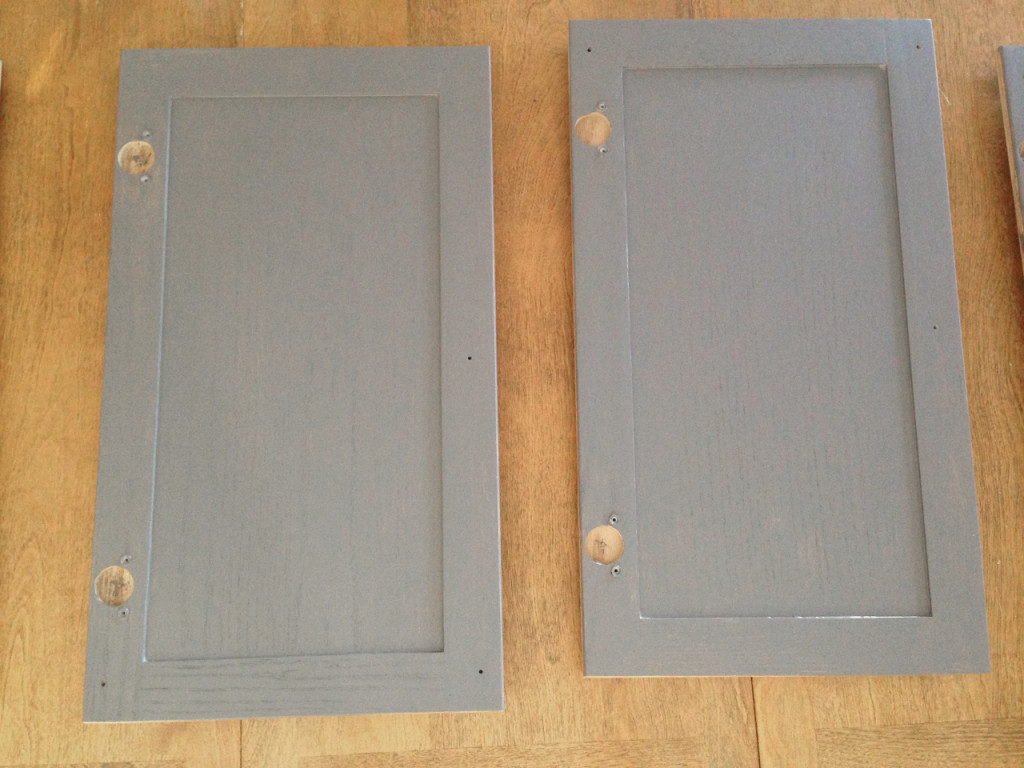
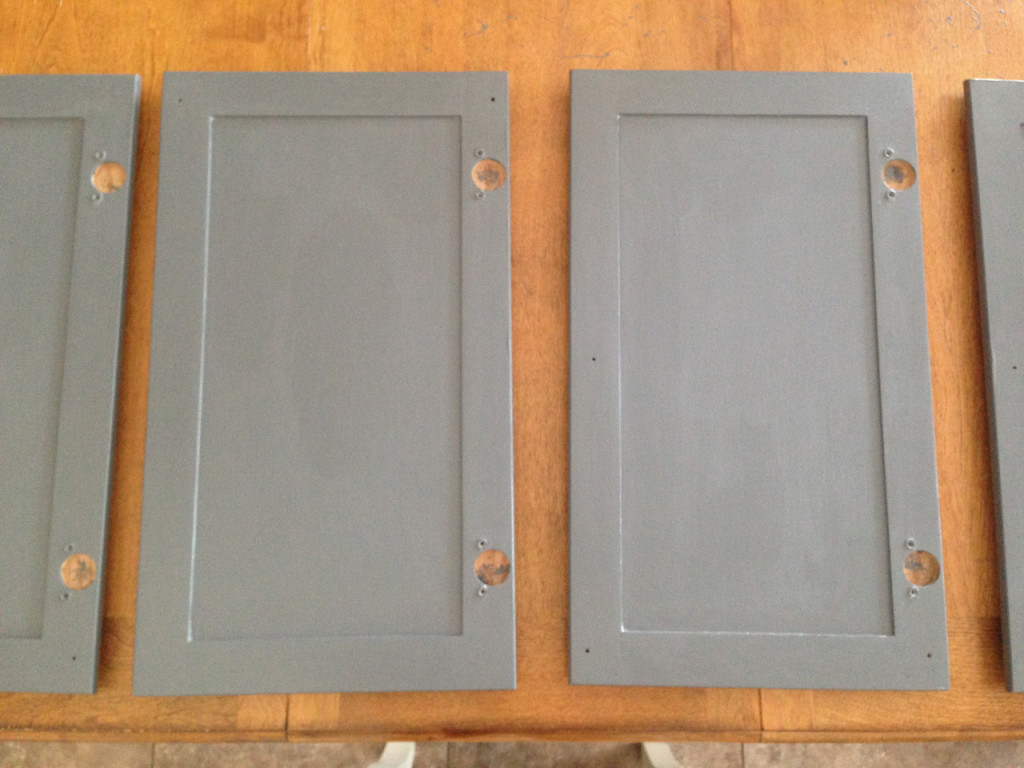
Here they are after a coat of primer.

IMG_2806 (1280x960)

Now, if you were doing this at midnight because that is when your third born night terror went to bed,  you might have some drips from the primer if you didn’t happen to catch them before they dried.  Just sand those down and then put a light coat of primer over top and let dry.

IMG_2816 (1280x960)

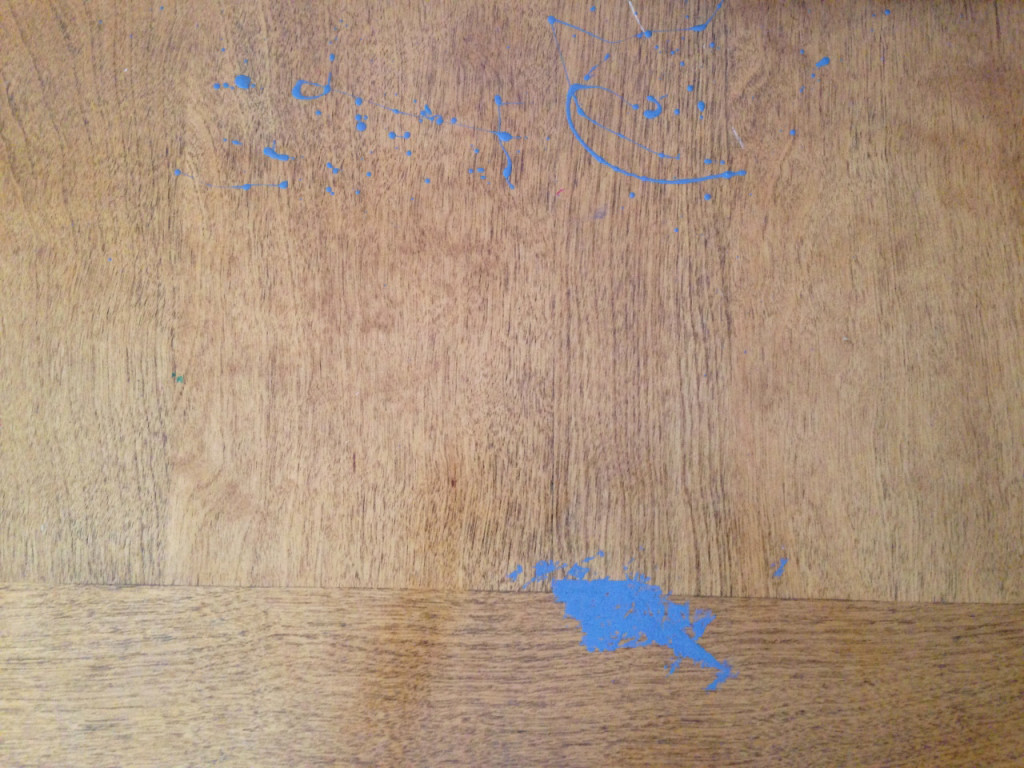
This is how your kitchen table will look if you don’t put newspaper down.  Ha…ha…ha.  I actually have plans to sand down the table and stain it a different color.  Just shake your head like my hubbby does and move on.

_MG_3604 (1280x853)

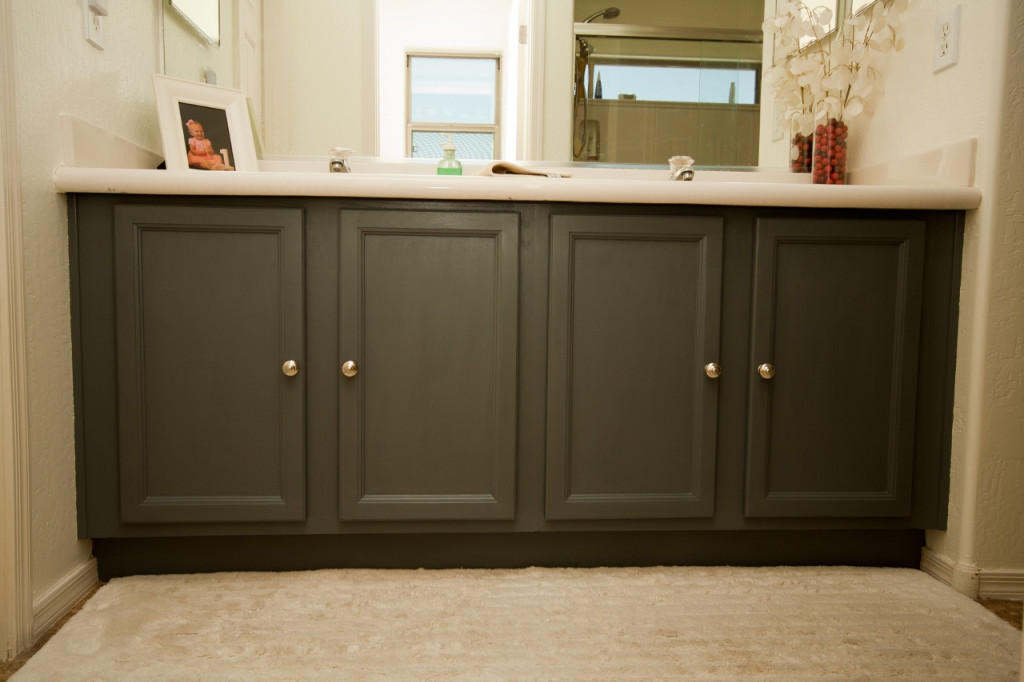
Voila!  Ain’t she perdy?  I think so.

_MG_3586 (1280x853)

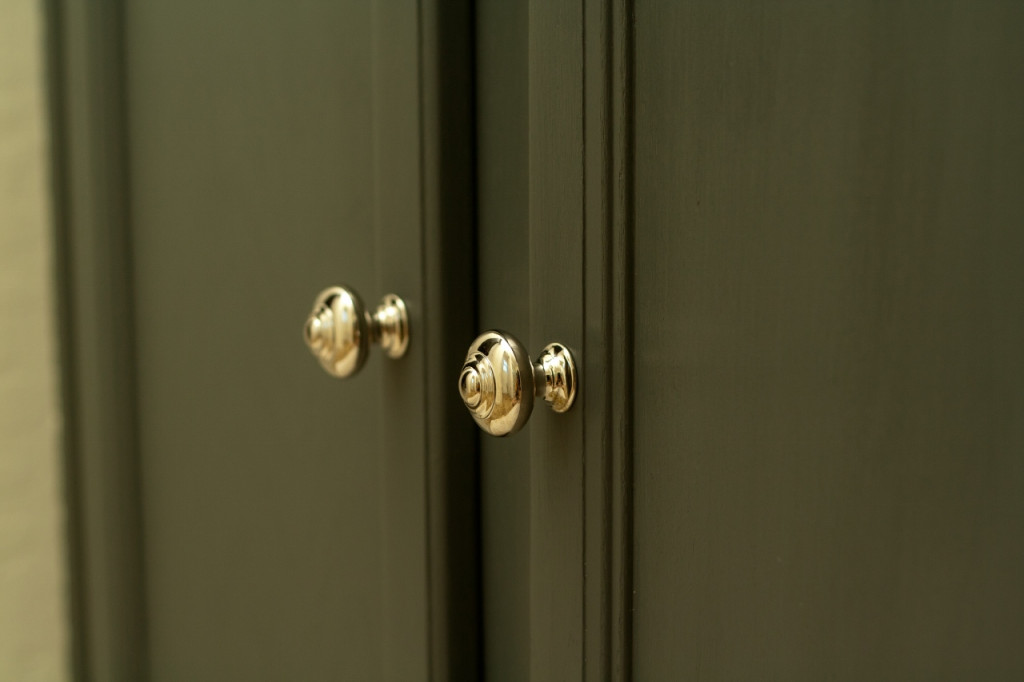
I did splurge a bit on knobs and I really like how they shine.  Worth every penny.

_MG_3582 (1280x853)

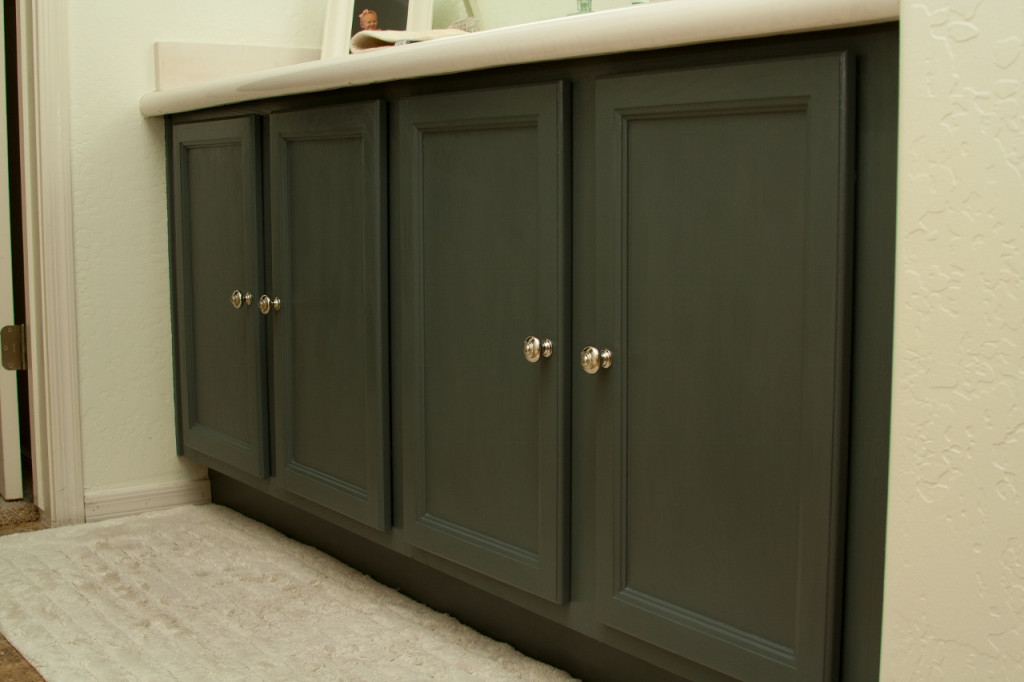
I am typically a white cabinet kind of person, but since I painted the entire bathroom white, I decided to add some color to the cabinets.  I’m glad I did.  I really love it.  Now to save my pennies so we can replace the flooring!  Have a great weekend!

How to Spruce Up Your Cork Board on a Budget!

I’ve been on a blogging hiatus for a while now, but thought I’d pop back in to show you a cheap and easy remake of a cork board.  I was looking at a home decor magazine the other day and I came across a cute cork board, or as they called it, a ‘message board’. Anywho, it was $189.  Good grief.  Talk about insane.  I loved the look of it and decided to do something about my plain ol’ board.

_MG_3700 (1280x853)

Here’s what you’ll need:

  • Cork board (I got mine at Goodwill for $1.50)
  • Adhesive spray (I had this on hand)
  • Fabric of your liking (I got 1/2 a yard and a craft store for $1.50)
  • Decorative Nails (A box of 24 was $1.37 at Wolly World)
  1. Cut fabric to the size of the cork board (inside frame, not outer edge).
  2. Spray the board with the adhesive spray and carefully lay the fabric down on top of it.  Be sure to smooth the fabric as you go.  I started on the left side of the board and worked my way to the right.
  3. Decorate the edge of the board with nails.  Be sure to space them evenly.

_MG_3717 (1280x853)

Voila!  AND it cost me less than five bucks!  (Yes, it could cost you more if you don’t have certain supplies on hand or shop Goodwill.)

_MG_3719 (1280x853)

The board had originally had a natural wood edge, but I decided I would like it better painted white.  I really like the frayed edge of the fabric too.

_MG_3716 (853x1280)

Here is my little sewing corner of our home office.  The desk still needs to be painted, but I’m unsure of a color.  So for now, this works.  I really like how the board looks now that I’ve revamped it and I plan to use it as an inspiration board for all of my future projects… you know, after doing preschool with the 4 year old and trying to potty-train the almost 2 year old ;-) .